3D printing hands on: Downloading and printing physical objects from the Internet

One of my first discoveries about 3D printing was the large number of mostly-free objects people have designed and made available for you to simply download and print. You don't have to have an iota of design skill or experience with a 3D design program. All you have to be able to do is download a file, and wait for it to print.
In this article, we're going to continue our DIY-IT discovery series on 3D printing by looking at what it takes to print an object you downloaded from the Internet. Before I go into the details, let me share my first experiences. I got homemade sugar cookies out of the deal.
Fundamentally, a 3D printed object is a file. And as you know, once you have a file, you have file sharing. As it turns out, there are a number of great sites that offer useful and fun designs you can download. One of the biggest is Thingiverse, with more than a million files.
Before I continue, I want to once again give a shoutout to the folks at MakerBot who provided the MakerBot Replicator I'm using for this discovery series.
My first downloaded objects and prints
I've been very excited by this whole 3D printing project, so I kept calling my wife over to the screen and showing her different things you could download from Thingiverse. She's been in a holiday mood, which means she's been in a cookie baking mood, and so she asked me to see if there were any cookie cutters.
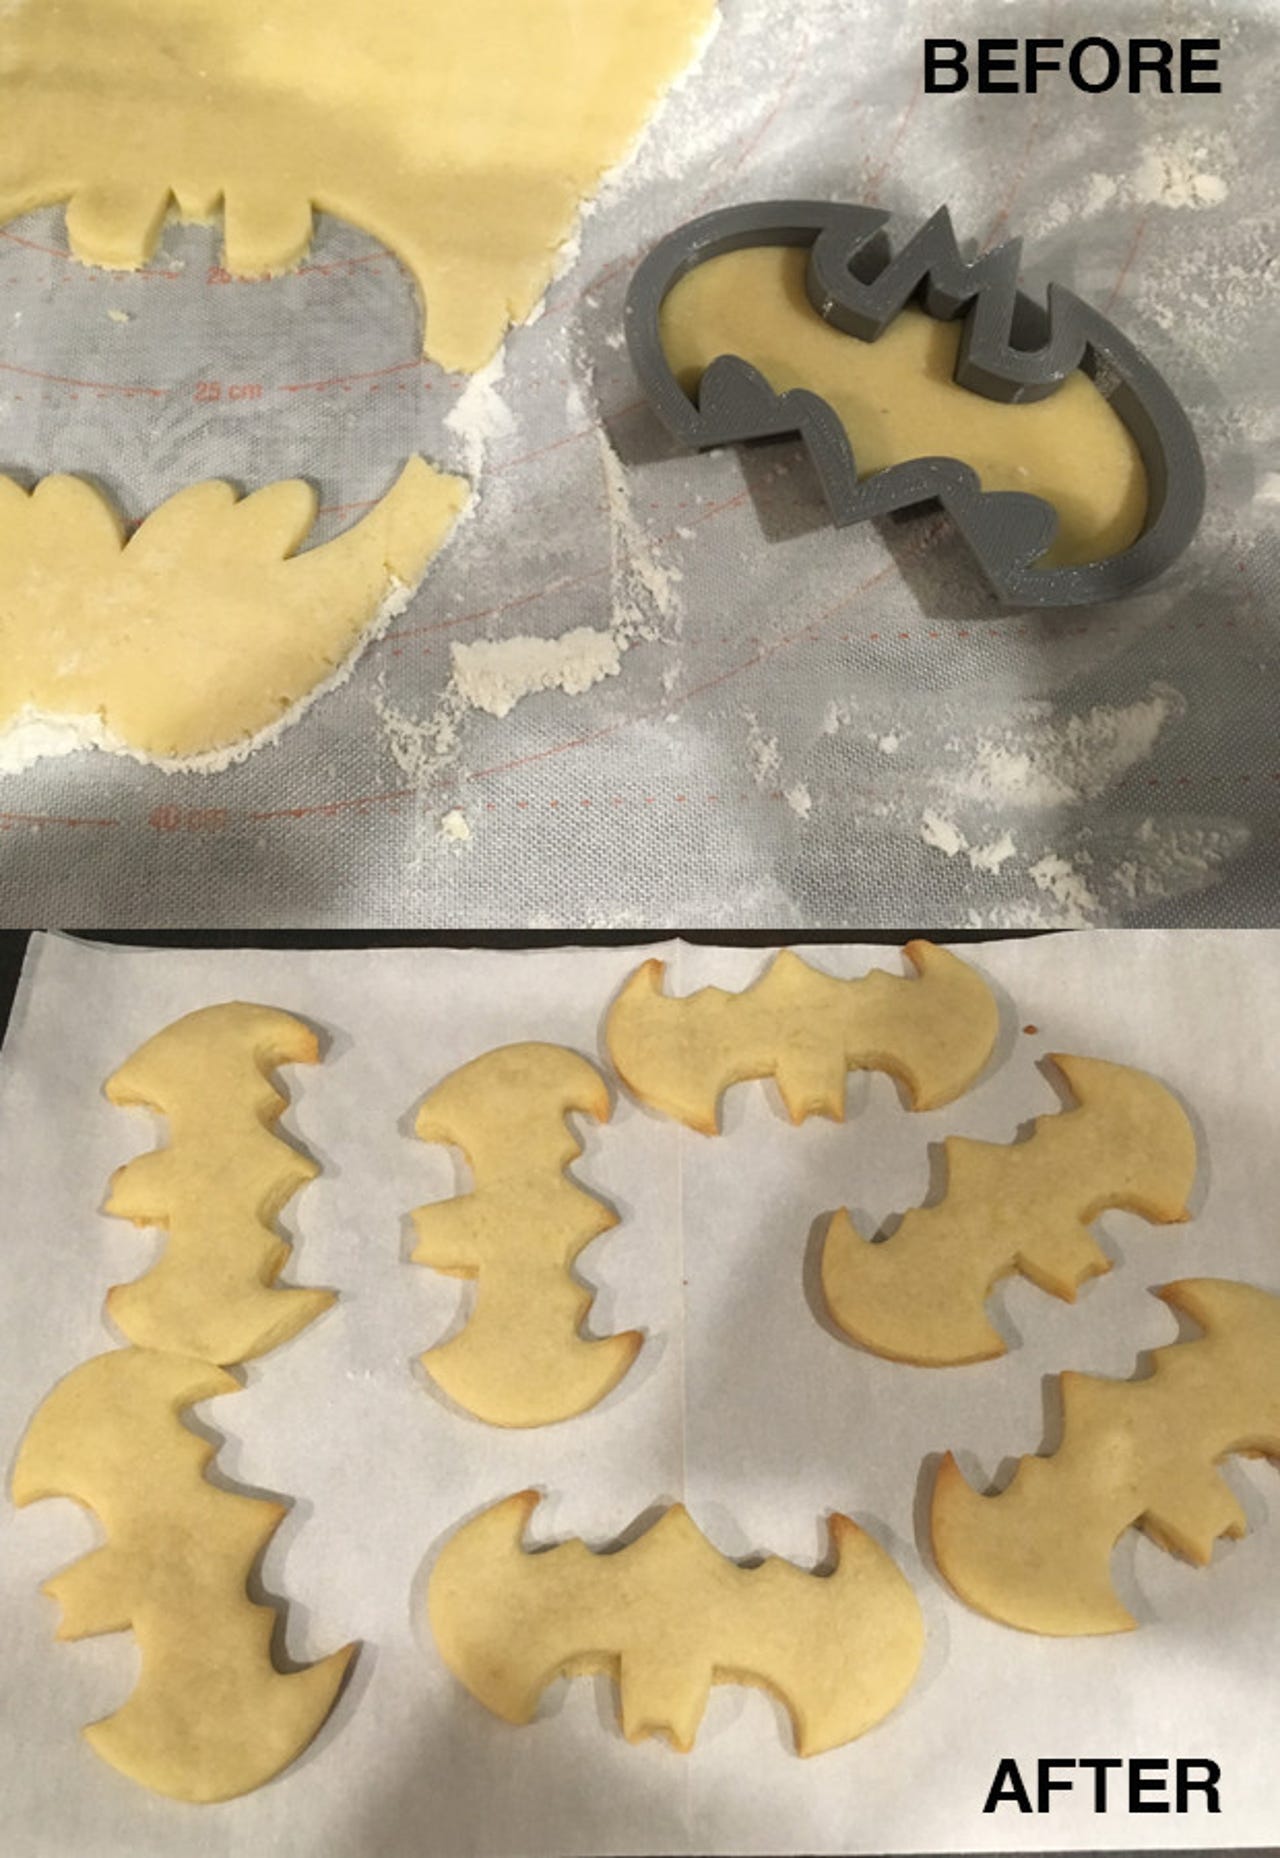
A quick search brought up a list of 2,694 cookie cutter models. The very first on the list was a Batman logo. As soon as Denise saw that, she said, "If you make that, I'll bake you Batman cookies." You gotta know what I did. I downloaded that bad boy right away, printed it out, and within a few short hours, there were cookies.
While digging around on Thingiverse, I noticed that there were a whole bunch of cool robot models. I am a sucker for robot models, and while I have a Tardis coffee mug and a small K-9 figure, I never had a Dalek. So I downloaded a Dalek model and printed it out. I wound up breaking the plunger (one of these days I'll paint the Dalek and super-glue the plunger), but after printing overnight, I finally had my very own Dalek.
My small dog does not like the Dalek model. It sat on my desk and for a week, whenever Pixel saw the thing, he barked at it angrily. Grudgingly, Pixel now accepts the Dalek, but still glares at it suspiciously whenever he sees it.
Downloading and printing useful objects
Those first tests were fun. Next, I was determined to fire up the 3D printer and make something useful. My contention is that businesses, offices, and schools will buy these devices like they have always bought regular printers -- to do everything from basic work to major projects.
After I installed the printer and printed some objects, I realized that having my Dremel tool available on my workbench would be hugely helpful. It bothered me that my trusty Dremel just sat there loose, without a decent home. I wanted a proper stand. You'll find that I have a thing for stands. I'm hoping that 3D printing will help me feed that need.
So I went onto Thingiverse ,and downloaded a Dremel stand I'd previously favorited. The process is simple. Simply download a file (just use Save As, the same way you would for a PDF or a picture). In this case, the most common sharing format for 3D prints is STL (which stands for STereoLithography).
As we've discussed before, the form of 3D printing I'm doing is additive manufacturing, where layer after layer is added to create a model. Stereo lithography is a form of 3D object creation based on laser light, and the 3D printing industry has adopted the format used in stereo lithography for its own use.
You generally get an STL file in two ways: you download it from a site like Thingiverse, or you export it from a 3D design program. We'll talk about 3D design programs in a future article. In either case, though, there will be an STL file on your computer.
The thing is, a typical 3D printer has no idea what to do with an STL file. An STL file describes a three-dimensional object, and all a 3D printer knows how to do is move an extruder tip along an x, y, and z axis. Essentially, the printer needs a lot of instructions that say something like "Raise head 2 millimeters. Now move to point 3,5. Drop the head. Now move to point 4,8. Now move to point 4,10. Now move to point 22,7. Lower the tray 1 millimeter. Now move to point..."
You get the point. Somehow, we have to get from a 3D model to a string of instructions that thinks more in terms of layers than in terms of vectors. This piece of software is called a "slicer" and there are a lot of them out there. In my case, I've used the slicer that comes as part of the MakerBot software.
Slicers can have a lot of smarts (and a lot of settings). The slicer figures out where to place the supporting raft, it figures out when 3D objects would collapse without supporting elements, and it adds those supports. It determines the resolution of the printing, the height of each layer, and computes where the infill should go (how the insides of the objects are filled with plastic).
This is one of the places where the complexity of 3D printing can be daunting, but think of it the way you think of all the options in Microsoft Word. You rarely ever use all the options. You get most of your work done with defaults and, when you need to, you learn what to change. Same with slicer software. Generally, I've been using the defaults.
So, in my Dremel stand project, I just opened the STL file in the MakerBot software, told it to preview (which is really the slicing process), waited about 10 minutes for it to compute, and then hit print.
Fourteen hours or so later, I had a Dremel stand. Take that, Amazon Prime! To be fair, I have actually searched for a stand like this on Amazon in the past, and was disappointed. Thingiverse actually had a solution I could make that isn't available for sale. We can store objects in the cloud now that they don't even have in the Amazon warehouse.
I also downloaded a neat little cord-minder design and printed that out. It only took about two hours. I'll definitely be making more of those, because they're handy.
So there you have it. Making 3D objects can be as easy as searching for what you want, downloading it, and printing it out.
If you haven't had a chance yet to watch my video on setting up the MakerBot, here's it is:
By the way, I'm doing more updates on Twitter and Facebook than ever before. Be sure to follow me on Twitter at @DavidGewirtz and on Facebook at Facebook.com/DavidGewirtz.