3D printing hands on: Some fascinating Jedi-level PLA filament secrets

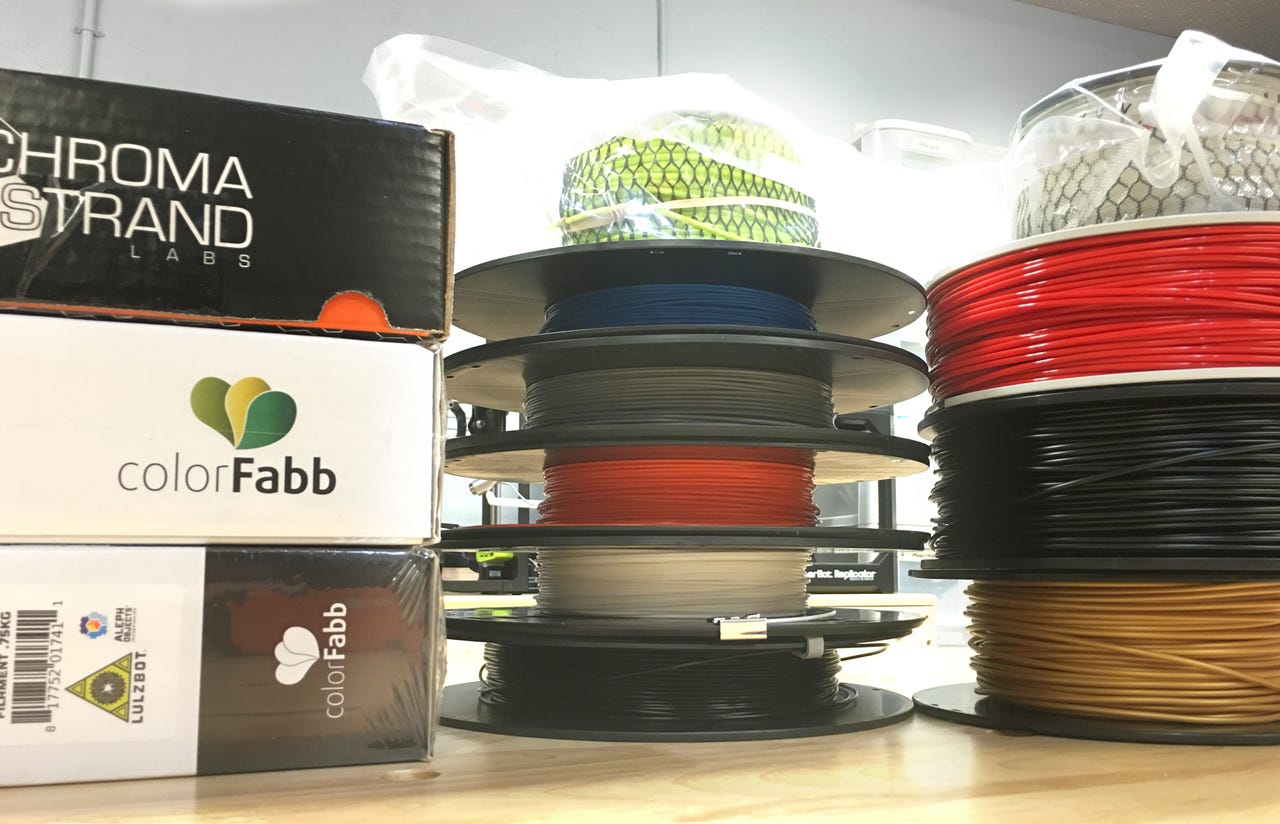
A selection of filaments.
Most desktop 3D printers use what's called FDM (fused deposition modeling) printing. Another term is FFF (or fused filament fabrication). The idea behind both of these is that a 3D print is built up by layering layers of gooey plastic on top of each other.
As each layer is extruded, it bonds to the previous layer, and eventually you get a plastic Dalek or Millennium Falcon to put on your dresser.
FDM printers work very much like an inkjet printer does. A head moves around a printing surface depositing material. One difference with 3D printing is that instead of ink, what's deposited is melted plastic. The other big difference is that there's a Z-axis. The printer goes up as well as side-to-side and front-to-back. As a result, each layer of plastic can be put on top of each additional layer of plastic.
Now, here's the good news. With the exception of knowing you need to buy filament for a 3D printer like you would need to buy ink for a 2D printer, you don't need to know much about the science of filament.
The 3D printing business has gone far enough that you can plunk down four hundred bucks for a little MOD-t printer and just happily churn out objects without knowing anything about filaments, slicers, extrusion temperatures, types of plastic, bed temperatures, extrusion rates, or glass transition temperatures.
I'm serious about how little you need to know. I've been happily 3D printing now since November, and it was only this week I started to delve into some of the arcana. That's because I got curious about why something was happening with the cheap filament I bought, and I had access to a Jedi master tech support guru who answered a lot of my questions.
I'm going to go through the problem solving process in the order I worked with it. You'll learn some fascinating stuff about how filament is made that can impact your choices as you use your 3D printers.
The problem
You know how inkjet printer manufacturers are always going on about you buying their brand of ink? It's supposed to work better, but it also costs a lot more. The same idea applies to 3D printing, because the plastic that's produced by different vendors might have wildly different characteristics.
First, there are many different kinds of plastics used for filaments. I've talked before about PLA and ABS. There is also HIPS, PETG, nylon, and many other types as well. These days, the most common is PLA because it's generally easier to use than ABS (although a bit more brittle) and it's not nearly as toxic.
When the Aleph Objects folks sent me their LulzBot Mini, they sent me a wide variety of filaments, but they did not send me the most basic PLA. That's because they wanted to show all the cool filaments they were able to handle. I definitely want to learn about all of them, but I'm still learning about the intricacies of even the basic PLA.
In any case, I bought a cheap $21 dollar roll of Hatchbox PLA filament from Amazon. It's about half the going price compared to some of the name brands, but I wanted to see what could be done with the cheap stuff. As you can see in the image below, it printed amazingly well.
This printed fine, except for the first few layers.
However, after a bunch of prints, I noticed a weird little issue. At the bottom of each print, the first ten or so rows weren't printing smoothly. If you look at them closely, rather than smooth layers, it looked more like a broken graham cracker texture. You can see that in the samples shown in the image below.
Note the edge texture where the arrow is pointing. That's not right.
This behavior was different from what I'd seen on the MakerBot. But even though the MakerBot and the LulzBot printers were both using PLA, there were some substantial differences.
The MakerBot is designed to work solely with MakerBot 1.75mm diameter filament. The LulzBot is designed to take pretty much any type of filament material you give it, as long as it's the thicker 3mm filament. The MakerBot has a room-temperature bed that's not heated. The LulzBot has a heated bed, which also means you can control the bed temperature.
Because you can heat the LulzBot bed, adhesion is helped by virtue of the warmth of the bed. In the MakerBot's case, it's better to use a raft (a support structure under the object) to improve adhesion.
Since I'd never printed on a heated surface before, I didn't know if the graham cracker effect on the first few layers was the result of having a heated bed, or some issue with regard to how the printer was printing.
I reached out to LulzBot tech support and got help from someone I wish I could introduce you to. Unfortunately, like many engineers I've worked with over the years, this guy is a bit shy. So rather than giving you his name, I'll simply call him Obi-Wan. Obi-Wan taught me a lot.
Z-probe offset
From a practical perspective, we focused on two issues: the temperature the bed was set to while printing, and the Z-probe offset. Let's do Z-probe offset first.
I know. It sounds like something Fox Mulder would investigate. But the Z-probe offset is just, essentially, how far away from the bed the nozzle gets when it starts extruding filament. Using G-code (the machine code of 3D printers), you can adjust the Z-code offset up or down by a small amount. Here's how Obi-Wan described it:
This will most commonly be caused by having the Z offset a little bit too close to the bed. If there is not enough room for that first layer to go down, the filament will squish out to the side and build up rough lines on flat surfaces. Over a few layers, this will essentially work itself out as it less and less filament is squished to the sides.
To change this, you actually type in a line of G-code. He first had me type in M851 which returns the current Z-probe offset. In my case, it was -1.43. You increase the number the farther away you want the nozzle to be from the bed. So I moved mine up a tenth of a millimeter. The command is this:
M851 Z-1.33
This actually writes the change into the firmware of the printer, so it applies to all filaments of all types once the change has been made. Obi-Wan passed on a caution about testing this value:
When first testing this new offset, keep a careful eye on that first layer. If it appears the nozzle is being dug into the bed, turn off the printer and adjust the offset until it no longer does that.
Tinkering with this was kind of fun. I test printed a cube and the first time, I got a complete pile of stringy mess.
Don't print in the air. If you do, you'll get a stringy mess.
It turns out I typed in "M851 Z1.33" which raised the head way up above the build plate and nothing stuck. An email conversation with Obi-Wan corrected that:
This large of a change will make your initial layer height of 0.425mm print in mid air. You will want to change that to a -1.33, which will slightly increase the distance but it will not be dramatic enough to cause mid-air printing.
He also told me to use an M500 command to write the change to the firmware. Otherwise, the change wouldn't stick between power cycles of the printer.
This was done using the control interface in a 3D printing program called Cura.
Obi-Wan also told me why printers may ship with a different Z-probe offset:
When we calibrate the printers in house, we like to keep a little extra squish for that first layer. It helps ensure prints stick well to the bed. This does cause a little bit of the elephants foot on lower layers, but prevents something from popping off the plate 70 hours into an 80 hour print.
I've had prints like that. It's no fun when you're almost done and they fail.
More about filaments
My theory turned out to be correct. The graham cracker effect was a result of the plastic being too hot as it was extruded. With a bed temperature that was too hot, the plastic didn't cool at just the right pace to produce smooth layers.
That exploration helped me understand a lot about filament. Last week, if you'll recall, I mentioned that PLA made in the US is generally from corn starch. PLA made in Asia is often from tapioca root. As you might imagine, those substances will have a very different chemical makeup.
Most 3D printers that support more than one kind of filament have the ability to set a filament profile, which can include a lot of factors including bed temperature, extrusion temperature, extrusion speed, and more. Many of the more popular filaments are provided with profiles.
Because I was trying this with an off-brand filament, Obi-Wan and I got into a really interesting discussion about filaments.
Different manufacturers will have different formulas, and therefore different thermal properties. There is currently no regulation on what is defined as "PLA" printing material. A formulation with 1% PLA and a formulation that is 99% PLA can both be claimed as such, but have wildly different thermal/printing properties.
I learned, for example, about Tg. Tg stands for the glass transition point. Different filaments might have different glass transition points. Put simply, a glass transition point is the point at which a polymer goes from being rigid and brittle to flexible. Note that it's not the melting temperature. Instead, it's the temperature at which the molecules get excited enough to loosen their bonds and allow a material to become less brittle.
Because different filaments can have different Tg points, they need to be set at different temperatures both in the extruder and on the bed.
I also asked about filament colors. I had noticed, empirically, that blacks seemed more challenging to print than other colors. Here's what Obi-Wan told me:
If you are looking for aesthetic quality, stay away from white. It highlights shadows very easily, and makes the layer lines noticeable when photographing. I like the light blues, and greens as they seem to make the best photos.
Depending on who makes the filament, black can be quite problematic. Some filament manufacturers use "regrind" where they will grind up other filament colors, and re-extrude it. Black can cover up all other dies, and is how they save on costs. Unfortunately, every time filament is extruded it breaks down somewhat physically. This will change it's thermal properties, and how it is ideally printed. (Not to mention inconsistencies between batches.)
Color, which we may think of as having no weight or consistency, does in fact have substance. My wife often told me that identical yarns dyed with different colors will be stiffer or smoother to work with. A video I've embedded at the end of this article (I love the Internet!) shows just how thick a Sharpie mark actually is.
Bed temperature
We next tried two new tests: adjusting bed temperatures and using a filament that came with its already-tested profile. First, I ran tested printing a small block with the bed temperature set at 60 degrees C, 40 degrees, and 20 degrees. As you can see in the following image, the 20 degree bed temperature worked out best.
Look carefully at the layers pointed to by the arrows to see how the different bed temperatures (20, 40, and 60 degrees) changed the plastic melting characteristics.
Finally, I bought a roll of Verbatim PLA. This was twice the price of the Hatchbox stuff, but came recommended by Obi-Wan and it had a profile. Printing it with no modifications or bed temperature changes resulted in a pretty clean print:
The first layers look good using the default profile.
So there you go. None of this is really necessary to know if you just want to make some 3D prints. But if you're curious about the materials that go into your 3D prints and how to think about them, I hope you find this discussion as fascinating as I did.
If you make anything cool with your 3D printer, post about it in the discussion below or tweet me an image of it to the account listed at the end of this article. I'll retweet the coolest prints I'm sent.
Finally, a big shout out to the man I've been calling Obi-Wan. I learned a lot and I really appreciate the time you took and the support from Aleph Objects as we explore 3D printing across different filaments.
You can follow my day-to-day project updates on social media. Be sure to follow me on Twitter at @DavidGewirtz, on Facebook at Facebook.com/DavidGewirtz, on Instagram at Instagram.com/DavidGewirtz, and on YouTube at YouTube.com/DavidGewirtzTV.