Hands-on with piCore 7.0: Tiny Core Linux for the Raspberry Pi

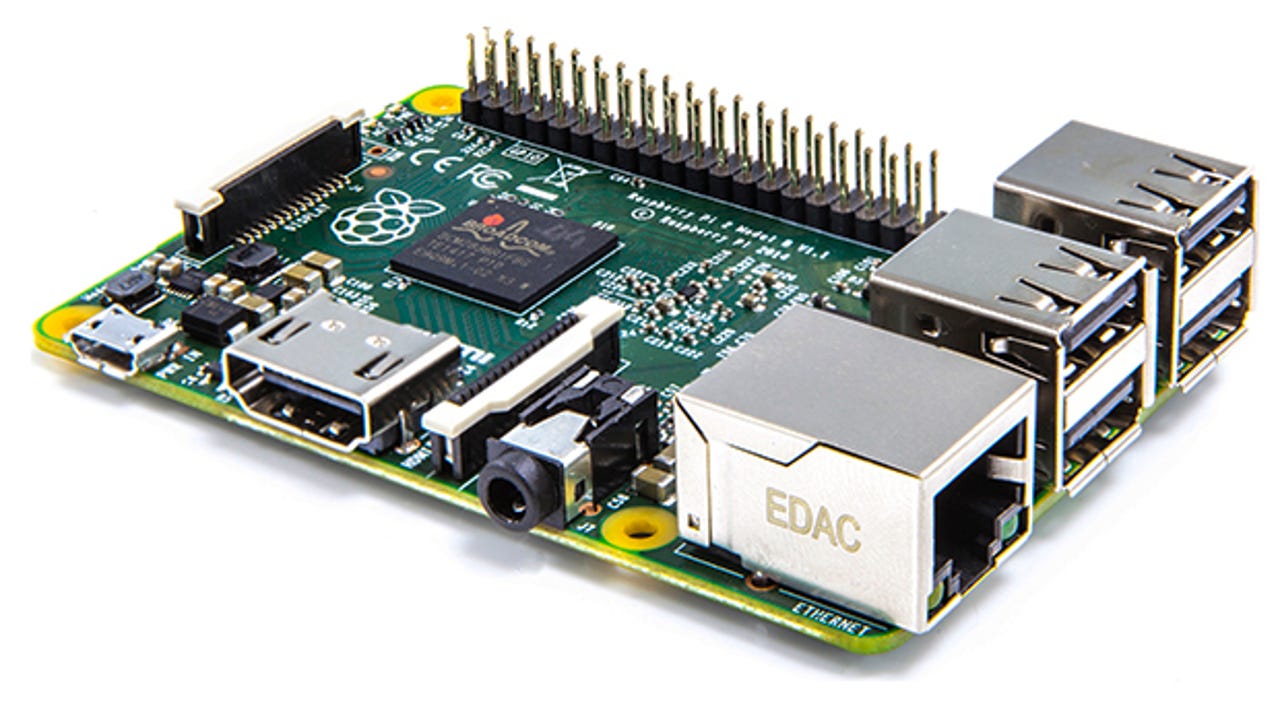
Tiny Core Linux now runs on the Raspberry Pi 1 and Pi 2 (pictured above) hardware.
This is going to be a tiny post (pun intended). The recent announcement of piCore Linux 7.0 caught my eye -- I have been meaning to try Tiny Core on the Raspberry Pi. The fact that they now have one distribution which will run on both Pi 1 and P 2 hardware was just the impetus I needed to actually download it and give it a try.
First, what is Tiny Core Linux? It is one part of The Core Project, which produces very, very small Linux distributions. Their smallest distribution is about 10MB, a size I haven't seen since the days when I was loading 7th Edition Unix on a Motorola 68000-based system. The distribution is modular, so it is easy to add extensions. It actually comes in three basic packages:
- Core, which is not much more than a Linux kernel and a minimal set of utilities, including a CLI interface.
- TinyCore, which is Core with graphics and a basic GUI interface.
- CorePlus, which is Core with a selection of window managers, a variety of common wireless network adapter drivers, and installation tools.
The Core family of distributions are not intended to be complete ready-to-use general purpose distributions. They are building blocks, or perhaps better described as the foundation onto which building blocks can be added, to create whatever kind of system you want.
The new release of piCore includes Linux kernel 4.1.13, which is quite recent, that's good. It also has SSH pre-installed and configured, and the SSH server starts on boot, so you can access the system remotely.
The piCore distribution is in the Core family, so it has only a command-line shell (CLI) interface, as I mention below during installation. The modular design makes it easy to add the GUI package and get a simple graphical desktop, as I also show below.
The piCore distribution image can be obtained as a 34MB ZIP file from their downloads page. This is not an installer, it is a raw SD card image of the installed system. All you have to do is unzip it, then copy it directly to an SD card using dd. You can then simply put the SD card into a Raspberry Pi and boot it. Kernels for both Pi CPU architectures are included in the image, and the boot configuration file will figure out which image to boot.
Because of the way the Raspberry Pi boots, the piCore image includes a small FAT32 filesystem with the actual boot images and such, followed by an ext4 filesystem where extensions, backups, user files and the like can be kept. This ext4 filesystem is initially very small, so that the distribution image can be written to very small SD card (as small as 512MB), but for a normal system with a typical SD card, you are probably going to want to increase that size.
There are instructions in the README file explaining how to do this after you have booted the piCore image, but if you are writing the SD on another Linux system, it is much easier to take care of this using gparted (or your favorite disk/parition management tool) before you boot piCore the first time.
Once you have dumped the raw image to an SD card, all you have to do is stick that in the Raspberry Pi (any model), and plug it in. There is no "installation" or installer program in the typical sense of other Linux distributions, and there is no "first run" script for configuration.
It boots fast -- very fast, even compared to Raspbian and especially compared to Ubuntu MATE - but it only comes up to a shell prompt. Depending on who you are, where you are, what you want and/or expect, and what you plan to do with piCore, your setup might be done at this point. But there are a number of limitations and restrictions:
- If you want a graphical user interface (GUI), you have to add the necessary extension, see below.
- The initial image only supports a wired network connection. If want or need wireless networking, you have to add the necessary extensions for your wireless adapter.
- piCore initially uses a compressed swap file in RAM, allocating 25% of the total memory to swap. If you need a bigger swap space, or you don't want to give up that much memory for swap, you need to create a swap partition on the SD card. This can also be easily taken care of while creating the card and expanding the ext4 partition above.
- The keyboard is assumed to be a US Ascii layout. If you have something else, you will have to adjust that accordingly, see below.
- Other system parameters, such as timezone, language and locale will have to be adjusted as necessary.
piCore boots entirely to RAM, and it actually unmounts the boot partition once it is running, so you can even remove or replace the SD card after booting if you want. That's pretty cool.
The most common next step is installing a GUI package. This turns out to be surprisingly easy, all you have to do is use the tce-load utility to install the TC.tcz extension:
tce-load -iw TC
Note that the extension name is upper-case, and this command is case-sensitive. The -iw options tell tce-load to download and install this extension, and to put it in the OnBoot list so that it will automatically be available in the future. After this command finishes, you can start the GUI with startx, or you can just reboot the Pi and it will come up with the GUI running.
piCore Linux 7.0
Well, I have to say that is pretty impressive. The Raspberry Pi running piCore is very fast. I'm pretty sure that is because piCore has eliminated the biggest bottleneck in ordinary use of the Raspberry Pi -- the SD card. By running only from RAM and unmounting the SD card after booting, piCore makes itself much faster other Linux distributions for the Raspberry Pi.
piCore is certainly not for everyone -- but then again neither is Tiny Core, or any of the other Core distributions, for that matter. piCore is intended for intermediate to advanced Linux users who want a solid base on which to build their own system, making it exactly what they want.
If you are interested in piCore, give it a try. It is dead easy to download and install, you should be able to have it up and running within 10 minutes. Be prepared to dig around on the web for information about piCore, don't forget to check the Wiki for more information, and don't be shy about asking for help and information in the Forums.
Good luck!
Read more about Linux and open source:
- How to customise your Linux desktop: MATE
- How to customise your Linux desktop: Cinnamon
- How to customise your Linux desktop: Xfce
- Hands-On with openSuSE Leap RC1: A walk through of the installer
- Hands-On: KaOS Linux 2015.10
- Thus versus Calamares: Comparing Manjaro 15.09 installers
- Upgrading my Linux-Windows multi-boot system to Windows 10
- Hands-On: Linux UEFI multi-boot, my way
- Hands-On: Linux UEFI multi-boot, part two