Ubuntu 15.10: A walk through the Ubiquity installer

The latest release of Ubuntu Linux has just come out, so it is time to continue my screen-shot walk through Linux installers. The Ubuntu installer is called Ubiquity, and as far as I know it has not been significantly changed in quite a long time, at least at the user interface level. So I don't expect to find any surprises here.
When you boot the Ubuntu Live media (USB or DVD), you will presented with the choice of either "Try Ubuntu without installing" or "Install Ubuntu". If you choose try without installing, it will boot to a fully functional Live system, and there is an "Install Ubuntu" icon on the desktop, so after poking around, checking that all your hardware is working and that you are satisfied with the new release, you can still install to your hard drive without having to reboot.
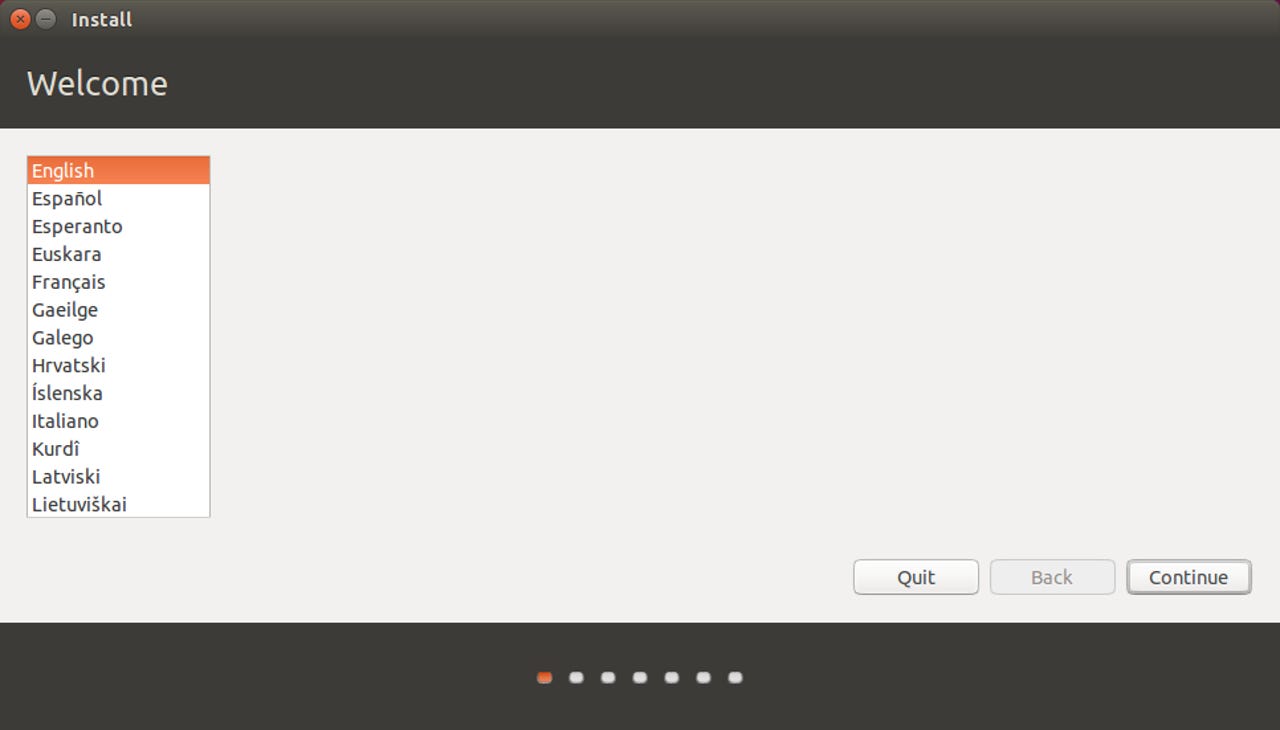
When you start the installation process, the first screen is a 'Welcome' and language selection. A little bit of graphic decoration would go a long way here, it seems to me. Whatever language you select will be used for the installation dialog and as the default language on the installed system.
Next up is the system status check. All three of these checks seem questionable to me, but I guess I see why they want to do it.
Is there enough free disk space? Well, first, with some of the highly partitioned disks that I have, I don't know how Ubiquity would know whether there was enough or not. On the other hand, for novice Linux users, even if there were not enough space what would they be expected to do about it? Why not just go on, and deal with this later, if necessary?
Is power connected? Well, I guess it's good as a reminder, but if I choose to do the installation without external power, or I don't have external power, then it's my choice: and in fact the installer doesn't actually try to do anything about it, if you have no power and still click 'Continue'it will not refuse, it will simply go on.
Finally, is there an internet connection. Who cares? The installation will complete normally without it, so why ask? Well, I guess there is a slight justification for this, because if there is an internet connection then you have the option to check the box to get the latest updates while installing. Thin ice, if you ask me...
The other thing on this screen is a check-box to tell Ubiquity to install certain non-free third-party packages. Sigh. Novice users will most likely not understand this. Experienced users will discover that even selecting this option does not get you everything that is in the "ubuntu-restricted-extras" package. So why ask this now? Again, these are questions which have been in Ubiquity for a very, very long time, and I think it's time that their presence be reconsidered.
The next screen can take quite some time to come up, especially if you have an extensively partitioned disk drive such as I have. Ubiquity examines the disk layout, and if it finds other operating systems already installed (Windows or other Linux distributions, usually) it offers to install alongside them, or wiping the disk and installing only Ubuntu, or letting you manually partition and specify the installation targets.I always choose "Something else", but for the majority of installations, either letting it figure out for itself how to install alongside, or just wiping the disk and installing only Ubuntu are going to be the best/most common selection.
When I choose "Something else", the next screen shows me the disk partition layout, and allows me to specify what/where to install - to some extent.In the absolute simplest case, all I need to do is specify a root (/) partition. That is what I will do here, telling Ubiquity to install to the existing Ubuntu 15.04 partition, and to format that partition before installing. If I wanted, I could specify other partition such as /home, /boot or others as well. But beyond that, things get a bit messy...
First, if you are installing on an MBR 'traditional boot' system, you can specify whether you want the bootloader installed to the MBR, or embedded in the beginning of the root filesystem. But if you are installing on a UEFI boot system, you can't specify the bootloader location, and that is really a shame. It would be a small change to make, and it can make life a lot easier in some cases. I have mentioned many times the name conflict between Ubuntu and Linux Mint UEFI installations, and that is one such case.
You also don't get to specify the swap space location, Ubiquity will simply take the first partition with type "linuxswap" for that. Less of a problem than the UEFI issue, but it can still be inconvenient. Choice and flexibility are always a good thing.
Anyway, when you have the disk partitioning the way you want it, click 'InstallNow' to kick off the installation process in the background. Meanwhile, you will walk through the last few installation/configuration screens. If you are very slow, or take a coffee/lunch/whatever break, the installation process might finish before you have completed the input screens. Not to worry, Ubiquity will then wait for you to catch up before completing the installation.
Whoops, I get a warning about the partitions which are going to be overwritten by this installation. I have to acknowledge this before the installation actually starts.Even this warning is not quite accurate, however. Although it says that it is going to format the swap area, it does not do that. This is only significant if you have other Linux distributions installed already, because they most likely mount the swap partition by UUID, and if it gets reformatted the UUID will change, and those other distributions will lose track of it - and in the case of PCLinuxOS and a couple of others, it will then take a minute or more longer to boot, while they wait for the swap to fail to mount. This is a problem with Debian, which really does format the swap area, so I am pleased that Ubuntu does not... although I wish it wouldn't say it is going to.
The next screen asks for your Time Zone:This is about as simple as it gets. No questions about GMT/Local time for the hardware clock, or about NTP (network time) synchronization. Unfortunately the text bar is not a drop-down list of possible values, and poor little Switzerland is particularly difficult to click on in the middle of that map. But eventually I found that if I started typing the name of the time zone, a matching list would be shown that I could choose from. The only trick is remembering if it is known as "Switzerland Time" or "Zürich" (with or without accent) or whatever.
The next screen is to select the keyboard map:Ubiquity will make an educated guess at the keyboard map based on your Time Zone input, and it will have already set that keymap at the time this screen comes up. There is a space where you can type in characters to see if the map is correct. For some cheap fun, try the 'Detect Keyboard Layout' function.
The last input screen is to specify the User Account and computer name.Ubiquity enforces some simple rules about the login name and computer name so that you don't create anything that is impossible to use. Note that there is nothing about a root account or root password here, because of Ubuntu's preference for sudo rather than root login.
After you finish the Account screen, you will join the installation in progress.Here you will get the usual propaganda slide show, with the installation progress bar running across the bottom of the screen.
When the installation has finished, you get a "Reboot now or later" window. As with the Welcome screen above, a little bit of graphic decoration would go a long way here...Ok, a few general words about the release. I have installed it so far on two systems, one MBR boot (Lenovo T400) and one UEFI (Aspire E11). Both installed and worked without incident. The Aspire is the one with the cranky Broadcom wi-fi adapter. I went through the Ubuntu 'Additional Drivers' function, and installed the proprietary Broadcom driver.
That's a lot easier than some of the other distributions I have on that laptop. Other than that, I still don't care much for Ubuntu, or specifically for the Unity desktop, so I don't have anything else to say.
More on Linux and open source:
- Hands-On with openSuSE Leap RC1: A walk through of the installer
- Hands-On: KaOS Linux 2015.10
- Thus versus Calamares: Comparing Manjaro 15.09 installers
- Upgrading my Linux-Windows multi-boot system to Windows 10
- Hands-On: Linux UEFI multi-boot, my way
- Hands-On: Linux UEFI multi-boot, part two
- Building a pre-release Linux testbed with openSuSE, Fedora, Ubuntu, and more