Windows 10 tip: Master advanced window-snapping techniques

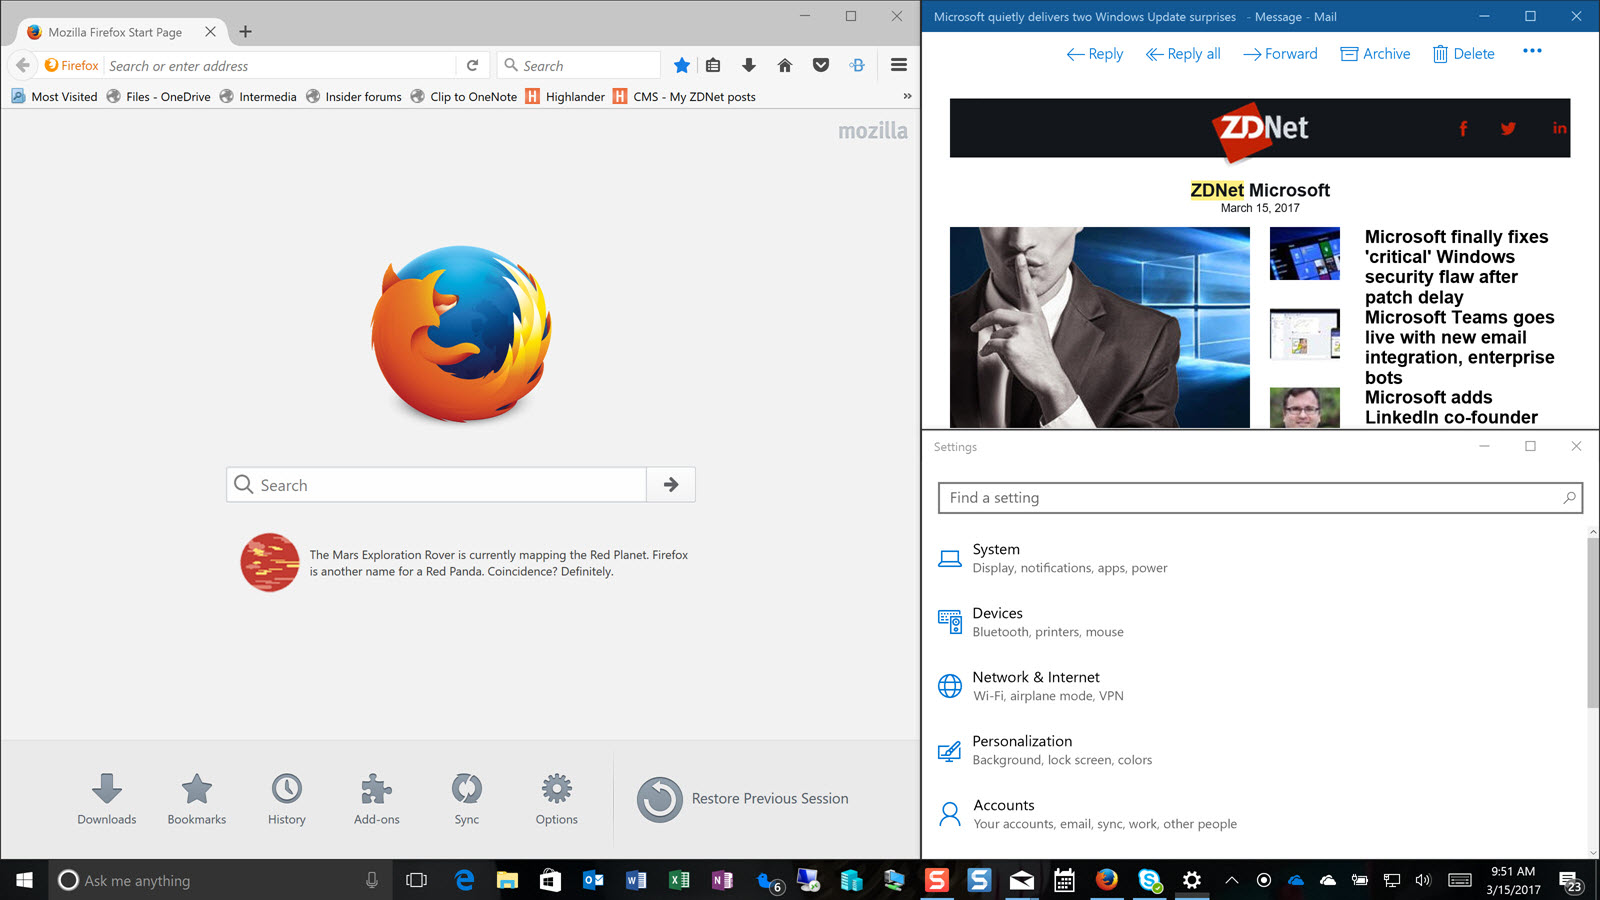
This example shows a wide snapped window on the left with two windows snapped to its right.
Everyone knows how to use the mouse to arrange two windows side by side, right? Point to the title bar of the first window, drag to the left, and release the mouse pointer when you hit the edge of the display. Then repeat the scenario with the second window on the right side.
Windows 10 makes that simple scenario even easier with the addition of a feature called Snap Assist. After you snap the first window, you can choose the second window from a list of thumbnails with no dragging required.
But there's no requirement that each snapped window occupy half the screen. After snapping two windows so they're arranged side by side, grab the separator bar between them and drag it left or right to make one window wider and the other narrower.
That trick's especially useful if you're working on a document and you want to devote most of your workspace to it while keeping a note-taking app in a narrow window alongside.
Want even more options? Drag any window to a corner to snap it to the top or bottom half of that side of the display. By combining those techniques, you can arrange three or even four windows automatically. If you've got a large enough desktop display, this is an ideal way to make your own dashboard for monitoring activity in a browser window while you work.
Previous tip: Temporarily delay the Creators Update
Next week: Another Windows 10 tip from Ed Bott
VIDEO: Windows 7 users are more exposed to ransomware, says Microsoft