Installing OpenSuSE on my netbook - how I did it

The Default Acer Windows 8 Desktop
My last few posts about UEFI and Secure Boot have resulted in quite a few requests for information and additional details about how I installed Linux on systems with UEFI BIOS and Secure Boot.
Here is a gallery of screen shots, walking through how I installed the recently released openSuSE 12.3 on my new Acer Aspire One 725. This system came preloaded with Windows 8 (64-bit), UEFI Bios, Secure Boot enabled, and a GPT-partitioned disk.
The Windows Disk Management Utility
My first step is to create some free space on the disk drive. Most of the major Linux installers are able to do this automatically if you let them, but I am a bit of a control freak (or a bit paranoid, depending on how you look at it), so I prefer to set up the disk exactly the way I want it in advance.
The most obvious way to free up some space is to reduce the size of the Windows C: partition. To do that, I could have used either the Windows Disk Management utility, or one of the Linux disk/partition manager programs such as gparted which I will show later as a typical example for Linux.
The Windows 8 Disk Management program can be reached through Control Panel / System and Security / Create and Format Hard Disk Partitions.
The display will be as shown above, but with the Windows C: partition filling all of the space between the EFI Boot partition and the Recovery partition.
I selected the C: partition by clicking on it in the partition list or in the graphic partition display, then went to the menu bar and choose Action / All Tasks / Shrink Volume. The program will take a bit of time to figure out how much it can shrink (this has something to do with "unmoveable files"), and it will then let you either accept the maximum shrink, or select some smaller value.
It will then take just a few minutes to actually shrink the partition, and the display will end up looking like the one above.
The Linux gparted Disk Partitioning Utility
The Linux gparted utility is one of the common alternatives for disk and partition management. It is included on a lot of Live CD/USB distributions, such as Debian, Ubuntu, Mint, and openSuSE.
It can be found through the menus, generally under "Administration" or some such, or by typing it in the menu/application search box.
The display is shown above, with the Windows C: partition already reduced. If I had wanted to reduce the partition, I'd just select it in the list or graphic, and then click the Resize/Move button on the icon bar.
That will pop up a window where you can enter the new size. Once the disk layout looks like the one shown above, you are ready to install openSuSE (or any of the most popular Linux distributions), as the installer will automatically allocate the necessary partitions for swap, root and home.
However, as I mentioned previously, I am a bit of a control freak, and I prefer to create the Linux partitions manually. So I take one more step with gparted.
gparted display after creating Linux partitions
Here I have created a linux-swap partition and an empty ext2 partition - the specific file system type is not important at this point, because it will be reformatted when the Linux root is installed to it. Now the disk is laid out the way I want it, and I am ready to boot the openSuSE Live USB.
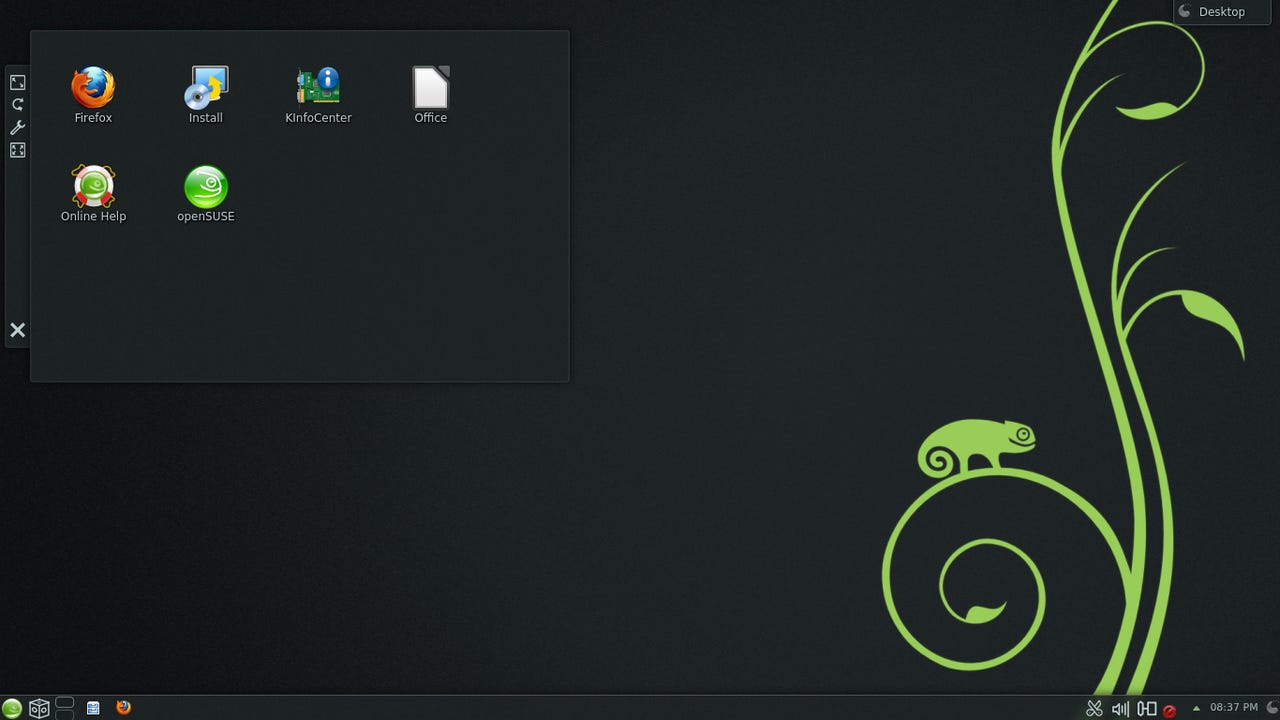
The openSuSE 12.3 KDE Live Desktop
The openSuSE Live ISO image is UEFI and Secure Boot compatible, so I don't need to change anything in the system BIOS to boot it.
Depending on the boot device priorities on your system, you may need to press the Boot Select key (variously ESC, F9, F12 or whatever) and then select the CD/DVD/USB device containing the openSuSE Live image. The installation process can then be started by selecting the Install icon on the desktop.
The openSuSE License & Keyboard selection
The first screen in the installation process lets you select the default language and keyboard layout, and accept the license agreement.
The language selected here will be used during the installation, and will be the default language of the installed system.
The keyboard selection will take effect immediately so you will have the correct key definitions for the rest of the installation process. Additional languages and keyboard layouts can be selected after the installed system is running.
The openSuSE Timezone & Clock definition
The next screen sets up the system clock. The time zone can be selected by first choosing the region and then the specific time zone from the drop-down lists, or by just clicking on the map. When the mouse cursor hovers on the map for a second or two, a pop-up shows its location.
Here you can also select how the hardware clock in the computer is kept – if dual-booting with Windows, the hardware clock will be kept in local time, but if you are running only Linux, you can select the check box to keep the clock in UTC.
openSuSE Suggested Partitioning
The next screen is the initial suggestion for disk paritioning, automatically determined by the openSuSE installation process. I mentioned at the beginning that most Linux distributions will do this automatically; if I had not manually shrunk the Windows C: partition, the Linux installer would have done that at this point also.
However, I have found that the installers are often overzealous in reducing Windows, leaving very little free space in the C: partition. This can, of course, be corrected at this point as well, but if I am going to have to monkey with the specific values anyway, I would rather just do it all in advance.
The installer will recognize the EFI Boot partition and set it to be mounted to the correct location, without reformatting. If there is a linux-swap partition already (as I created above), it will recognize and use that.
It will create new partitions for the root file system and home file system. The root will be allocated a minimum size, and the rest of the free space on the disk will be allocated to the home file system.
If you don't want or need a separate home file system, just un-check that box and the suggested layout will be updated, home will be removed and the free space will be added to the root file system.
More advanced users cal select btrfs for the root and home file systems rather then ext4, and can choose to use LVM disk management rather than traditional partitions (both of these are beyond the scope of this brief overview). For many users the suggested layout will be acceptable, but control freaks can click Edit Partition Setup to adjust it.
openSuSE Customized Partitioning
This is the control-freak path, actually several steps from the previous screen shot.
First I un-checked the box for a separate home partition, then I clicked Edit Partition Setup to get into the Expert Partitioner.
I then deleted the root partition from the suggested layout, and put root on the 64GB partition I had created with gparted earlier.
The installer had already found and used the swap partition I had created, and the EFI Boot partition, so there was nothing else to do for those.
Of course it is unusual to leave a huge unallocated area on the disk, but I will be installing other Linux distributions to this system, so I am leaving the space for that.
openSuSE confirm formatting query
Wow, how scary does that sound? This screen is shown because we have been into the Expert Partitioner, and on exit it found that we are using a partition that is not going to be formatted. In this case that is not a problem, it is exactly what we want because the partition in question is the EFI Boot partition, and if we formatted it we would lose the Windows boot information. I click Yes and move on to the next step.
openSuSE Partitioning Confirmation
This is the confirmation of the partitioning layout. Note that the root partition is shown in red as a warning, because it is formatting an existing partition (the one which I created with gparted before starting the installer), and it shows /dev/sda2 being mounted to /boot/efi without being formatted. Oh, and you can also see here that I cleared the Separate Home Partition check-box.
openSuSE User Account Creation
Here you define the first user account. The most interesting bit of this screen is the “Automatic Login” check box. By default, openSuSE will boot directly to the desktop of the user defined here. Remove the check on this box if you want it to boot to a Login screen and enforce password controls.
openSuSE Installer Summary Confirmation
This shows the one remaining "problem" with openSuSE installation on UEFI Boot systems. Booting will be done using "normal" Grub2, which is not what we want. This strikes me as a bit of a strange problem, since the installer has already seen, identified and configured the EFI Boot partition, but I suppose there is some technical reason that information is not being carried through to this screen. Click on the Booting header to get to the boot configuration screen and fix this.
Bootloader Selection & Configuration
This is the Boot Loader configuration screen. From the drop-down list, select GRUB2-EFI, then set the Enable Secure Boot check-box as appropriate for your needs.
The Installer Summary with Grub2-EFI Boot Configured
Now the summary screen shows the correct boot loader configuration. Click Install.
Final Confirmation Before openSuSE Installation Begins
One last confirmation that you really want to install... there's no going back after this.
openSuSE Installation Progress Display
The installation process takes about 10-15 minutes, and continuously updates this window to show what it is doing and how far along in the process it is.
Installation Complete - Reboot
When the installation is complete, you can reboot immediately, or go back the the Live system. When you reboot, you might be surprised to find that it still boots Windows, after all your hard work installing openSuSE. Welcome to the world of UEFI boot management. You will need to interrupt the boot process by pressing whatever the Boot Select key is for your system (ESC, F9, F12, or something else). That will get you a list which in this case should include two items for openSuSE, with and without Secure Boot.
If you have Secure Boot enabled on your system, you have to choose the Secure Boot item (duh), if it is not enabled you can choose either one. Getting it to boot openSuSE by default, or let you select between Windows and openSuSE is a subject for another time.