Unboxing the Nokia Lumia 1520

The following images are of the unboxing of a Nokia Lumia 1520 phablet ordered from Carphone Warehouse in the UK on a new Orange 24 month contract.
The box arrived in a standard delivery plastic bag. My Nokia Lumia 800 with its cracked screen is next to it to show relative size.
The box is large, measuring 6.75 inches x 3.75 inches. It is 2.4 inches high. My old Nokia with the broken screen alongside measures 4.75 inches x 2.5 inches.
The phone fills the whole of the box. It is huge compared to the 800!
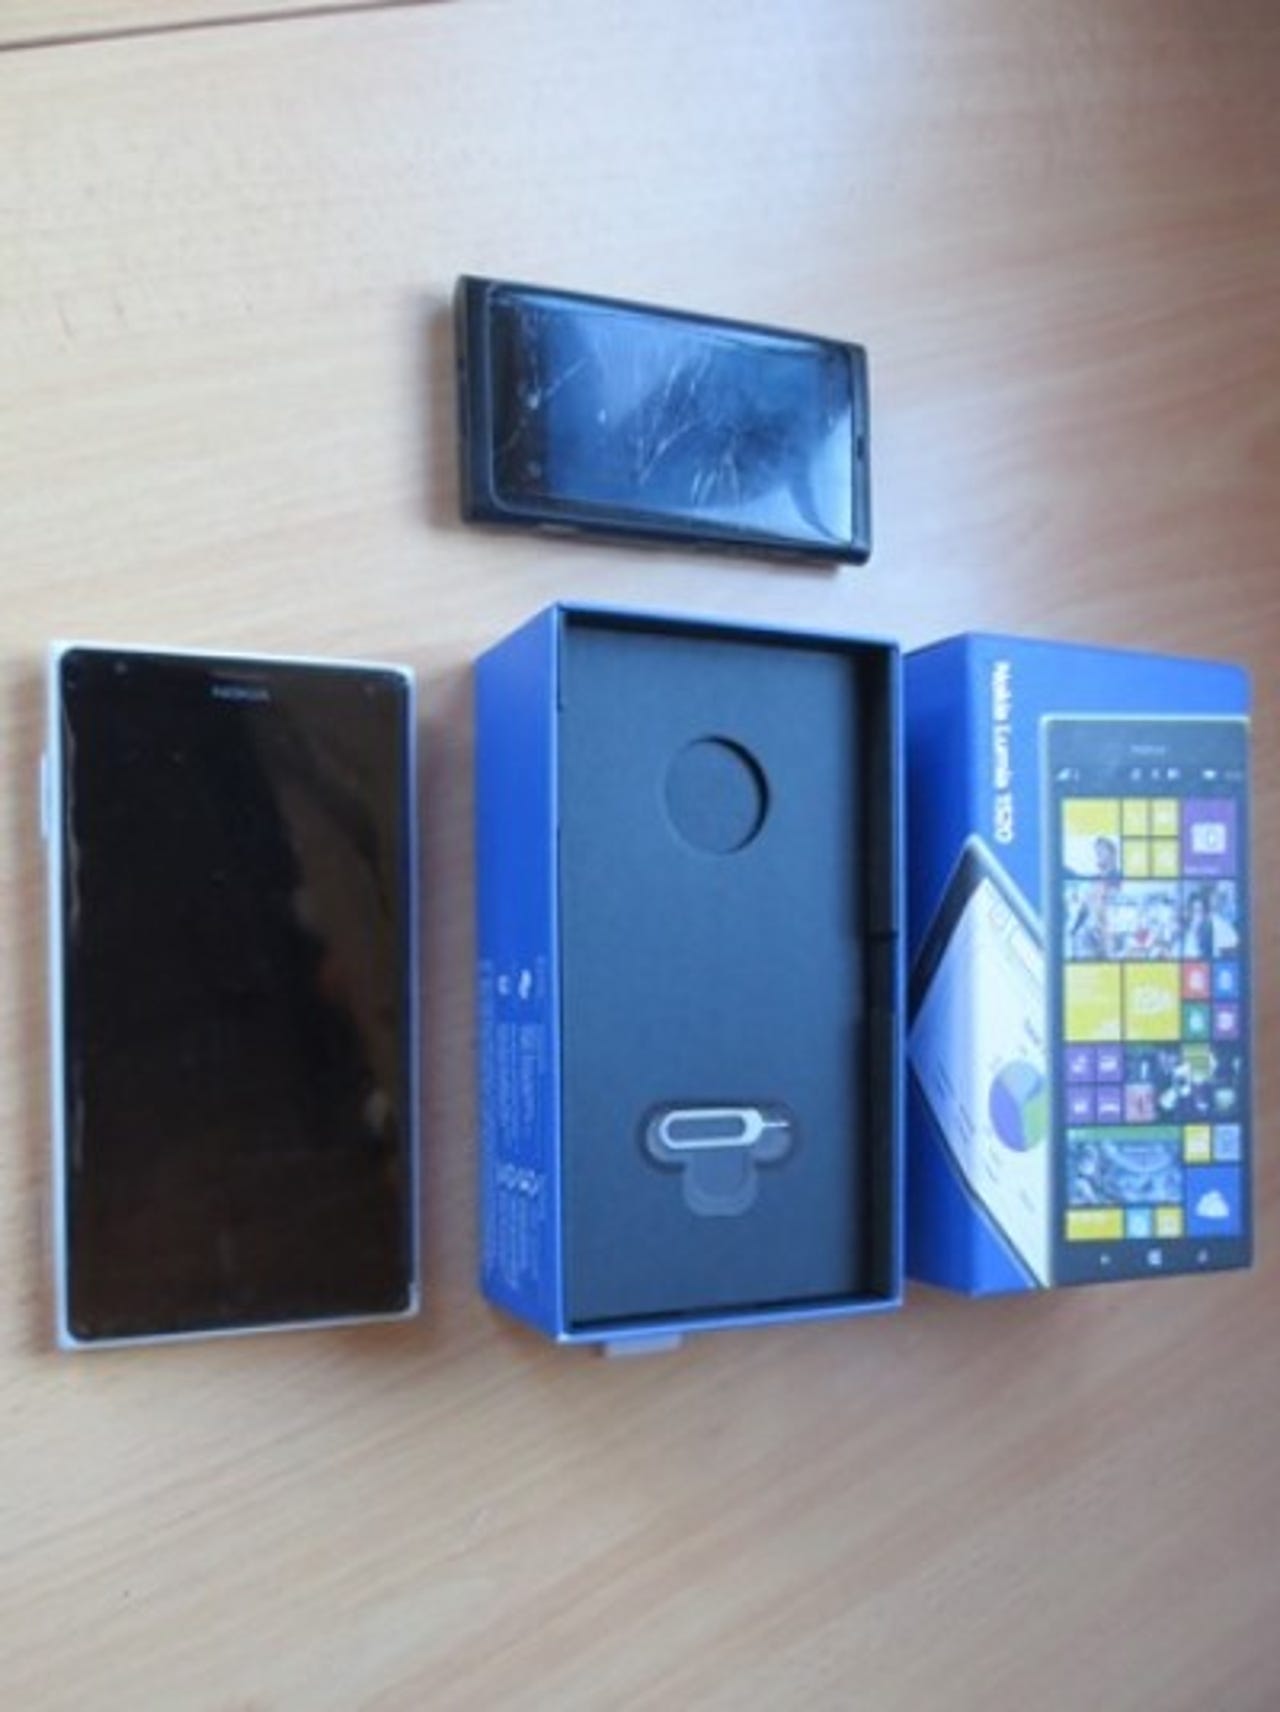
Out of the box. There is a card containing the SIM card extractor tool underneath the phone.
Inderneath the card there is another box containing the welcome booklet for the 1520. Underneath this are the charging cable and the headphones.
Everything is out of the box now. The Lumia 800 is there to show size comparison.
The back of the phone. It is white so I can find it in my handbag /purse. (Yellow or other colour options are not available in the UK). Most women ask for phones with colours other than black for this very reason according to the phone store. Device manufacturers take note...
There are three pairs of soft rubber ear buds as spares for the headphone. Great stuff Nokia. There is no soft rubber cover for the phone — unlike the 800. Not good.
The micro SIM from my Lumia 800 next to the new nano SIM or nano-UICC (Universal Integrated Circuit Card). This is tiny, only 12.3 x 8.8 x 0.67mm. The small paper clip is used for scale.
The nano-UICC in its holder ready for insertion into the phone. Small paper clip for scale.
The nano-UICC slot ready for the SIM card. The hole at the top of the phone is where the extractor tool is inserted to remove the cover for a memory card. I extracted the SIM by inserting the tool into the hole below the slot.
The default splash screen after the Nokia Lumia 1520 has been turned on. The display is crystal clear with a nice look and feel.
Swiping the screen starts the installation process and instructions to set up the phone.
Choosing the language.
Accepting the terms of use.
Configuring the phone with recommended or custom settings.
Choosing which settings to select.
Choosing time zone, correct date and time.
Connecting to WiFi.
Signing in with my Microsoft account to sync music, photos and SkyDrive (OneDrive) documents.
Choosing which options for backing up my data.
Almost ready to use the phone.
Now for the Nokia part of the build.
Setting up the Nokia Pro Camera.
The default home screen. The phone is now ready to use. I have a mobile phone signal and I am ready to go. The whole process from opening the package (and taking photos along the way) took under 15 minutes. My hotmail is syncing to my phone.
All I had to do was add the server name of my hosted exchange account to synchronise all of my contacts, emails and calendar items. I also need to spend time in the Windows store to see what apps are available for the phone.
This is the easiest and quickest Windows phone set up that I have ever experienced. I set up my first Windows mobile device in a corporate environment in early 2003. I'm impressed.
Two days later the only thing I had to configure was the answering service number at my provider. And days later, I still love this phablet. My only gripe is that when I hold the phone on a call with my right hand, my thumb touches the camera button and takes an image.
Apart from that gripe — this is the best device I have used for years. Nice one Nokia / Microsoft.