Getting started with the Dremel Laser Cutter: Before the beam

It's hard to believe we've been working with and exploring 3D printers for three years here on ZDNet. Before MakerBot sent me their early Replicator, I had never touched a 3D printer. That said, I was pretty jaded when it came to technology. I'd seen it all and done it all.
But when we queued up that very first print on the Replicator, and it extruded a doll-size table out of a string of plastic, I once again felt the excitement. This was living in the future.
Featured
Since that first print, I've introduced you to a bunch of 3D printers and we've done a bunch of 3D printing projects. We've seen how we can put that technology to work for genuinely useful projects. We've also printed a whole lot of Yoda heads (which I use as test prints and take-aways for visitors to the Fab Lab).
Now, it's time to start a whole new chapter. Over the past four or five months, I've been building and preparing the Fab Lab. We'll be continuing to explore 3D printers in depth, while expanding our desktop fabrication focus.
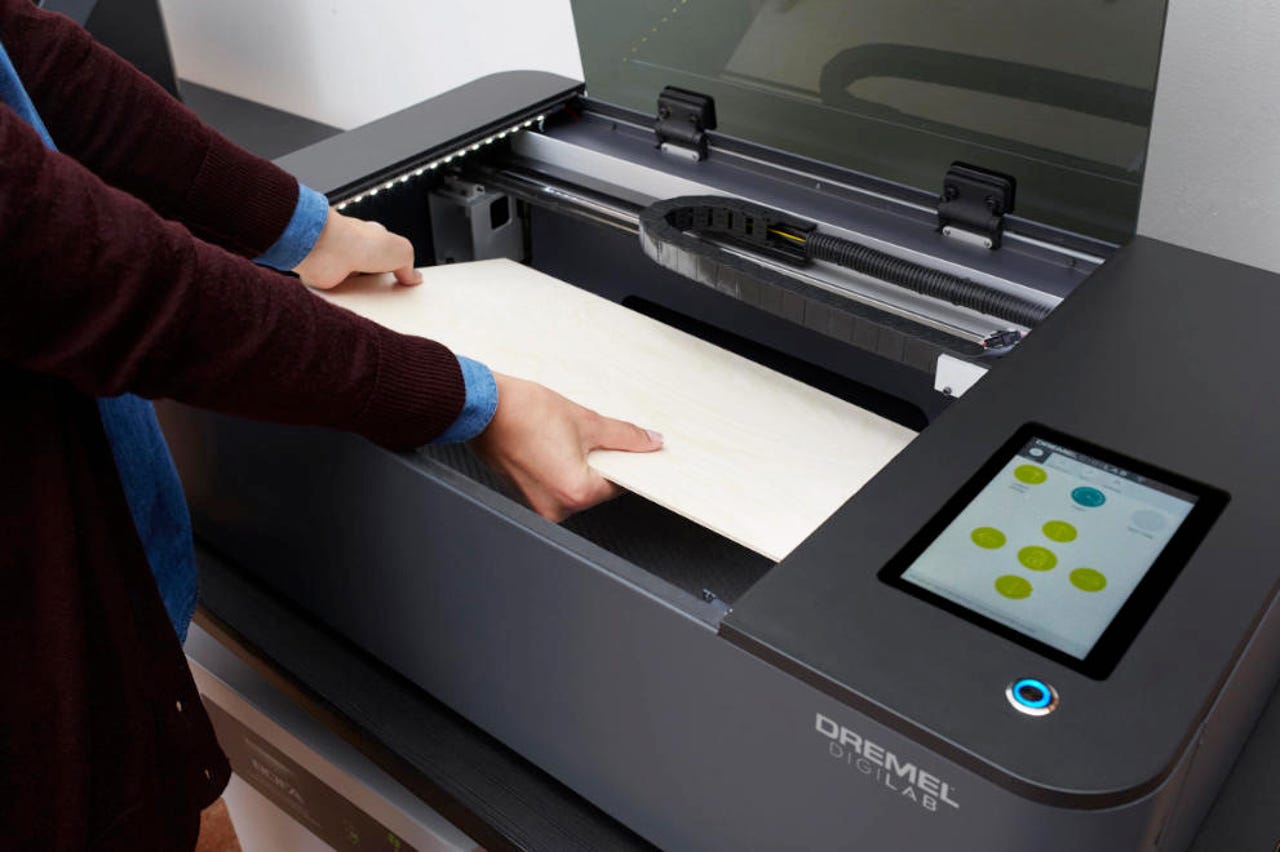
Dremel Laser Cutter
All that brings me to a new rising star of the Fab Lab, the Dremel Laser Cutter. This is a completely different technology from 3D printing and it can be used for completely different projects.
At its heart is a 40 watt laser. Yes, I will actually have a laser and it does actually cut things. [Pause while the author laughs maniacally and contemplates taking over the world. Laaaasers!]
In all seriousness, I'm taking this very slowly and very carefully. The laser cutter arrived on a shipping pallet. It took two of us to lift the device out of its box and put it on its cart. Stay tuned, because there will be a lot of video coming from laser cutting projects in the near future. For now, for safety's sake, I'm keeping the cameras off while getting set up and learning this machine.
Also: Laser-equipped drones capture epic 3D scan of hulking battleship
Speaking of safety, it's essential that the fumes from the laser cutter be vented outside. The Fab Lab has a window, but just hanging a hose out the window won't do. I've ordered a galvanized steel window dryer vent unit, with an aluminum backdraft dampener. When it arrives, I'll install it in the window, and this will allow the fumes from the laser cutter to vent properly.
It, in fact, is the last major component needed before firing up the first beam.
Before we move on, let's talk for a moment more about safety. One of the reasons I'm glad to be working with Dremel on this new series of articles is their attention to safety. The Dremel Digilab is the first UL-certified laser cutter in this desktop category. There are a variety of safety checks built into the unit, as well as into the software. It also has a special Hex Box cooling system that uses distilled water to keep things cool.
Additive vs. subtractive fabrication
3D printing is an additive process. Layer upon layer of plastic is extruded, slowly building up whatever object is being created. We create by adding material.
Laser cutters create by removing material. Parts are cut out of wood, leather, cloth, paper, and plastic by a frickin' laser beam. This cuts a small gap, called a kerf -- a term that will be familiar to most woodworkers. The laser kerf is generally about 0.1mm to 1mm in thickness, depending on the material and settings.
Also: 3D metal printing cheat sheet: Printers, print methods, materials, use cases TechRepublic
Laser cutters also engrave material, burning away from the surface of the material, but not cutting all the way through. As you might imagine, there's a lot of growing interest in laser cutters by folks in the awards, trophies, and signs business.
Both the cutting through and surface removal are subtractive processes, which is why we call this subtractive fabrication.
Laser cutter projects
Laser cutter projects are designed much differently than 3D printed projects. There are specific limits to the materials used and how thick you can cut. For example, for wood-based projects, everything has to be 1/4-inch thick or thinner.
If I wanted to make, say, a half-inch shelf using a laser cutter, I'd have to print two sheets, and glue them together. Everything is also cut at right angles. The laser cuts straight down, so mitre joints aren't easily producible. Instead, what you've probably seen are what are called "finger joints," lots of little square cuts that slot into other pieces of material.
Because the laser can cut very precisely, it can create a bend in wood (and probably plastic) that fascinates me. This is called a "living hinge" and, by the exact placement of a series of parallel cuts, it can make plywood flap and bend like cloth. I'm definitely going to walk you through some projects with living hinges.
Also: Cool tool: Hands-on with the Bosch GLM 50, an app-enabled laser measuring tool
I've been thinking a lot about the sorts of projects I'd like to try with you. Here are a list of some I have planned. I probably won't do all of them, and I'll probably add others, because as we come to know what works well, we'll modify our thinking and our approach. But in the meantime, here's what I'm hoping to work on (in no particular order).
Time-lapse platforms: I need a platform that comes out in front of the 3D printer carts to hold a camera for time-lapse photography. This would be ideal to cut out of 1/4 plywood.
Hologram on iPhone: By leaning bits of plastic in an inverted pyramid shape, it's possible to simulate a floating hologram with an iPhone. We're going to try our hand at making a mini holo-chamber for a phone.
ZDNet logo on pallet wood: I still have the pallet the laser cutter arrived on. It seems appropriate to use the wood from that pallet for some cool signs cut right on the laser cutter that traveled upon it.
Joinery with a laser cutter: Joinery, or the connecting of wood pieces, has unique properties with a laser cutter. We'll look at different approaches across projects.
Dado cutting with a laser cutter (is it possible?): A dado is a slot cut in wood. It's usually done with a table saw or a router. But we're going to see if it's possible to engrave deeply enough in plywood to make useful dados with the laser cutter.
Sanding wheel holder: I have a sanding wheel jig for my drill press, but the actual cylinders need a home. We're going to build one with the laser cutter and hang it on my pegboard.
SD card holder with labels: Because we all have so many.
Garden planting signs: My wife is excited to get out this spring and start planting herbs. We're going to look at different kinds of signs we can make with the laser cutter.
Spice rack: Speaking of wife-projects, we may look at how we can use the laser cutter to create kitchen organization items, like a spice rack.
Apple watch band: I have no idea if this is possible, but it might be worth a try.
On-air sign: This might be an ideal project for mixing wood and plastic laser cuts to build an illuminated sign.
Switch plates and outlet covers: With the level of beautiful detail possible with laser engraving, it might be possible to make some outstanding plates.
Living hinge projects: I mentioned this earlier. Not sure what we'll build, but one project I have in mind is a Mobius strip from plywood.
Workshop projects: I'd like to try using 1/4-inch plywood strips sideways with cross-lap joints to make strong slabs of wood material from many thin sheets, make some toolbox organizers from foam, and even look at multi-layer laminates.
Stay tuned and big thanks
These projects would not be possible without the support of companies like Dremel, MakerBot, LulzBot, and Ultimaker. I'd like to send a huge shout-out of thanks for their help in bringing you our ongoing series of discovery projects.
You can follow my day-to-day project updates on social media. Be sure to follow me on Twitter at @DavidGewirtz, on Facebook at Facebook.com/DavidGewirtz, on Instagram at Instagram.com/DavidGewirtz, and on YouTube at YouTube.com/DavidGewirtzTV.