How I create a blog entry

Even if I say so myself, I've managed to hone my blog-writing into a lean number of minimal of keystrokes, from which somebody may glean something useful. Maybe.
1. Come up with an idea. This is normally something that bugs you. Occasionally it is something uplifting and positive but not that often.
2. Fire up your trusty text editor (my favourites are Geany, Notepad++ and Smultron).
3. Write the blog entry using a lightweight markup language such as Markdown. This is easy to write and read, and beats the heck out of learning HTML.
4. Save your file; I prepend the 6 digit date (eg 091119 blog name.txt), so that the blog entries are in date order.

5. Find a nice picture. Using GIMP or another bitmap editor, make sure it's flattened and saved in a PNG format (this way the original doesn't loose any quality).
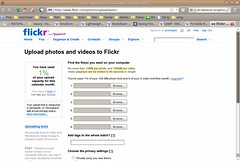
6. Upload it to a photo-hosting service. I use Flickr, and have a bookmark directly to the upload page. I also use a Firefox extension called SiteLauncher that uses keyboard shortcuts to launch web sites. Zoom.
7. Click on ALL SIZES and choose Small, the one which is 240 pixels wide.
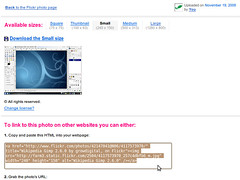
8. Copy the HTML for linking to the photo and paste it into your blog entry.
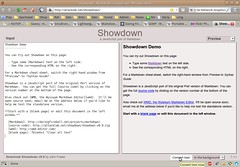
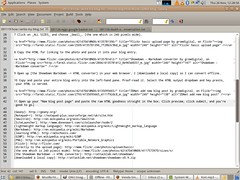
9. Open up the Showdown Markdown -> HTML converter in your web browser. I downloaded a local copy so I can convert offline.
10. Copy and paste your entire blog entry into the left-hand pane. Proof-read it. Select the HTML output dropdown and hey presto, your HTML is served.
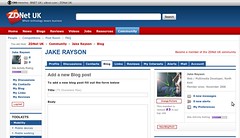
11. Open up your "New blog post page" and paste the raw HTML goodness straight in the box. Click preview, click submit, and you're good to go.