Installing Linux on your PC is super easy - here's how to do it

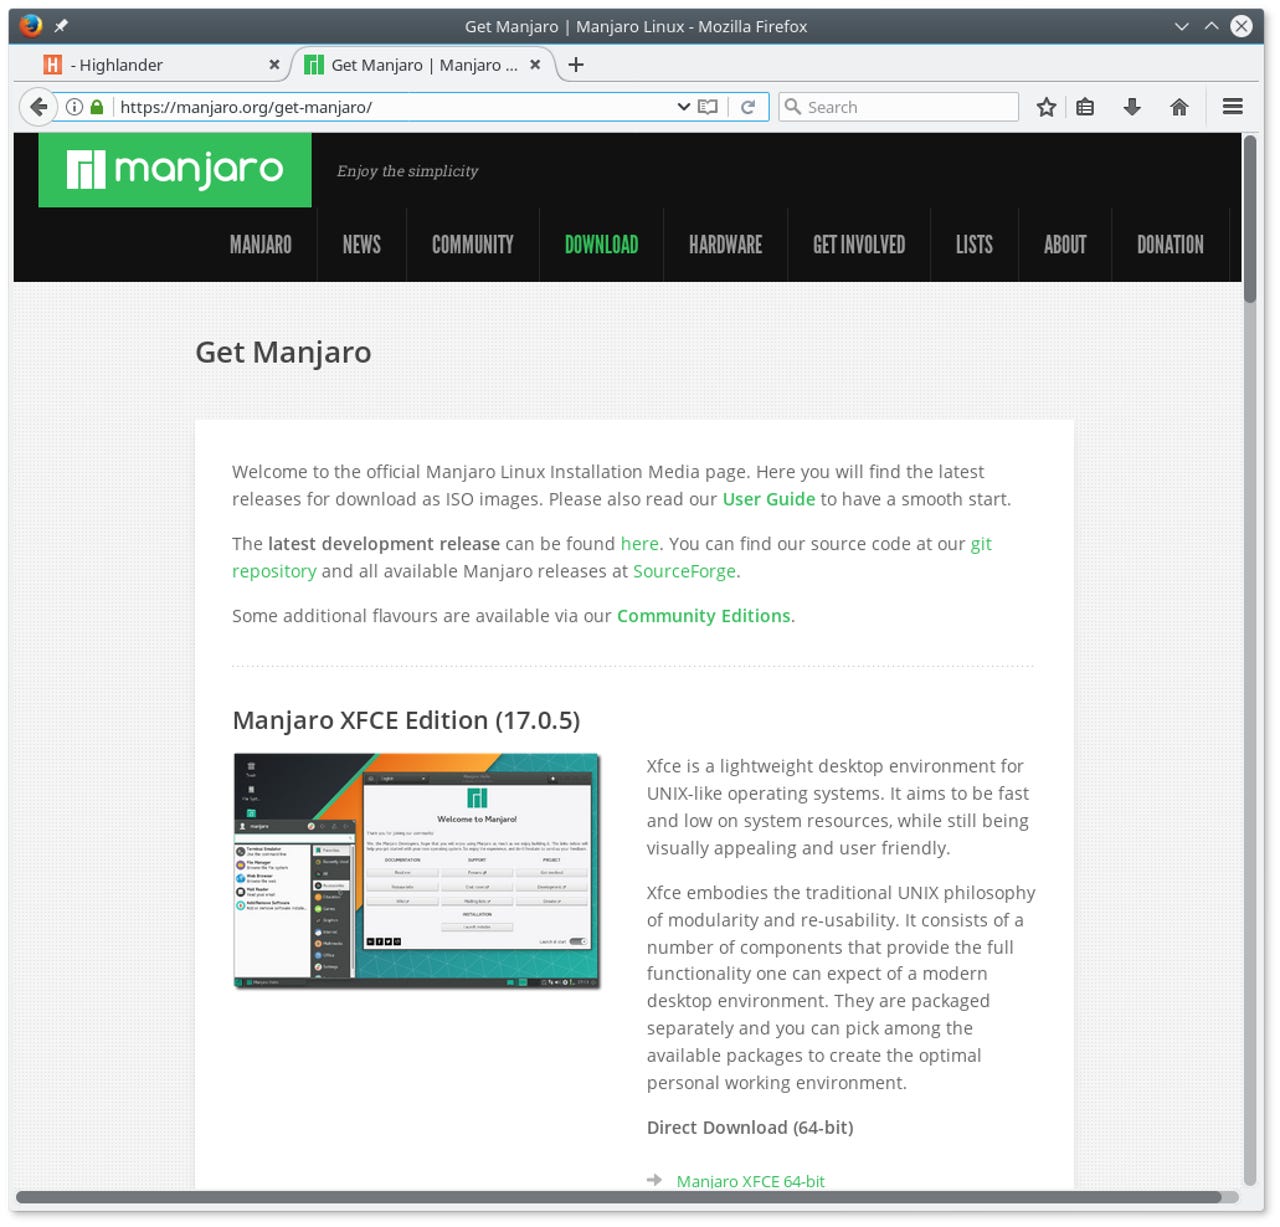
The 'Get Manjaro' page, where my experiment began.
The Manjaro Linux developers announced the release of version 17.0.5 last week. My objective today is to use this release to show that Linux can be installed from scratch, configured and used for everyday work without using command line (text console) access, and without having to download, compile, install or otherwise perform any manual tasks to install device drivers or other hardware support.
Best of all, the complete installation and configuration can be done in well under an hour!
First, I want to be absolutely clear about this, if you already have Manjaro Linux installed it is not necessary to reinstall from scratch with this new release. All you need to do is make sure that your system has all the latest patches and updates installed and you will in fact be running this new release.
The purpose of these new ISO images is to roll up all the updates and patches that have been made since the last Manjaro point release, and to update the installer itself to the latest version.
The first step in installing Manjaro Linux is to go to the Get Manjaro page (see above) and download the installation image. On this page you will find three different desktop versions: Xfce, KDE and Gnome - each with 32-bit and 64-bit architecture versions.
Please note that Manjaro 17.x is the last edition which will have 32-bit architecture release.
If you aren't familiar with Linux and the various desktop GUI versions, don't be intimidated by the choice here.
They are just different ways to arrange and access things like the start menu, desktop icons, the task bar and such.
As part of the installation process, in just a few minutes we will be booting and running a Live DVD/USB version of Manjaro, without making any changes at all to your computer. If you don't like the desktop GUI at that point, you can always just go back and download one of the others, and try it the same way.
If you are familiar with Linux desktops, there are a variety of other versions available in the Manjaro Community Releases section, including Cinnamon, Mate, Deepin, LXDE, LXQt, Deepin, Budgie and i3.
The next step is to copy the installation image that you just downloaded to either a blank DVD or a USB Flash drive, so that you can boot it and perform the installation. If you aren't familiar with how to do this, then while you are on the Get Manjaro page you can also download the Manjaro User Guide. This guide contains good examples and lists the specific tools which can be used for this on both Linux and Windows systems.
The next step is to simply boot the installation media that you just created. That will start the Manjaro Live system, and you will get a desktop that looks like this:
Manjaro 17.0.5 KDE Live Desktop
The exact appearance of the desktop will of course vary depending on which version you chose, but the basics will always be the same - a Welcome to Manjaro window, and a desktop icon for the Install Manjaro utility. Remember, there have been no changes made to your computer so far. This is the point where you can look around, try it out, look at the various documents in the Welcome to Manjaro window, try out the menus, run some applications and generally decide if you like this desktop.
Equally important, at this point you can see whether your computer and all of its hardware bits and pieces have been correctly recognized and configured and are working properly. If you have a wired Internet connection, it should just come up and work automatically. If you have a wireless connection, you should get a message on the desktop telling you that it is available, which you can then click to select and connect the network.
Once you are satisfied with all of this, you can start the installation by double-clicking the Install Manjaro icon on the desktop. This will bring up the Calamares installer, which starts with this screen:
Here you can choose the installation language - which will also be the default language of the installed system - and then click Next.
The next screen allows you to select your location:
You can select by either clicking on the world map, or by choosing the Region and Zone from the drop-down lists below the map.
When you have selected the correct location, click Next to continue to the keyboard selection screen:
Here you can select the specific keyboard language and layout that you are using. The diagram above the selection list shows the layout that you have chosen, and the input box below the selection gives you a place to test it to be sure all the keys are working as they should.
When you are satisfied with the keyboard definition, click Next to continue to the disk partitioning screen:
If you are new to Linux and all you want to do is create a dual-boot system so that you can choose between your existing operating system (Windows, for example) or Linux when you boot your computer, you simply have to choose the Install Alongside option. The installer will shrink your existing installation to make enough room to instal Manjaro Linux, and it will set up the bootloader so that it offers you a choice between the two operating systems. That's all there is to it!
After making your selection here, click Next to continue to the User Configuration screen:
In this screen you specify the full name, login name and password for the user account. You can also set a different administrator password if you want, or you can just tell the installer to use the same password for the administrator as for your user account.
When you have completed the User Account information, you are done with the installation dialog! Click Next to continue to the installation summary screen:
This screen summarizes the information you have given for the installation and initial configuration of the Manjaro Linux system. You can read through it to be sure that it is what you want.
When you are satisfied that it is correct, click Next to start the installation:
You will be asked one more time to confirm that you are ready for installation. This is the last point at which you can abort this process without having any changes made to your computer. Click Install Now to proceed.
While the installation is running, you will see a slide show about Manjaro Linux, with a status bar and text across the bottom of the window showing the progress of the installation. Don't get too comfortable here, because the installation typically takes less then 15 minutes!
When the installation is complete, you will see the all done screen:
At this point you can click the Restart Now box, and then Done, and your computer will reboot to the installed Manjaro Linux operating system. If for some reason you want to stay in the Live system, just leave the Restart Now box empty.
When the system reboots, it will come up to the default Manjaro Linux desktop - if you chose the KDE installation, it will look like this:
If you chose one of the other desktops, the details of the layout will be different but you will still see the Welcome to Manjaro window on the desktop. Again, you can explore all of the information and documentation of that window as you want. That window will come up each time you login, until you clear the Launch at start box at the bottom right corner of the window.
You can also see here that the Octopi update manager has already displayed a notice that there are updates available. The update manager starts automatically every time you boot, and is shown in the task bar as a pacman-like icon. In this case that icon is pulsing red, to let you know that there are updates available. All you need to do is click the notification, or right-click on the icon and choose System Update to open the update manager window.
The available updates are listed, along with the total number and size to be downloaded. You simply have to click Yes to start the update process. Installing these updates took less than 2 minutes on my system.
Returning to the Manjaro desktop after the updates have been installed, you may see that the Manjaro Settings Manager is informing you that there are additional language packages available for your installation.
Again, you can click on the notification or on the Manjaro Setting Manager icon in the task bar (the green Manjaro logo), to open the setting manager window:
In this window you simply have to click Install Packages and the settings manager will download and install the additional packages. It took less than a minute on my system.
There is one other thing I want to mention, and show an example of. Suppose you have some kind of external media that you want to use on your Linux system.
It could be a US flash drive, a CD/DVD (if your computer has an optical disk drive), a camera memory card, or whatever. All you have to do is plug it into the computer, or insert the optical disk in the drive, and a window similar to the one shown at right will come up.
If you just want to connect the media, so you can do something with it, all you have to do is click the arrow next to its name. If you want to browse it with the file manager, there is an option for that. If there are any kind of graphic image files or photos on the device, there will be an option to download them. If there are music files, there will be options added to this list to either play the music, or copy it to your music collection.
The point is, you don't have to do anything to access external media. You don't need to know about devices, partitions or whatever. You don't have to use the command line to mount the device. You just have to click to choose what you want to do. If you don't do anything at this point, and the Device Notifier pop-up goes away, you can always get it back later by clicking the icon for it, and you will still have the same choices.
That's it! The installation, updates, and initial configuration of Manjaro Linux is all done! When I did it on my desktop Acer All-In-One system, the entire process took less than 30 minutes, including creating the bootable USB stick, the reboot to the installed system, and installing the latest updates and language packages. If you are new to Linux, and you need to go carefully through each screen so that you can read and understand as much as possible, it should still be possible to do it in less than an hour.
If you are a regular reader of my blog, you have seen this process many times by now. I have repeated it again for one simple reason. There has been a lot of misinformation about Linux spewing around, claiming that you have to use console / command line / text / whatever commands for installation, configuration and administration of a Linux system. As you can see above, this is simply not true.
This entire installation process required about a dozen mouse-clicks. That's it. No magic, no secret commands (or secret handshake, or Dick Tracy code ring). No console. No shell. Nothing but mouse clicks, and typing the information for your user account and password.
I have something like 10 computers around the house, ranging from more than 10 years to less than 10 weeks old, and I have installed this Manjaro release on all of them. It recognized and configured every last bit of hardware on every last one of them. Not once did I have to do anything at all to find, install or configure drivers or other software for anything on any of them.
The basic applications are installed and ready to use as well. Firefox for web browsing. LibreOffice for common office applications. Multimedia players for music and video. Photo management and editing. Graphic editing. All available in the desktop menus, just a mouse click away - no command line necessary.
Of course there are thousands of other applications, packages and utilities available for Linux once you have it installed. They are available for you to browse, select, download and install in the software manager of whatever distribution you choose. There are different software managers for different distributions and desktops, but all of the popular distributions now have a GUI software manager utility, so there is certainly no need for command line access (or compiling, or configuring, or whatever) there either.
The moral of the story here is don't believe the garbage that is being spewed by self-declared "experts" about how difficult it is to install, configure, manage or use Linux.
For average, every-day users who want to do routine things with their computers, it's not difficult at all, as you can see above. When they come around with their wild, unsubstantiated claims about how difficult and dangerous Linux is, and how it requires complicated console commands, compiling drivers and applications and other such garbage, just ask for proof of those claims. Clear, concrete and current examples where that sort of thing was necessary. Then wait and see what the response is. Silence.
For this post I have installed Manjaro Linux, because there is a nice new release available that I wanted to talk about. But I could have done the same thing, with essentially the same results, with openSUSE, Fedora, Linux Mint, Ubuntu or pretty much any current, modern Linux distribution.
If you're interested in Linux, don't be afraid. Try it. I hope that you can see from the example installation above, it's not difficult, the Live system gives you the opportunity to see what it is going to look like and find out if it works properly with your computer before you install it, and the whole process will probably take less than an hour of your time. Enjoy!