First impressions with the Nike+ Fuelband fitness tracker

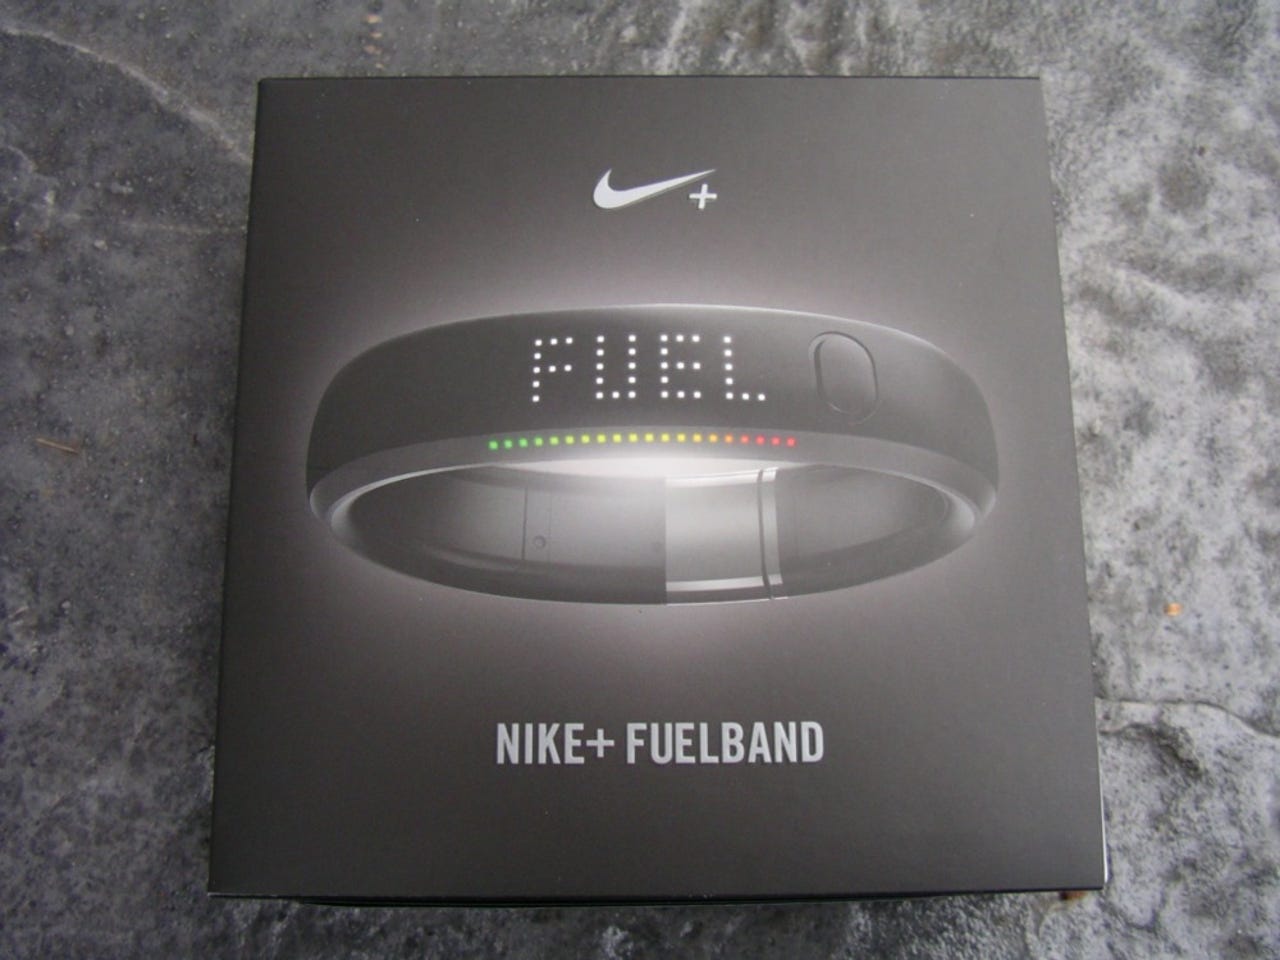
Fitness tracking devices are quite popular today and the latest device comes from Nike as the Fuelband. It is impossible to find this in any stores and occasional online sales sell out in minutes. I was able to score a large one for myself and just started using it today.
Check out my ZDNet Mobile Gadgeteer post with a video of the Fuelband and many more initial thoughts.
The back of the retail box shows a bit more of the Fuelband.
When you open up the box you will find your Fuelband on the right and other included accessories on the left.
Other pieces included in the retail box include the USB cable, mounting stand, long link, and link adjustment tool.
The Fuelband is removed by pressing in on the metal button found above the Nike+ logo.
As you open up the Fuelband you will see the end that goes into the securing mechanism is a USB plug too.
The USB connectors are found on the bottom side of the band.
On the front of the Fuelband you will find the activation button with an embedded display in the band.
The serial number and other information is found inside the band.
The Fuelband comes with the short link installed by default. I ended up removing it to get the proper fit.
The long link is included in the box along with a link removal tool.
Here you can see the Jawbone UP next to the Fuelband.
This view shows how the two fitness tracking bands secure on the wrist.
I now need to decide if I continue to wear my watch with the Fuelband. Since it does have a clock, it makes a watch a bit redundant.
The Fuelband connects to a dock, but you can also connect it directly to a computer USB port.
This close up shot shows the Fuelband dock.
There is desktop software for PCs and Macs. The first thing that popped up when I connected the Fuelband was a notice for a firmware update.
In addition to the desktop software, a link to the Nike+ Fuelband site is provided and walks you through different aspects. The desktop utility is primarily used to manage the band settings while the website lets you view stats and share it with others.
The Nike Connect utility has a few settings for you to manage. The first is to enter your personal profile.
The time and date are synced when you connect your device. Thankfully, you can also enable 24 hour mode.
The stats that appear on the display can be selected here.
Advanced settings include goal celebration settings and rotation settings.
You can change your daily goal as conditions change. I currently have mine set to 3000.
You can also setup your Fuelband through the Nike+ website.
The website daily goal page gives you some examples of typical goals to choose from.
You can join Nike+ for free and share your Fuel settings with others.
The final step is to charge up your Fuelband. Mine came charged about half way.
There is a four part tour in the utility too that gives you the basics about your Fuelband.
This slide tries to explain what Fuel scores mean.
This slide gives you an explanation of Nike+.
There is currently only a mobile app for iOS devices, but Nike stated that an Android app is under development.
This is a screenshot of the iPhone app and my current score that is synced up via Bluetooth.
The iPhone app shows different views of your stats too. As you can see day, week, month, and year stats are available.
You can also select and record your mood throughout the day.
Choose how your day was on your iPhone.
Nike+ Fuelband gallery 1
Nike+ Fuelband gallery 2