The 5 GIMP features I depend on most when editing images (and how I use them)

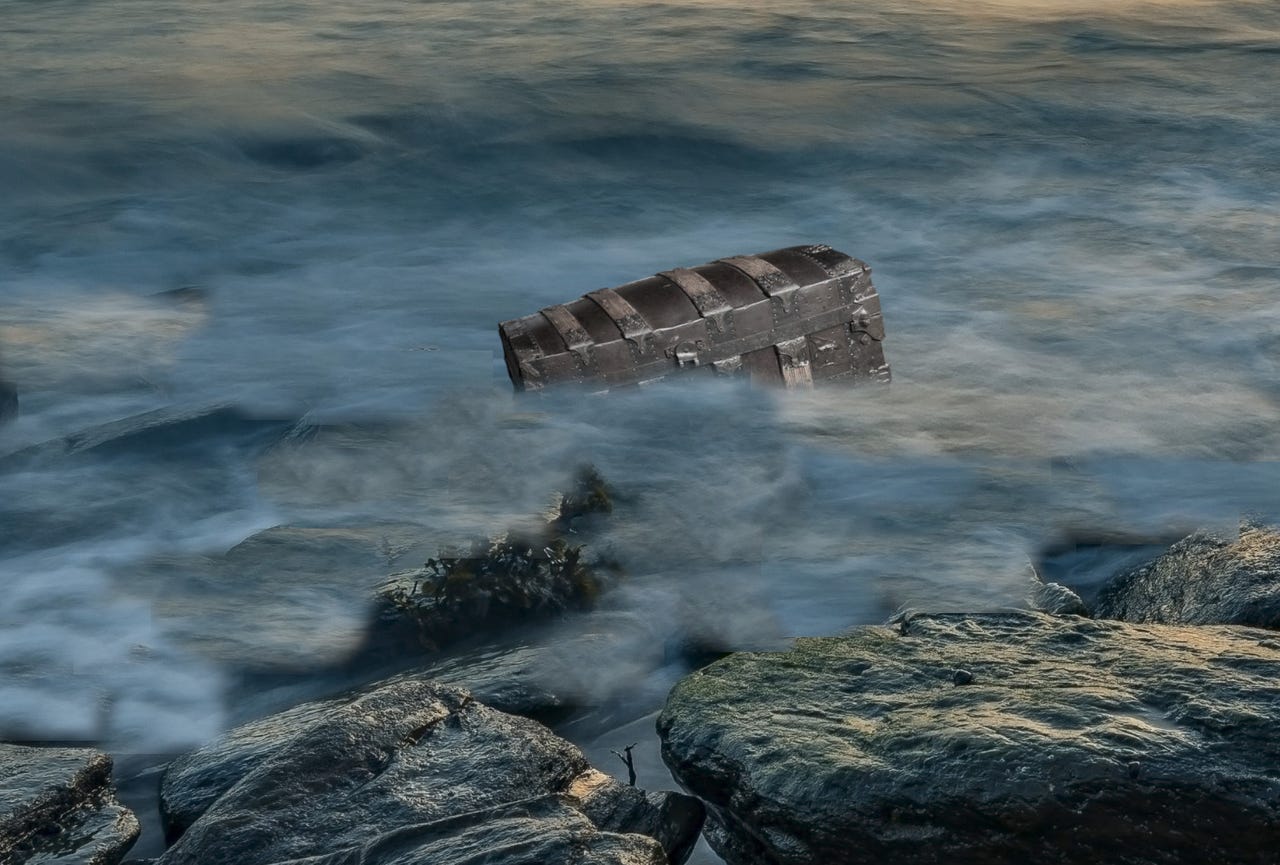
I used every feature listed below to create this portion of a book cover.
I've been using GIMP (GNU Image Manipulation Project) since its initial release (back in 1998) and it has served me very well. Thankfully, the app hasn't leaped into artificial intelligence (as I don't believe AI has any business in the creative arts) and has continued to be one of the most powerful image editors on the market.
I've never wanted a different application when I create book covers or have other image-editing requirements. But there are certain features I've depended on more than others to get my work done. Without these features, creating high-quality images would have been considerably more challenging.
Also: How to export images as PDFs in GIMP
GIMP contains a large number of handy features, but I've narrowed the list to five because these are the ones I depend on the most. I've also decided to avoid the obvious features, such as the eraser, text tool, paintbrush, etc. I've focused on tools you might not be aware of that can help take your creative works to the next level.
And with that said, let's get to the features.
1. Layers
Layers are essential. Without them, I wouldn't be able to do what I do. If you've never worked with layers, consider them as a way to stack slides on top of a base image, each of which might contain part of the base image or a completely different element. You can then edit each layer without affecting the ones beneath it.
Also: How to use Layers in the GIMP image editor
If you were to try and edit a complicated image without using layers, you'd very quickly realize how impossible it is. Layers can be assigned opacity, gradients, and other effects to create more dimensional work. One thing to keep in mind is that if you have a background image you want to use, and you want to edit that picture, you should create a solid color background layer underneath. As part of that process, you could add a gradient to the background image to give it a fade quality.
Layers are an absolute must for anyone trying to create something with depth and any level of complexity.
2. Layer masks
Layer masks are as essential as layers in GIMP. With layer masks, you can selectively modify the opacity/transparency of a layer. Remember above when I mentioned using the gradient to fade a layer (so you can reveal part of what lies beneath)? Well, that technique isn't possible without layer masks. There are two types of layer masks:
White - Full transparency
Black - Full opacity
For my purposes, I always create layer masks for full opacity and then adjust them as needed. To produce a layer mask, right-click a layer (in the layers box on the right sidebar) and select Add Layer Mask. After manipulating the layer, you must remember to apply the layer mask. For nearly every book cover I create, I use layer masks.
3. Gradient
For layering, the Gradient tool is the cherry on top. Gradient allows you to fade layers so they either reveal what is beneath or blend into what lies beneath. You can sometimes achieve the same effect using the Eraser tool and lowering the hardness to around 10-15, but Gradient makes it much easier with larger sections.
How to use Midjourney to generate amazing images and art
You can also change the colors, but fade a layer to reveal part of a background image. I find using white as the foreground color and black as the background color gives the best results.
4. G'Mic Qt
G'MIC Qt is a powerful collection of effects that makes it possible to manipulate your images (or layers) in such a way that combines multiple filters for a single effect. For example, you can add bokeh, and transform your image, so it looks like it's drawn with a felt pen or in the cubism style.
Also: What is G'MIC for GIMP and how do you use it?
There are also filters for arrays and tiles, artistic, black and white, colors, contours, deformations, degradations, details, frames, frequencies, layers, lights and shadows, and much more. You'll find hundreds of different looks in G'Mic Qt, each of which can be applied with a click. Also, almost every filter can be customized for your creation. G'Mic Qt isn't installed by default with GIMP, so you'll have to install it (for free) with your package manager of choice.
5. The Fuzzy Select tool
I don't use the Fuzzy Select tool with every image I create. But when I need the tool, there's nothing like it. Fuzzy Select allows you to select areas of a layer or image, based on similar color, unlike the Color Select tool, which chooses areas based on a single color. Fuzzy Select works by selecting an area of the image that contains variations of a color. Click an area and the Fuzzy Select tool selects a different portion of the image.
I recently used the Fuzzy Select tool when I created a book cover for a writer who wanted three different covers. Each cover used the same rocky beach scene. But the water rose from books one to three to cover more rocks. I used the Fuzzy Select tool to select portions of the ocean, pasted the selection into a new layer, and blended as needed. That approach was easier than copying a selection of ocean, adding a layer, and blending it with the eraser. The result was more natural looking by using Fuzzy Select.
I can't imagine getting the results I need without the above five GIMP features. If you work with GIMP and you're not using any of the above tools, I highly recommend you get to know how they work so you can take your image editing to the next level.