10 iPad tips and settings every Apple newbie and pro needs to know

If you just picked up a new iPad, are an avid iPad user, or you're helping someone else with their iPad, chances are you'll eventually find yourself in the Settings app. That magical gear icon is full of wonderment and mystery, allowing you to optimize the entire experience of your device with the flick/tap/swipe of a finger.
Also: The M4 iPad Pro's true potential will be realized at WWDC, and AI will have a lot to do with it
OK, I'm being a bit dramatic. We all know what the Settings app does, and on the iPad, it's instantly familiar to anyone who's used an iPad in the past five years. But what you might not know about are the most important, noteworthy, and downright essential settings everyone should be using. Sometimes, these settings expand beyond the Settings app, too, which can make them hard to find.
Never fear, dear reader. I've uncovered 10 settings you should adjust on your iPad to take better advantage of its big screen, powerful performance, and versatile software.
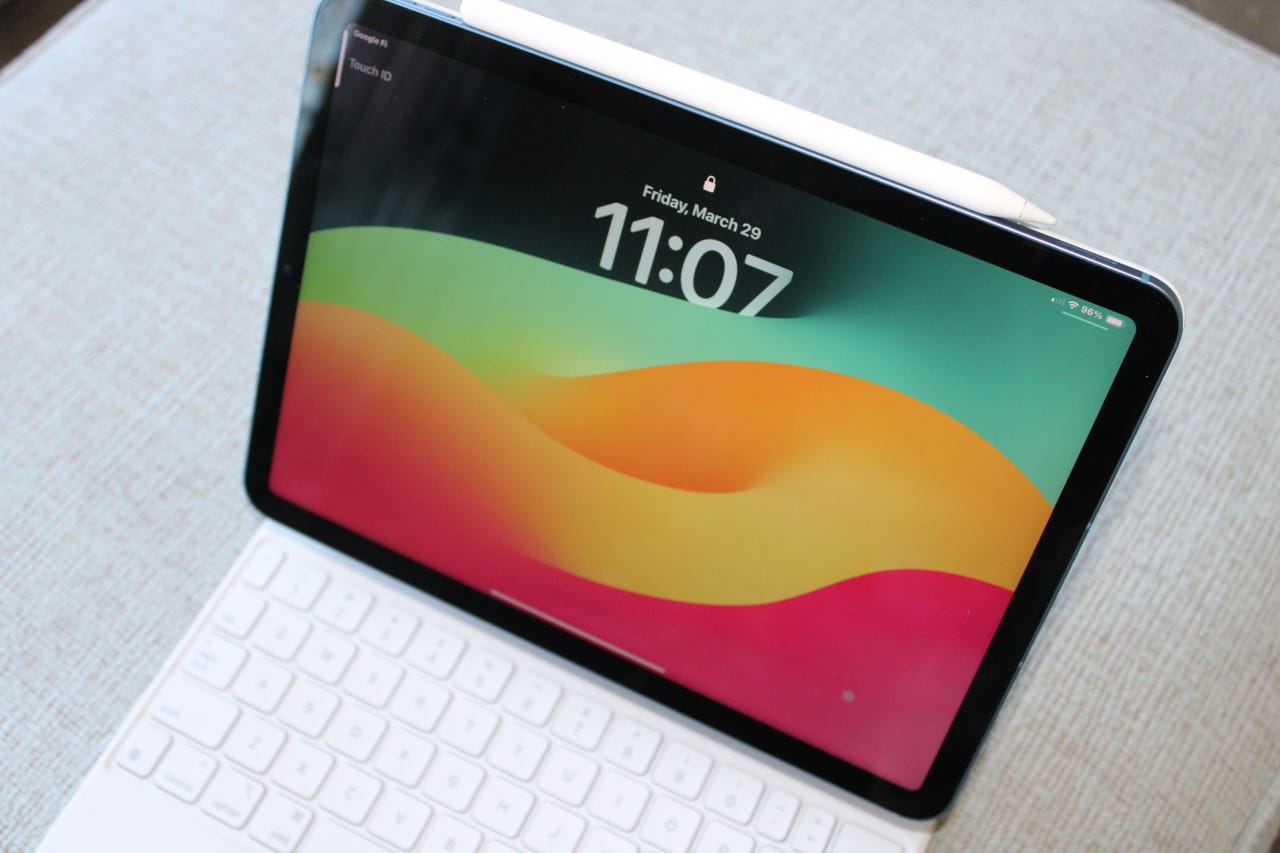
1. Customize your lock screen
In iPadOS 17, Apple added the ability to customize your iPad's lock screen, and it's one of the easiest ways to help the tablet reflect your personal style. You can alter the font, the wallpaper, and even add a few widgets to keep important information available at a glance. Personally, I have a nice serif font on my iPad with a weather widget and my to-do list, as well as an ocean background from Nomad (because I can't go a day without looking at the water).
How to: Wake up your iPad, unlock it, then press and hold on the lock screen. If you've used an iPhone in the past, you know exactly what to do next. Tap the "Customize" button and begin tweaking the lock screen to your liking.
2. Configure your focus settings
I kid you not: The Focus settings that Apple rolled out a few years ago might be some of my most-used settings of all time. For those unfamiliar, Focus modes are basically fancy Do Not Disturb profiles that can be enabled manually, automatically at a certain time of day, or even when you travel somewhere. They allow you to control which notifications you see, who can contact you, and more. It's helpful when you want certain notifications while at work and others while you're relaxing at home.
I have modes set up for sleeping, work, personal time, and general use. They're the perfect tool to lean on if you want more control over your notifications than just flicking on Do Not Disturb.
How to: Go to Settings > Focus on your iPad, and you'll find various options to set up a Focus mode for work, personal, fitness, mindfulness, and more. The interface will guide you through setting up your notification settings, which contacts can ping you, and more. Plus, once you've set it up, it'll sync automatically with your iPhone, Apple Watch, and Mac.
3. Turn on Stage Manager when you need more multitasking chops
If you use your iPad for work, one of the best features to take advantage of is Stage Manager. Introduced with iPadOS 16, the feature lets you organize all the apps you have open on the left, giving you easy access to call them over whenever you need them. Once you tap the one you want, it floats to the right and opens in a larger window.
You can customize the size of the window, bring up secondary apps in the same view, and even have a separate list of apps open on an external monitor (assuming you have a recent iPad Pro). It's a handy feature for when you want your iPad to feel more like a desktop computer.
Also: The best iPad models: Expert tested
How to: Swipe down on the top-right corner to access Control Center, then tap the Stage Manager button to activate it (it looks like a rectangle with three smaller rectangles next to it). Alternatively, you can go to Settings > Multitasking & Gestures and turn on Stage Manager from there. When you're done using it, you can choose either option to turn it off.
4. Save your eyes at night with Night Shift
Yes, I realize this setting doesn't actually protect your eyesight in the long run, nor is it a life-changing hack that everyone should use. But Night Shift on the iPad does make staring at your screen a bit easier when it's dark out, especially if you have to spend a lot of time staring at a text field (like me). I've felt less eye strain while using the setting at night; it helps to relax my mind a bit since all the colors are much warmer. It's worth giving a shot if you like to use your iPad at night.
Also: What iPad Pro's Tandem OLED tells us about future device screens
How to: Head to Settings > Display & Brightness > Night Shift. From there, you can manually turn it on, schedule it to turn on during certain times, and adjust how warm you want your display to turn.
5. Low Power Mode can quickly become your best friend
There's no doubt that iPads (especially some of the more recent models) have great battery life. My iPad cruises easily through a full day of use before conking out at bedtime. But that's only true if you limit the amount of heavy lifting you put your iPad through. If you're editing photos or videos, playing lots of games, or using it on a spotty Wi-Fi network for very long, it's going to die sooner than you expect.
Also: Why the iPad Mini is still the best iPad for me (and not the Air or Pro)
That's where Low Power Mode comes in. With Low Power Mode, your iPad will limit your screen brightness and refresh rate, disable features like background app refresh and iCloud photo syncing, limit visual effects, and more. These sacrifices will be well worth it, though, when you realize they can add another hour or two of endurance to your iPad -- all with the tap of a button.
How to: Swipe down from the top right corner to access Control Center, then tap the battery button to enable it. Your battery meter will then turn yellow, indicating that Low Power Mode is on. To disable it, follow the same steps.
6. Hide your notifications from prying eyes
Sometimes, you just want to keep the contents of your iPad's notifications to yourself, whether for work reasons or if you're planning a surprise party for someone and they see the email confirming the delivery of their birthday cake. On the iPad, it's easy to lock away your notifications and only make them visible once you've used your fingerprint or face to log in.
How to: Go to Settings > Notifications > Show Previews and change it from "Always" to "When Unlocked."
7. Split or float your keyboard
Unless you have an external keyboard, trying to type on the iPad is generally a hassle. It isn't like you can hold it up and type on it like you can your phone -- it's simply too big. Luckily, Apple includes a way to make typing easier on the iPad by splitting the keyboard in half. This floats one portion of the keyboard to the left and the other to the right, making it way easier to type without a physical keyboard.
If that's your bag, you can also shrink your keyboard and have it float on top of whatever you're doing. This makes the keyboard about the same size as an iPhone keyboard, and you can drag it to either side of the screen so you can type with just your thumb, or swipe to type like I do.
Also: The best iPad Pro keyboard cases you can buy: Expert tested
How to split: Go to Settings > General > Keyboard and tap on "Split Keyboard." Then, when you open an app where the keyboard presents itself, touch and hold on the keyboard button in the bottom right corner and slide your finger to the split option. Your keyboard will then divide in half on either side of the screen. You can follow the same steps in reverse to turn it off.
How to float: Open an app where the keyboard will pop up. Then, take two fingers and pinch the keyboard. This will cause it to shrink to iPhone-size. You can then drag it around the screen by touching and holding the gray bar on the bottom. When you want it to return to its normal size, just pinch outward on the keyboard.
8. Make sure your screen is refreshing as fast as possible
Every iPad Pro since 2018 has supported what Apple calls ProMotion, which increases your display's refresh rate and makes everything -- scrolling, animations, multitasking, and more -- look smoother. It's one of those features that you don't realize you want until you have it, and then you can never go back.
Of course, while the feature is enabled out of the box, there's always a chance you aren't taking advantage of it on your iPad Pro, and I wouldn't be doing my due diligence if I didn't ask you to check the setting.
How to: Head over to Settings > Accessibility > Motion and ensure that "Limit Refresh Rate" isn't enabled. If it is, your iPad's screen will remain locked to 60Hz, and who even uses 60Hz screens anymore?
9. Tweak the Control Center
I've always felt like the Control Center is slightly underrated for all the stuff it can do. Not only does it give you quick access to your Wi-Fi and Bluetooth settings, but you can customize it to your heart's delight with all sorts of life-simplifying shortcuts, from easy access to Shazam to starting a screen recording with the touch of a button. It can become a life-changing feature if you use it the right way.
How to: Go to Settings > Control Center on your iPad, and you'll find all the controls you can add and remove. To add a new one, tap the green plus icon and it'll move to the "Included Controls" section. From there, you can rearrange which controls are presented first by dragging the three-line button to the right and sliding up or down the list. If you want to remove a control, tap the red minus button and it'll go back to "More Controls."
10. Attention Awareness will keep the screen awake while you use it
Let's say you're reading an e-book or a feature piece on ZDNET.com (as one does), and you're taking your time reading each paragraph presented on your iPad's screen. After a while, your display can start to dim down and attempt to enter sleep mode. You can always lengthen the amount of time it takes to go to sleep, but for those who have an iPad Pro with Face ID, there's an even better way to manage this: Attention Awareness.
Also: The best reading tablets: Expert tested and recommended
Using the TrueDepth cameras, Attention Awareness can keep tabs on when you're looking at your iPad's screen and keep it awake until you look away. The feature will also lower the volume of alerts while you're looking so you aren't bombarded with a super-loud notification or FaceTime call. I use the feature all the time, and it's become one of my favorites.
How to: Go to Settings > Face ID & Password and sign in. From there, scroll down to the "Attention" section and flick on "Attention Awareness Features."