Better and safer than macOS Sierra's iCloud Optimized Storage: Using Dropbox to sync your Macs

One of Apple's signature features in macOS Sierra has been iCloud Optimized Storage, which is designed to allow you to keep your Mac documents and desktop in sync across computers. Unfortunately, it doesn't work reliably. In Jason Snell's excellent review, he described it as "So that's bad. That's enough for me to turn off that feature and never use it again." Famed OS X reviewer John Siracusa tweeted this:
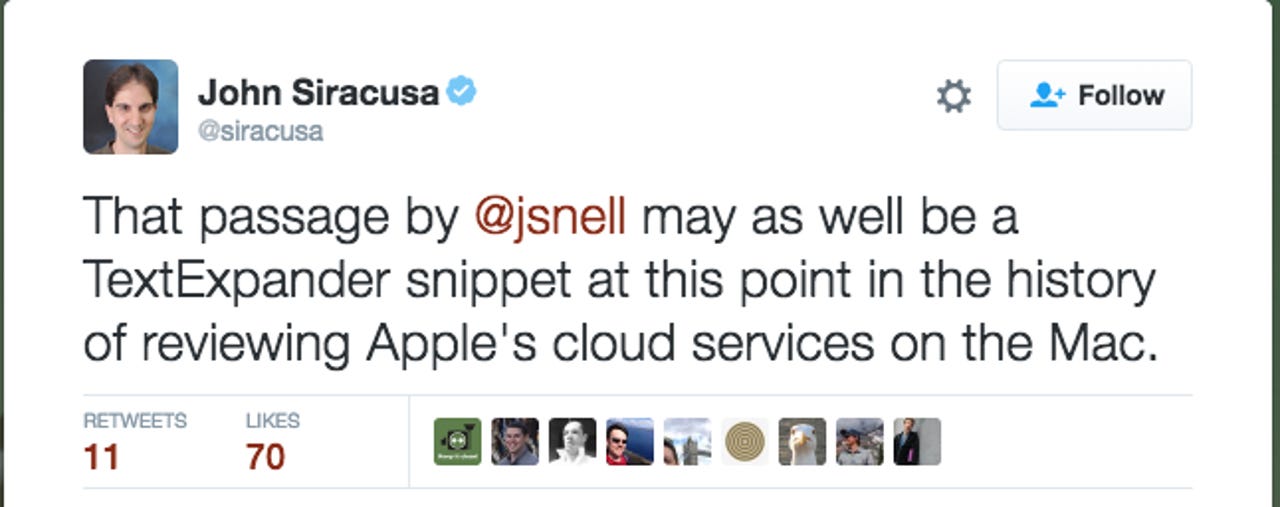
Siracusa on iCloud
All that doesn't mean you can't keep your Macs in sync. I've been doing that for more than a year now. I just don't use iCloud. I use Dropbox. I rely on it every day. It just works.
My only caution to you is that this requires a little care to set up. I take you through every step below, but be sure you've made a backup. There will be some careful thinking to consider as your files fling around between machines. Apple won't tell you this. They'll just tell you to turn on the feature. That's a mistake.
I predict we'll see a lot of complaints about people's files getting misplaced, because syncing directories between machines can get confusing. Take a few moments. Read the following directions carefully. If you follow my guide, you'll have a safe, reliable solution that far exceeds the limited and buggy release of iCloud Optimized Storage.
I have three Macs that I jump between all day long. There's the monster four-monitor iMac at my desk, a Mac mini used mostly for development at the side of my couch, and my MacBook Pro.
While I use a lot of cloud-based services like Gmail and Evernote that keep much of my work in sync, I found that I wanted more continuity between my various Macs. If I dropped something on the iMac's desktop and then started working on the MacBook Pro, I wanted to be able to access that file without extra steps.
The same applied to my Documents folder and Downloads folder. After all, if I just downloaded something on the Mac mini, why shouldn't I be able to just pick it up and install it on the MacBook Pro?
This kind of dynamic syncing is something you'd think iCloud would do, and it does -- to a point. First, iCloud Drive is very optimized for iOS device syncing, which is not something I care about. I want desktop productivity more than mobile connectivity.
Dropbox gives me the advantages of being able to sync other folders (like my Desktop and Downloads), and it also gives me the ability to share my files on my Windows machines.
Another huge advantage of Dropbox is I get automatic versioning. Dropbox saves all deleted and previous versions of files for 30 days, so if I want to go back to a previous version, I have an easy way to do it. You can also buy extended versioning from Dropbox, but since I do daily backups anyway, I didn't see the need to purchase it.
This feature came in handy shortly after I implemented Dropbox as my primary file management tool. I'll let my Twitter post from that day explain how helpful it was:
To make this possible, I had to upgrade Dropbox to the 1TB level. Dropbox is $9.99 a month, but I got what amounted to two months of Dropbox free by paying the $99 yearly fee.
The downside of the Dropbox solution is that setup requires a little more technical work, including dropping into the command line. But hey, you're IT pros. You can handle it.
Here's how to do it
You can use this process for each folder you Dropboxify on just your first computer. For this step-by-step, I'll use the Documents folder as an example. Before you get started, make a backup. You could screw this up, and it would be ugly. It's important you pay attention to this: this step should happen only on your first computer.
More great project ideas
Close all your applications. It's probably best to reboot your Mac and do this right after reboot, taking care that any of your launch-on-boot applications aren't ones that open documents in the folders you're working with.
Copy your Documents folder to your Dropbox folder. At this point, you should have all your files in both folders. Keep in mind you'll be duplicating files, so make sure you have enough storage space on your Mac before you do it.
Double-check that you did a backup. Now, check again. Carefully recall the process you took to make a backup so you're sure you made a backup. You did make a backup, didn't you?
Open Terminal and then delete your Documents folder using the command:
sudo rm -rf ~/Documents
The sudo command is "superuser do" which elevates your access level to root, the -r option removes the contents of the directory recursively (in other words, all folders underneath). The -f option forces files to be removed without prompting. And, of course, ~/Documents tells the command to go to your home directory and remove that Documents folder.
Next, with Terminal still open, you'll want to create a symlink (roughly like an alias) that points any requests for Documents in your user folder to the Documents folder in Dropbox. Here's the command for that:
ln -s ~/Dropbox/Documents ~/Documents
You can probably do this with your current access level, but if you get a failure error, put sudo in front of the above command line. Here's what's happening:
The ln command tells the Mac to link a file. The -s option means create a symbolic link. The symbolic link is considered a "soft link" in that it links using the named path. Hard links in POSIX operating systems use actual physical file locations and tend to be less forgiving of system changes.
The next two elements of the command are the source (~/Dropbox/Documents) and the destination (~/Documents). When you use this command, you create a link at ~/Documents that points to the ~/Dropbox/Documents folder. As far as OS X file access functions and all your applications are concerned, they're still accessing ~/Documents, but in reality, all your files are stored in your Dropbox folder.
Rippling the change across computers
The way I made this work across all three computers was I did the above process on one machine first (my desktop iMac). I waited until all the files moved to the Dropbox folder had propagated to the cloud by making sure all the little folder indicators were green.
One thing I didn't point out earlier helps justify using Dropbox in this scenario. Dropbox is smart enough to sync files across a LAN when they're on the same subnet, so if you work on a monster video file on one machine, it doesn't have to go all the way to the cloud to get to a machine across the room. It will sync to the cloud, but local machines have access to the files much faster.
In any case though, after moving the first folder on the first machine to Dropbox, it's much safer just to give it some time to settle.
I then waited a little more time and then checked my two other machines. I waited until both machines had received their copies of the iMac's shared Documents folder in their Dropbox folders. It's also important to backup those machines as well. Backup. Backup. BACK THE FRAK UP!
WARNING: Do not delete your other folders yet!
Before you delete and link on your other machines, it's important to take a moment and think things through. Using the Documents folder as an example, you may have files in your home Documents folder that were not in the Documents folder of the initiating machine.
At this point, it's very, very important to compare your home Documents folder (and the others you'll eventually set up) with the Dropbox Documents folder and move anything from your home documents folder into your Dropbox folder that you'll want to preserve.
Remember, you're only going to have one Documents folder from now on, so you want to move all those straggler files and folders into the one master folder, which is in your Dropbox.
Once you've done this necessary bit of housekeeping, use the rm command shown above to delete your home folder's Documents file. Once you've deleted your ~/Documents, then repeat the ln command shown above.
Make sure to hand check your folders for each machine and each folder you're adding to the sync set. This extra bit of attention will prevent tears later on.
Folders you should not sync
This strategy works well for somewhat static files. Don't try it with your Applications folders or your Library folders. It just won't work. You'll need to install your applications on each individual machine.
My experience and future improvements
I've been using Dropbox to keep my working folders in sync for about six months, and it's worked like a charm. The only limitation I've found is that I can't easily keep my development environment in sync (the files synchronize, but there are issues with the database). I'm still working on a way to allow me to jump from machine to machine and code without interruption, but I'm not there yet.
Stay tuned.
This article was updated from an article originally published on November 9, 2015.
By the way, I'm doing more updates on Twitter and Facebook than ever before. Be sure to follow me on Twitter at @DavidGewirtz and on Facebook at Facebook.com/DavidGewirtz.