Raspberry Pi: Unpacking the latest Raspbian release

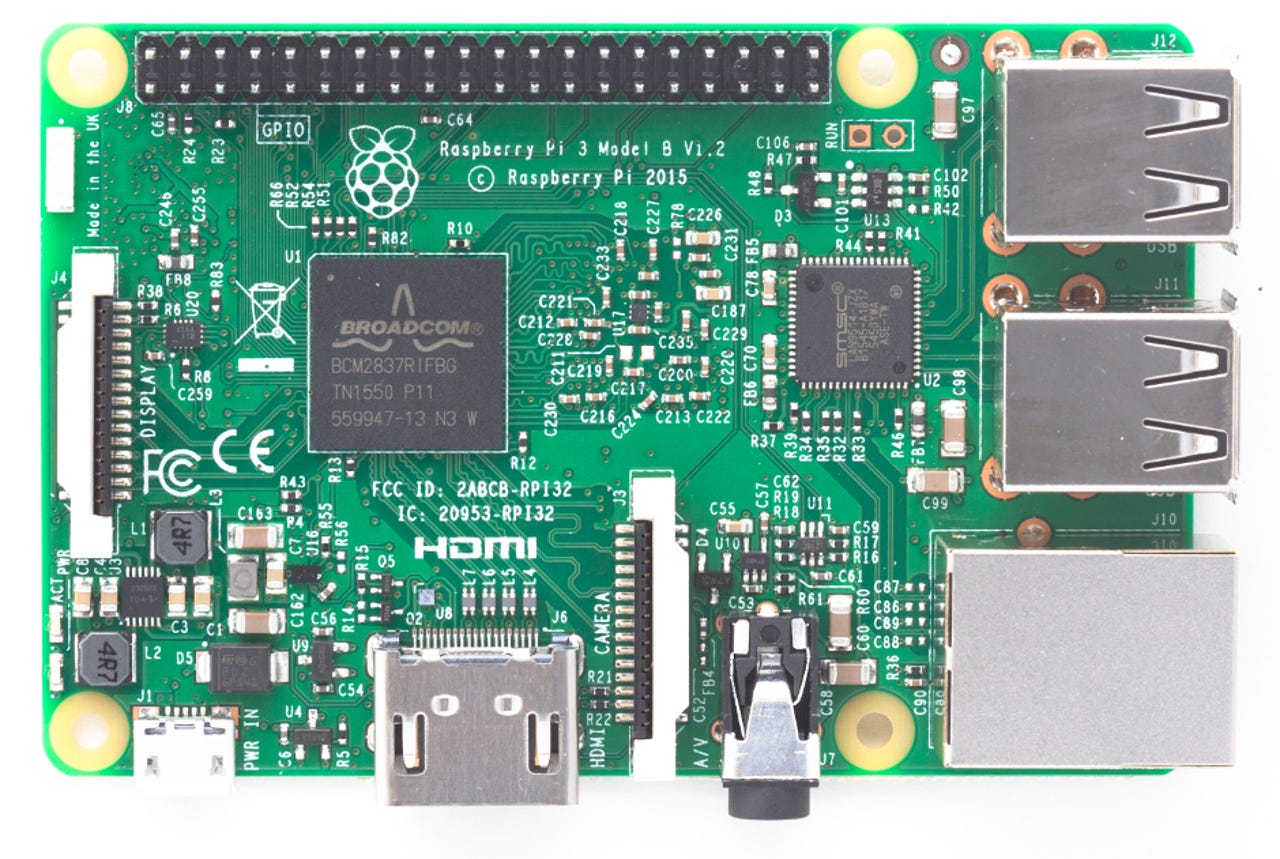
The Raspberry Pi 3.
The past few weeks have been full of interesting new releases and announcements for the Raspberry Pi. Over the next few posts I hope to cover most of them, including:
- A new release of Raspbian GNU/Linux (and the NOOBS installer)
- A new release of Manjaro ARM for the Raspberry Pi
- A new release of Ubuntu MATE for the Raspberry Pi
- A new higher-resolution camera module
- An updated Raspberry Pi Zero, with a camera connection
Wow, that really is a lot, so I had better get busy! First up, the new Raspbian (and NOOBS) release. This is something I have been waiting for since the Raspberry Pi 3 was announced, because it was obvious that there was still more work to be done to properly support the new hardware. The release announcement from the Raspberry Pi blog outlines the significant changes in the new Raspbian release.
As always, this release is available as a simple Raspbian GNU/Linux image, or in the NOOBS installer package. If you use the simple Raspbian image (as I do), you will find there is a nice change to the installer, it will automatically extend the root partition to use all available space on the SD card the first time you boot it.
With all of the interest and activity around the special Manjaro ARM, Ubuntu MATE and other common Linux ports to the Raspberry Pi 2 and 3, it is easy to forget that the same Raspbian distribution is compatible with every model of Raspberry Pi. To illustrate this, not only have I used the same release on all models, I actually used the same SD card. After booting and testing the new release in a Pi 3, I then moved that micro-SD card to my Pi 2, Pi Model B+, Pi Zero, and then using a micro-to-full-size SD adapter, I put it in the original Pi Model B.
This Raspbian release includes the one change which I have been waiting anxiously for since the Pi 3 was announced - improved Bluetooth support. The Pi 3 includes a built-in WiFi and Bluetooth adapter, but the Raspbian support for it has been somewhat limited - it worked if you tried hard enough, as I explained in a previous post, but it was a lot more tedious than it should have been. For this release Simon Long has added proper desktop support for Bluetooth connections, and it works very well.
The first thing you will notice when you boot the new release on a Pi 3 is that the Bluetooth icon will appear on the top panel, as shown here. The blue icon indicates that the Bluetooth adapter is present and working. If you boot this release in any earlier model Raspberry Pi, the icon will be grey, indicating that no Bluetooth adapter is present. Bluetooth support is not limited to the Pi 3 built-in adapter, of course; if you plug in a USB Bluetooth adapter on any of the other Pi models, Raspbian will detect and configure it, and the icon will change to blue indicating that it is ready to use.
Clicking on the Bluetooth icon will bring up the connection management menu shown here. The most common choice at this point will be Add Device, so that you can connect a keyboard, mouse or whatever. If you want to initiate a connection from another device, such as a smart phone, you will need to make the Pi Bluetooth Discoverable temporarily.
When you select Add Device, you will be presented with a list like this, showing all of the Bluetooth devices within range which are open to connections. For a device such as a keyboard or mouse you will have to press the Connect button to get it into pairing mode so that it shows up here; others like my Bluetooth printer shown here are always visible.
Selecting a device from the list and clicking Pair initiates the connection process, as indicated by the message shown here. It make take 10-15 seconds for the pairing to complete.
Once the pairing is complete, the process goes on to figure out what kind of device is connected, and what Bluetooth service(s) it needs to be connected to - HID for a keyboard or mouse, Audio services for Bluetooth speakers, and so on. This is all done automatically, so you just have to wait while this message is displayed.
When the service has been associated with the device, the connection is complete and you will get this message. The Bluetooth device is then ready to use - it's as easy as that!
Simon Long explains in the release notes that after looking at the existing Bluetooth GUIs (such as Blueman) he decided to create a new implementation specifically for Raspbian. That was a brave decision, because something like this requires a good bit of relatively complex work, so I am pleased to see this result. It is not only functionally solid - I never had a problem with it, even when moving the card between different Pi models and different Bluetooth adapters - but it is also easy to understand and use.
There are a number of other updates and improvements in the new Raspbian release. One that many people are likely to be very pleased with is the addition of the Geany text editor. Gnarly old Unix/Linux dinosaurs such as myself are always happy with vi, but even I can't deny that Geany has a lot of really nice features.
Another useful addition to this release is an SD Card copy utility - and what is extra nice about this one is that it will copy between SD cards of different sizes. Of course it requires that you have an external USB/SD Card adapter, but those are pretty much as cheap as chips these days, and in fact the Kingston micro-SD cards I have been buying recently even include a simple USB adapter.
It is also very nice that this utility will copy either "native" Raspbian cards or NOOBS cards. Maybe having this utility available will lessen one of the chronic problems that I have seen in among Raspberry Pi users - the lack of adequate and frequent backups. This utility creates an identical copy of your running SD card; if you need to recover some specific files or directories you can just put the copy back in the USB adapter and get what you need, but if something goes seriously wrong and your SD card gets corrupted (or is defective), you can just put the copy into your Raspberry Pi and boot it, and you're ready to go again.
The one thing you need to be aware of, and careful about, is that this utility will completely overwrite the destination SD card, thus destroying whatever was previously on it. Make sure that this is what you want before you make a copy, because discovering it too late would be a very unpleasant experience.
Updating an existing Raspbian installation, rather than installing from scratch, is not quite as easy this time as it has been for most previous releases, because there are a number of new packages in this release. In addition to the usual apt-get update/ apt-get dist-upgrade you have to install a number of new packages. The release notes include the package list.
So, with the latest Raspbian release running nicely, my next task will be to try out the new Manjaro-ARM release. My favorite distribution, on my favorite hardware! It should be fun!
Read more on the Raspberry Pi 3
- More hands-on with the Raspberry Pi 3: Bluetooth, OpenELEC, and Ubuntu MATE
- Raspberry Pi 3: The inside story from the new $35 computer's creator
- Raspberry Pi 3 photos: A closer look at the new board
- Photos of the Raspberry Pi through the ages: From the prototype to Pi 3
- Why Android and even Windows might make it onto the Raspberry Pi 3
- Raspberry Pi 3 out now: Still $35 but up to 50 percent faster