'ZDNET Recommends': What exactly does it mean?
ZDNET's recommendations are based on many hours of testing, research, and comparison shopping. We gather data from the best available sources, including vendor and retailer listings as well as other relevant and independent reviews sites. And we pore over customer reviews to find out what matters to real people who already own and use the products and services we’re assessing.
When you click through from our site to a retailer and buy a product or service, we may earn affiliate commissions. This helps support our work, but does not affect what we cover or how, and it does not affect the price you pay. Neither ZDNET nor the author are compensated for these independent reviews. Indeed, we follow strict guidelines that ensure our editorial content is never influenced by advertisers.
ZDNET's editorial team writes on behalf of you, our reader. Our goal is to deliver the most accurate information and the most knowledgeable advice possible in order to help you make smarter buying decisions on tech gear and a wide array of products and services. Our editors thoroughly review and fact-check every article to ensure that our content meets the highest standards. If we have made an error or published misleading information, we will correct or clarify the article. If you see inaccuracies in our content, please report the mistake via this form.
The fastest way to transfer your MacBook data is easier than you'd think

In recent years, the volume of data on my MacBook Pro has skyrocketed. I do my best to manage it, consistently transferring data to the NAS (network-attached storage) after I'm finished using it. But still, my MacBook is home to close to a terabyte of data, mostly videos that I need to edit.
Also: Here's the best way to transfer large files between your laptop and desktop
This is not normally a problem, but the other day I upgraded to a new MacBook Pro – faster processor, more RAM, and more storage space – and at this point, even with all this storage, managing the data has become a headache.
See, normally when I was moving to a new Mac, I'd fire up Apple's Migration Assistant, connect both Macs to the same Wi-Fi network, and let them do their thing. But this time, it was going to take the Macs almost 20 hours to complete, and I'm sorry, but that's just way too long.
That's when I realized that there's a better way. And all you need is a Thunderbolt cable.
I have quite a few, with my favorite being Apple's Thunderbolt 4 Pro cable, but you don't need a cable that costs close to $200, and you can make do with something like the Anker Thunderbolt 4 cable, which you can currently get for under $30.
Also: What is Thunderbolt, and how is it different from USB-C?
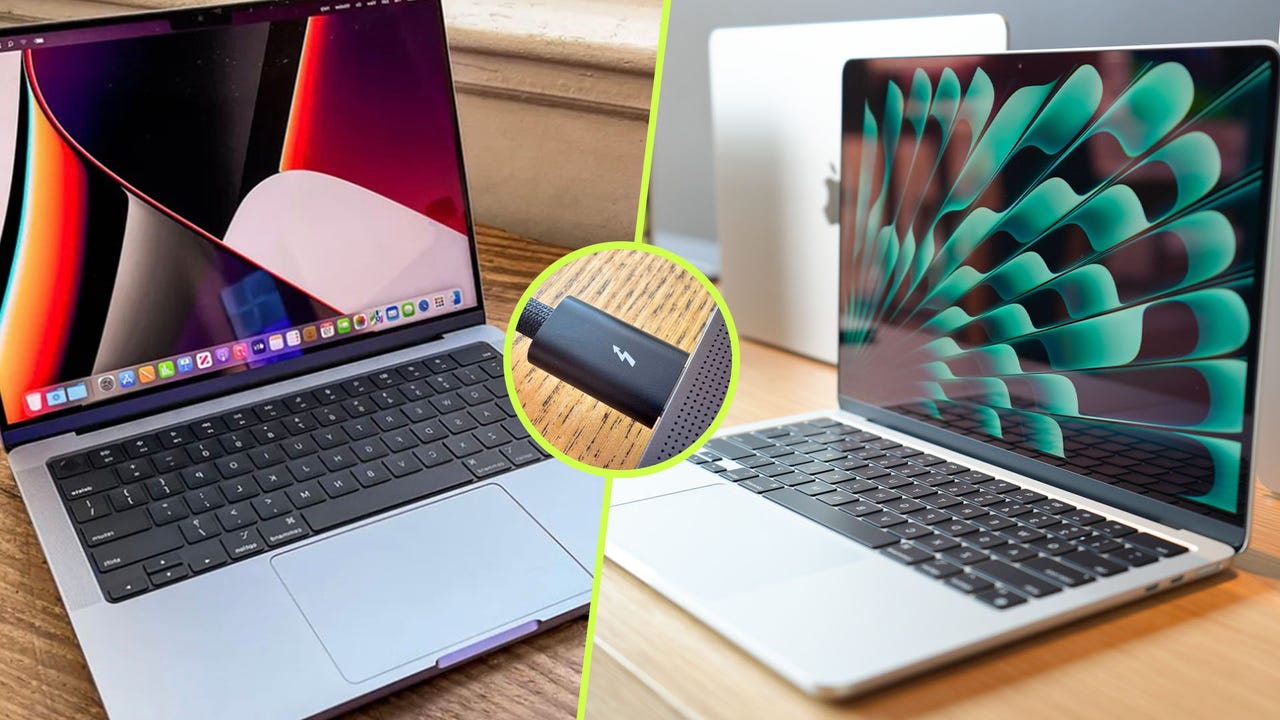
But it has to be a Thunderbolt cable – look for the Thunderbolt logo – as a USB-C cable will give you shockingly bad performance. This is why it's a good idea to keep your Thunderbolt cables separate from your USB-C cables, as trying to see a tiny logo in a box filled with tangled cables isn't easy.
The easy-to-miss logo differentiates Thunderbolt cables between regular USB-C cables.
Note: I could have set up the new Mac using a backup made by Time Machine, but I don't find that process to be all that fast.
The process is then simple. Connect the cables to the Macs, fire up Migration Assistant which will choose the fastest connection, and away you go.
Also: The best network-attached storage devices you can buy
Migration Assistant optimistically said the transfer speeds were over 700 MB/s -- a figure that seemed a tad overzealous to me. It then said the expected completion time was going to be around three hours, which felt more in line with reality. But in a delightful twist, the entire process was actually completed in just about an hour.
Since I had a mixture of small files and huge files, I'm not surprised that it was a bit inaccurate when it came to how long it would take. If you don't have a lot of data, then you'll be fine using Wi-Fi, but for those of us with a lot of data on storage drives, this is the way to do it.