Windows 10 tip: More window-snapping shortcuts and secrets

Use the Windows key plus the left or right arrow keys to snap a window to the side.
Last week I explained how to arrange applications and File Explorer windows on the screen by using the mouse to snap them into position. If you use these techniques regularly, it pays to memorize the associated keyboard shortcuts, all of which involve the Windows key and the four arrow keys..
Windows key + left/right arrow Use this combination to snap the current window to the selected side of the display. If the window is already snapped, this shortcut "unsnaps" the window and cycles through all three combinations: left, unsnapped, right.
Windows key + up/down arrow Use this combination to cycle through maximized, restored, and minimized states for the current unsnapped window.
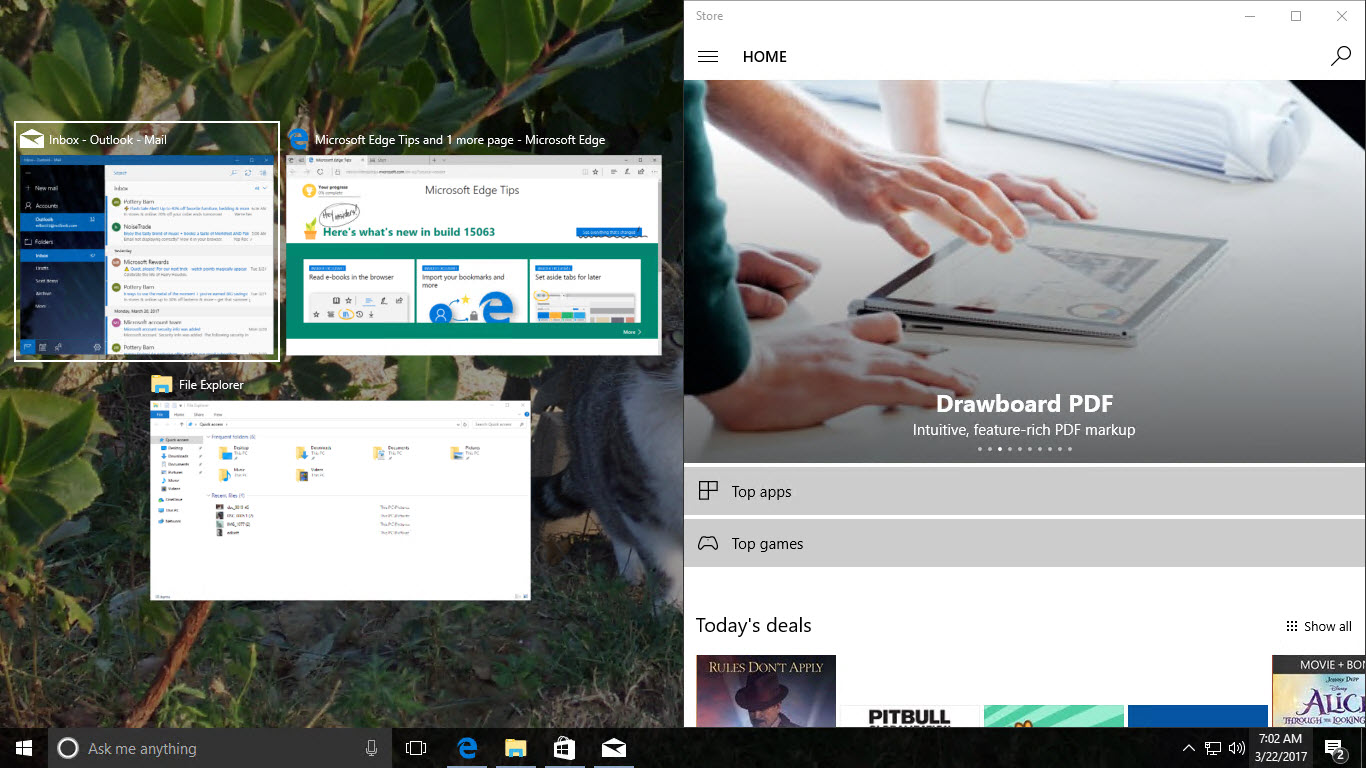
If you have multiple displays, the Windows key + left/right arrow combinations cycle through all monitors, in order. So if you select a window on the left display and press Windows key + right twice in succession, it will snap to the left side of the monitor on the right.
Windows 10 supports four window snap positions per monitor, one for each corner. Snapping a window into one of these quadrants with keyboard shortcuts takes a double move: Windows key plus left/right arrow, followed by Windows key + up/down arrow. To snap a window into the upper-left quadrant, for example, press Windows key + left arrow and then, while continuing to hold down the Windows key, press the up arrow.
Previous tip: Master advanced window-snapping techniques
Next week: Another Windows 10 tip from Ed Bott
VIDEO: Windows 7 users are more exposed to ransomware, says Microsoft