Image Gallery: Almost every screen of the T-Mobile G1 Google Android device

The T-Mobile G1 from HTC is the first Google Android device to be launched and as a result the OS is completely new and unique. Thus, I decided to post this image gallery for people who want to see every screen on the device that includes menu items, pop-ups, and those options that appear when you press and hold in certain areas. There are over 200 screens in the out-of-the box device. Check out my other image gallery for the hardware and key screenshots with an upcoming gallery on 3rd party applications.
The setup wizard starts with a prompt to touch the display with your finger.
You will need a Google account to use the device.
If you don't have an account then you will need to create one and if you do have one, then you can simply sign in to your existing account.
Text entry is only completed with the keyboard so whenever text is required the OS setup wizard prompts you to slide open the display to access the keyboard.
After entering your user name and password, or setting up your account, you are prompted to close the display and hide the keyboard.
This display explains how your device is synced and where the sync icon will appear when your account is being synced up.
Your device is now setup and ready to use. Notice the sync icon in the upper status bar? My Google data is syncing to the G1. Four shortcuts and the clock widget are loaded by default.
The device comes loaded with several applications in the OS to get you up and running with the G1. You simply tap the icon located in the center bottom of the display to expand the application box.
Not all of them were shown in the first display so after scrolling down this is what you see out-of-the box.
The Google Search widgets is the only item loaded by default on the G1 on the right panel.
By tapping and holding on the display you can customize what appears on the Home screen panels. As you can see here, you can add icons for applications, shortcuts, widgets, and change the wallpaper (background image).
The entire list of applications loaded on your device appears to let you select one you want to use on your Home panel.
You can create shortcuts to folders, bookmarks, contacts, Gmail label (email folder), and music playlist.
There are only 3 widgets options (clock, picture frame, and search box) available for selection out of the box. Hopefully developers add more soon to improve functionality.
You can select a background image (wallpaper) from the photos loaded on your device or from the wallpaper gallery that has several preloaded photos for you to select from.
When you tap and hold on a Home screen panel icon the bottom application changes to a garbage can and when you place the icon over it the can and icon turns red to indicate you are removing the shortcut.
There are 18 available backgrounds loaded on the device for you to select from. The image will be spread out over all three Home screen panels so you will see it all, but not on each panel.
Several images are beautiful landscapes. It would be great to see a utility that scrolls through the different landscapes.
You can select from available solid color backgrounds as well.
This Home screen has been customized for my usage with lots of shortcuts and a different wallpaper image.
As you can see here I had a very busy status bar at one time with several different notifications alongside my signal status, battery status, and time.
You can quickly check out your notifications by tapping and dragging down the shade. Some minor details are given to help you figure out if you want to open the notification for further action.
You can clear all your notifications with the single tap on this button. You can clear each individual notification by tapping on that specific one and opening up the applicable application to view the notification.
An alarm clock utility is provided and on this screen you can see there are 3 alarms setup.
You can change the appearance of the alarm clock too, including Android faces.
You can add alarms or choose to hide the clock from your view.
This is the display you use to create and manage an alarm.
An easy way to enter the time for the alarm to go off.
Here are the available alarm ringtones.
And the rest of the available ringtones. My favorite is the rooster. I haven't found where you can add your own alarm sounds on the device.
The Amazon MP3 application is loaded on the device and as you can see you have different ways of finding music in their store.
Tapping on the Top 100 Albums reveals this screen on the device. 20 albums are shown at a time with their name, artist, rating, and price. Tapping the price starts the purchasing process.
Tapping on the Top 100 Songs reveals a similar display as the Top 100 Albums.
You can just browse through music too if you like.
I was looking for an artist I like and found it with a simple search. Do you remember Chris from American Idol?
After you tap the price of a song/album that you want then the price icon changes to a Buy icon. Tap it again to initiate the purchase process.
You fill out your account info to log into your account. You can also enable 1-click ordering to speed up the purchase process in the future.
You need to accept the agreement as you step through the purchase process.
The checklist is completed automatically by Amazon and a green check appears as each task is completed.
After completing the purchase, the song(s) are downloaded and you can view the status.
If the device display goes off then this is the type of pop-up that appears when you press a button. Simply press the menu key to turn on the display.
The status of songs will also appear in the status bar/notifications area.
You can view your download history too.
Launching the browser takes you to the Home screen, which is set to Google by default.
Google Reader appears like it does on the iPhone and works the same as well.
Here are the menu options available after you press the Menu key.
Tapping the Go to URL option brings up the URL entry box and Go button.
It appears you can only use Google for your web search, but who wants anything else, right?
Here is the Bookmarks screen. You cannot use folders to further organize your bookmarks and they appear in the order you add them.
You can view and switch between multiple windows (up to 8 maximum) in the browser.
When you are on a page and tap and hold on it, these are the options presented.
Simply scroll down the list to see more options.
There is quite a bit you can do with a tap and hold in the browser. If you are in portrait mode then you can switch the view into landscape with the display closed over the keyboard.
Several options exist for managing your browser experience.
A few privacy and general settings are shown here.
Many of the settings are managed with checkboxes.
Passwords and security warnings are managed with these settings.
Google Gears is supported in the web browser, but I still haven't figured out how to make this work or exactly what is provides.
If you tap and hold on an image you can save it or view it in the photos application.
Unfortunately, my blog defaults to the mobile edition in the web browser.
The full version of the CNN site appears in the browser.
You can't tap and hold or double tap to zoom in to the page, but must use these on screen buttons or the keyboard shortcuts (menu i or menu o) to zoom in and out.
There are several options available when you tap and hold on a page.
More options
Even more options available.
The calculator is very basic and has limited functionality. There is an advanced panel that has things like sin, cos, tan, log, pi, and 12 total functions.
Tap and hold is supported in the calculator entry/results box and gives you cut and copy options.
After copying or cutting you can also paste.
Google Calendar appears on the G1. Month view gives you a glimpse of your appointments, but doesn't appear that useful.
This is what you see when you press the Menu key.
This is a typical day view.
I find the week view to be the most useful because as you scroll over a calendar event the details pop-up dynamically to let you know what the event is.
This is the event entry screen.
There are more options available too and if you manage multiple calendars you can set what calendar the event is assigned to.
Just like the online version of Google Calendar you can view calendars that are shared with you.
These are the options for managing multiple calendars.
You can manage your settings from this display.
Ther are several alarm sound options available to you.
More calendar alarm tones that are available.
Setting when you want the alarm to go off here.
When you tap and hold on the calendar you are presented with these options.
An easy to use data selector is provided.
The time selector has the same format as the date selector.
You can set if and when the event repeats.
As I stated in my review, the camera is VERY basic and you don't have many options. You can view the pictures you took or the settings after pressing the Menu key.
You can record your location and geo-tag your photos.
You can use the capture button on the right of the device or the trackball to capture an image.
The on screen buttons are large and easy to dial if you don't use the contacts for dialing.
In landscape mode (display open) there is no touch screen dialer present and you are prompted to use the keyboard to dial.
The G1 has an email client for your other POP/IMAP clients and even other Gmail accounts so you don't have to use your Gmail if you don't want to, but it greatly limits the G1 experience.
Enter your username and password and then walk through the wizard to setup your email account.
By far, Gmail is the focus of the device and one of the most powerful features on the G1.
The options you are used to on the desktop client appear here on the G1 for managing your email.
This is where you go to delete, change labels, report as spam, and add stars.
Full HTML email is supported on the G1 and you see everything you do on the desktop, except the ads!
You do need to scroll to the bottom of the email to manage an open email since there are no tap and hold options when the email is opened up.
You can expand and collapse emails and conversations by tapping the subject box.
If you have a hyperlink in your email you can tap and hold on it to copy it. If you just tap it then it will open up the web browser.
Pressing the Menu key pops up these options when you have an email opened up.
You can check what labels (folders) are stored on your device. Tap the + sign to add the label.
These options appear when you are looking at a list of emails in your Inbox or other label.
You can enter email addresses from your contacts or enter the full email address in the composition utility.
These options are available when you are composing an email. Only photos are supported as attachments at this time.
Here is where you manage all of your email settings.
What labels do you want to synchronize on your device?
Out of the box you can access AIM, Google Talk, Windows Live Messenger, and Yahoo! Messenger. Each client has some particular options too.
This shows the available options in Google Talk. They are slightly different in the other clients.
Tapping the More button reveals these options.
Here is where you can manage your sign in and notifications.
There are several areas on the device with ringtone support and many have different tones.
There are tap and hold options throughout the device so do it yourself to see what is available.
Pressing the Menu key brings up several options for using Google Maps.
You can conduct searches for locations in Google Maps on the G1.
When you tap Directions then this is the pop-up that appears so you can setup your route.
Where do you want to start your trip?
This is what the text version of the directions looks like. Tap Show Map to see the route on the map.
Follow the route and step on your G1. You appear as a blue dot, but the route won't automatically move forward as you travel along and like Google Maps on the iPhone you still need to tap the arrows to proceed along the route.
In addition to the default map, you can view locations in satellite, traffic, and street views. Traffic and street views are only available in selected areas.
The blue coverage map shows you where you can use the Streets View option.
A map still appears when using this view, but now you have the option to tap and be taken to a true street view of the area that was captured by Google camera people wandering the country.
As you can see directional arrows are shown on top of the actual location image.
As you turn around with your device, the Streets view dynamically changes.
The compass mode lets you get your bearings and I can see this being useful when you are walking around some unfamiliar city.
Tapping the More button reveals these options for GoogleMaps.
This is what you will see in areas where traffic is supported.
You can see actual buildings in satellite view, which can be very helpful when going to a new place.
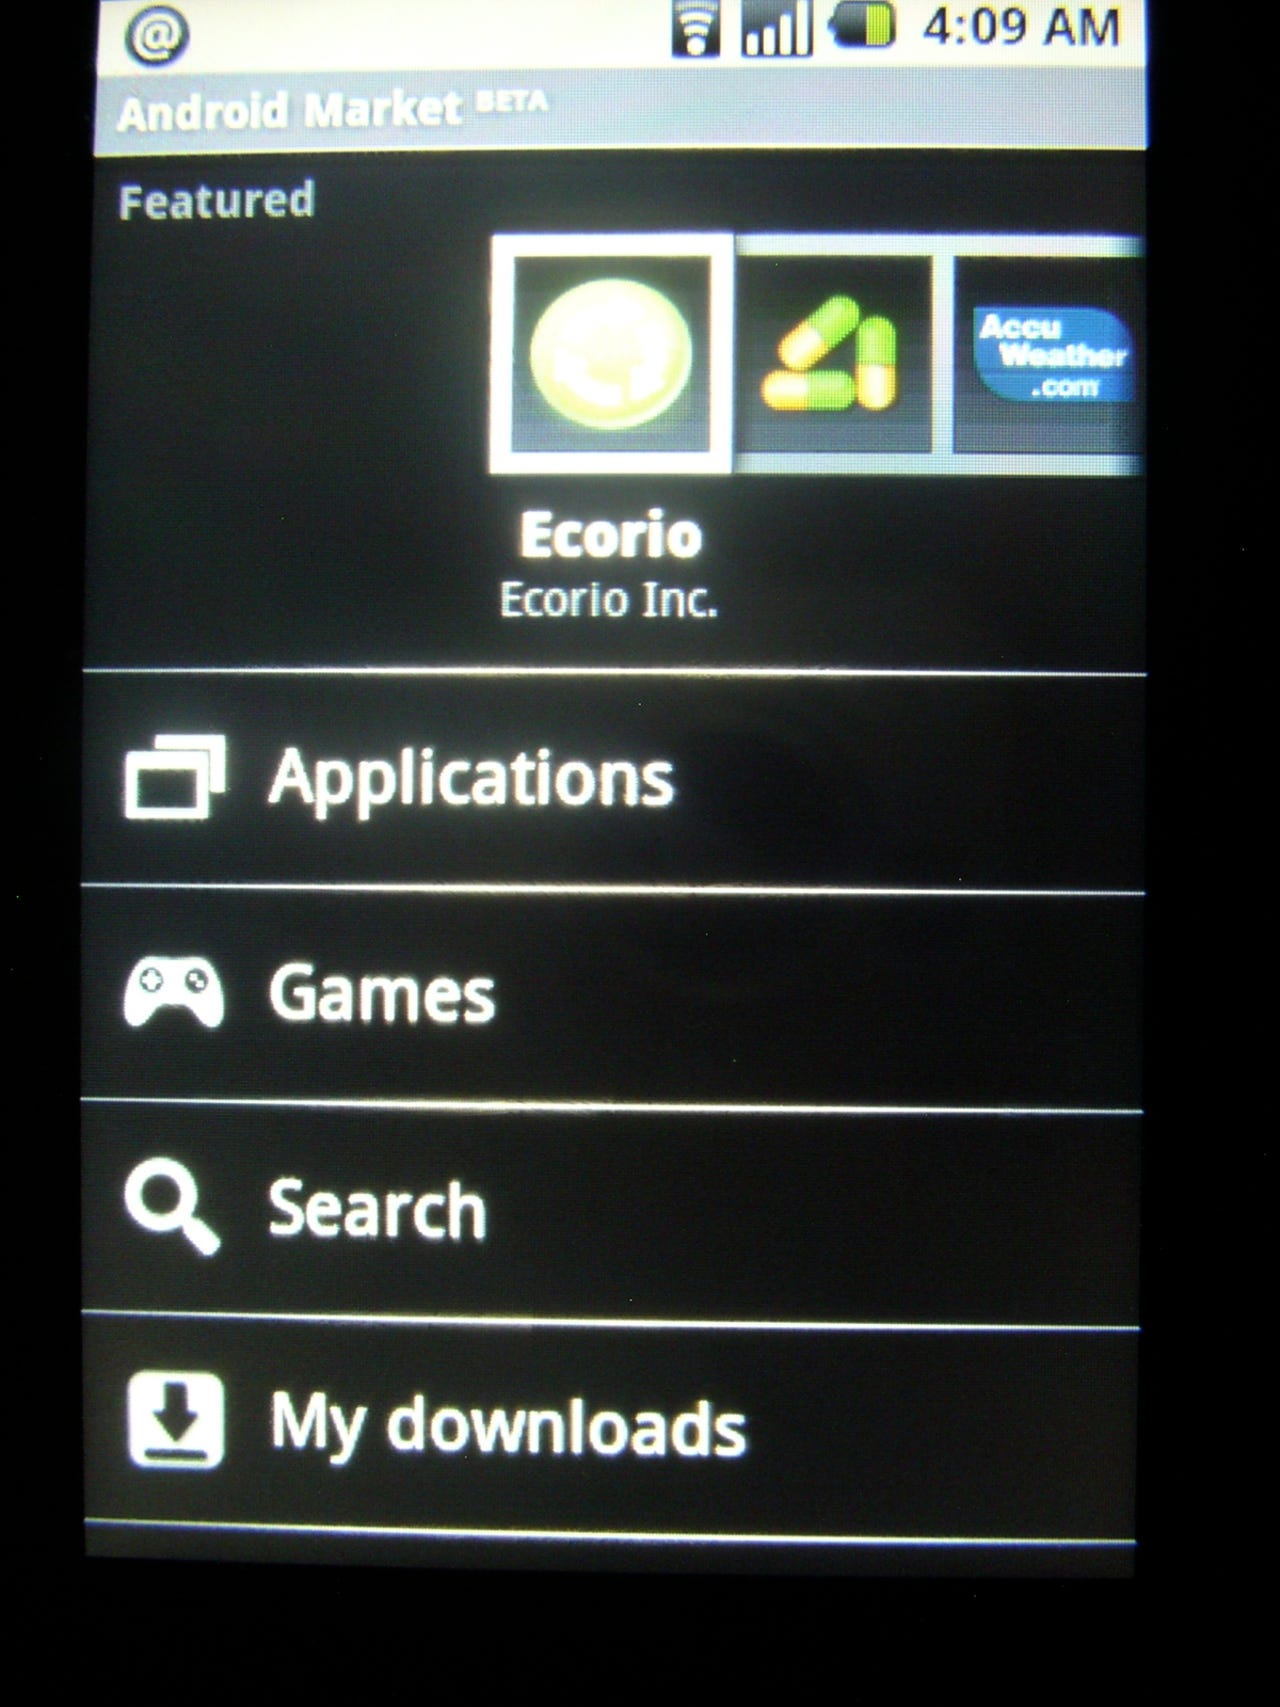
This is what you seen when you launch the Android Market application. Featured apps appear along the top.
If you select an application you can see its rating, description, feedback from users, and more.
If you tap the Applications button on the main screen you are taken to this list and can then further dig down into what is available.
There are over 35 applications currently available, but the device isn't yet available and I am seeing some appear every couple of days. You can sort by popularity or data too.
There are currently only 10 games available, but a couple are actually quite fun. They are also all currently free.
Pac-Man is free at this time, but is shown as costing just about US$10 so grab it while it is free. It is the full game and quite enjoyable.
When you download and install applications from the Market they appear in your status bar too.
You can search for an application and I imagine this will be much more important when more applications are released.
Here you can see what applications I have installed on the device to check out. You can tap on the application and choose to rate it, open it, or even uninstall it.
Text and media messages are supported on the G1. The messages appear in threaded format too so you can keep track of conversations. Options from the Menu key include adding a subject and attaching content. It is actually quite amazing how much content can be added.
In the main view you can compose a message or view the application settings.
SMS and MMS settings are plentiful in the application.
You can also manage your notification settings in Messaging.
You can tap one of these icons to view your music in different ways.
These are a couple of the settings in the Music Player. There are more though that allow you to use your songs as ringtones.
Cover art is supported along with features like shuffle, repeat, play, rewind, and fast forward.
You can search for the band, song, or album on Amazon MP3, Google, or YouTube.
After you have a song playing it will appear on the bottom of the main application view.
After opening the Pictures application you can use the Menu key to see these options for an open photo.
You can share your picture via email or via text messaging. I was expecting support for Picasa or some Google online photo application.
You can rotate the photo left or right for better viewing.
Tapping the More button gives you a couple of options with cropping being available.
Move the box around to crop the photo.
You can check out some photo details too.
Several photo settings exist for managing your photos and slideshows.
You can setup a slideshow on your device.
How long do you want the interval to be?
Several effects are available for you to choose from.
Options in the Pictures application.
There is a voice dialing application included that does not require training or anything and works quite well.
You will find a dedicated YouTube application loaded on the device.
You can browse by most popular, most viewed, top rated, most recent, and most discussed.
When you press the Menu key you can search for videos, view any favorites that you designated, view categories, and access the settings.
The only setting in the YouTube video is the option to clear your history.
Search results for my YouTube videos.
Videos play only in landscape orientation. You can watch videos via the T-Mobile network or a WiFi connection.
There are a ton of settings on the G1 that you can access and manage. As a mobile device geek, I like having so much control over my device.
You can manage your WiFi, Bluetooth, and T-Mobile connections in this area.
You can toggle on the WiFi radio and then control whether or not you are notified of available networks. You can then manage your Wi-Fi network connections.
You can toggle your Bluetooth radio and manage connection in this area of the settings.
You can choose if you want to roam and if you want to limit data connection to EDGE (2G) in order to save your battery.
These are the available call settings you can use to manage your phone.
Your phone sounds can be managed here.
There are plenty of available ringtones and you can check them all out and hear them in my ringtone video contained in my full review.
There are different ringtones available for notifications too.
There is no light indicator on the device so you need to get into this utility to control the brightness of the display.
Here you can control the amount of time before the display turns off and goes into standby mode.
This utility setting is used to manage what data syncs to your Google account.
You toggle and manage your GPS connection and display lock on this page of your settings.
The G1 has a unique screen lock system.
The security system is explained on this page.
The screen lock utility allows you to use finger gestures and a pattern to unlock the device.
A hand moves around to show you an example of how the utility works.
You need to enter the pattern and repeat it to set it up on the device.
How about using the letter G for access?
If you swipe the wrong pattern red circles will appear and you will not be granted access to the device.
There are a few settings that allow you to establish shortcuts on the keyboard and manage your applications.
Tap on one of these applications to view details and memory information about the application.
Selecting one of your applications show you details such as how much memory is being used, what permissions are needed and any set defaults.
One of the most functional aspects of the G1 is the ability to setup keyboard shortcuts.
You can view how much memory is available on your microSD card and on your internal memory. Be aware that all applications are stored on your phone memory.
Here is where you manage how your data and time is shown and functions.
Auto settings for text entry are controlled here.
You can view lots of information about your phone here.
Lots of details are available, including signal strength.
You can add folder to the Home screen to help you organize your device.
You can customize the name of your folders.
Applications placed in the folder cannot be moved around and subfolders cannot be created.
You tap on the name to change it to what you like.
When the display is off this is the type of information you can view.
If your display is on when you connect the charger the status icon appears briefly to let you know what the battery status is.
There are several options available in Windows Live Messenger on the G1.
Smiles are supported in Windows Live Messenger and the other IM clients.