Fedora 20's Anaconda installer, hands on

Fedora 20 (Heisenbug)
Every Linux distribution has to have an installer program. Hmm. Well, that's not strictly true, is it?
Some of us still vaguely remember building Linux systems manually, copying the right things into the right places, saying a prayer and then trying to boot.
But it is accurate to say that every modern Linux distribution has some kind of installer. The degree of complexity, completeness, flexibility and user friendliness varies wildly between different distributions, though.
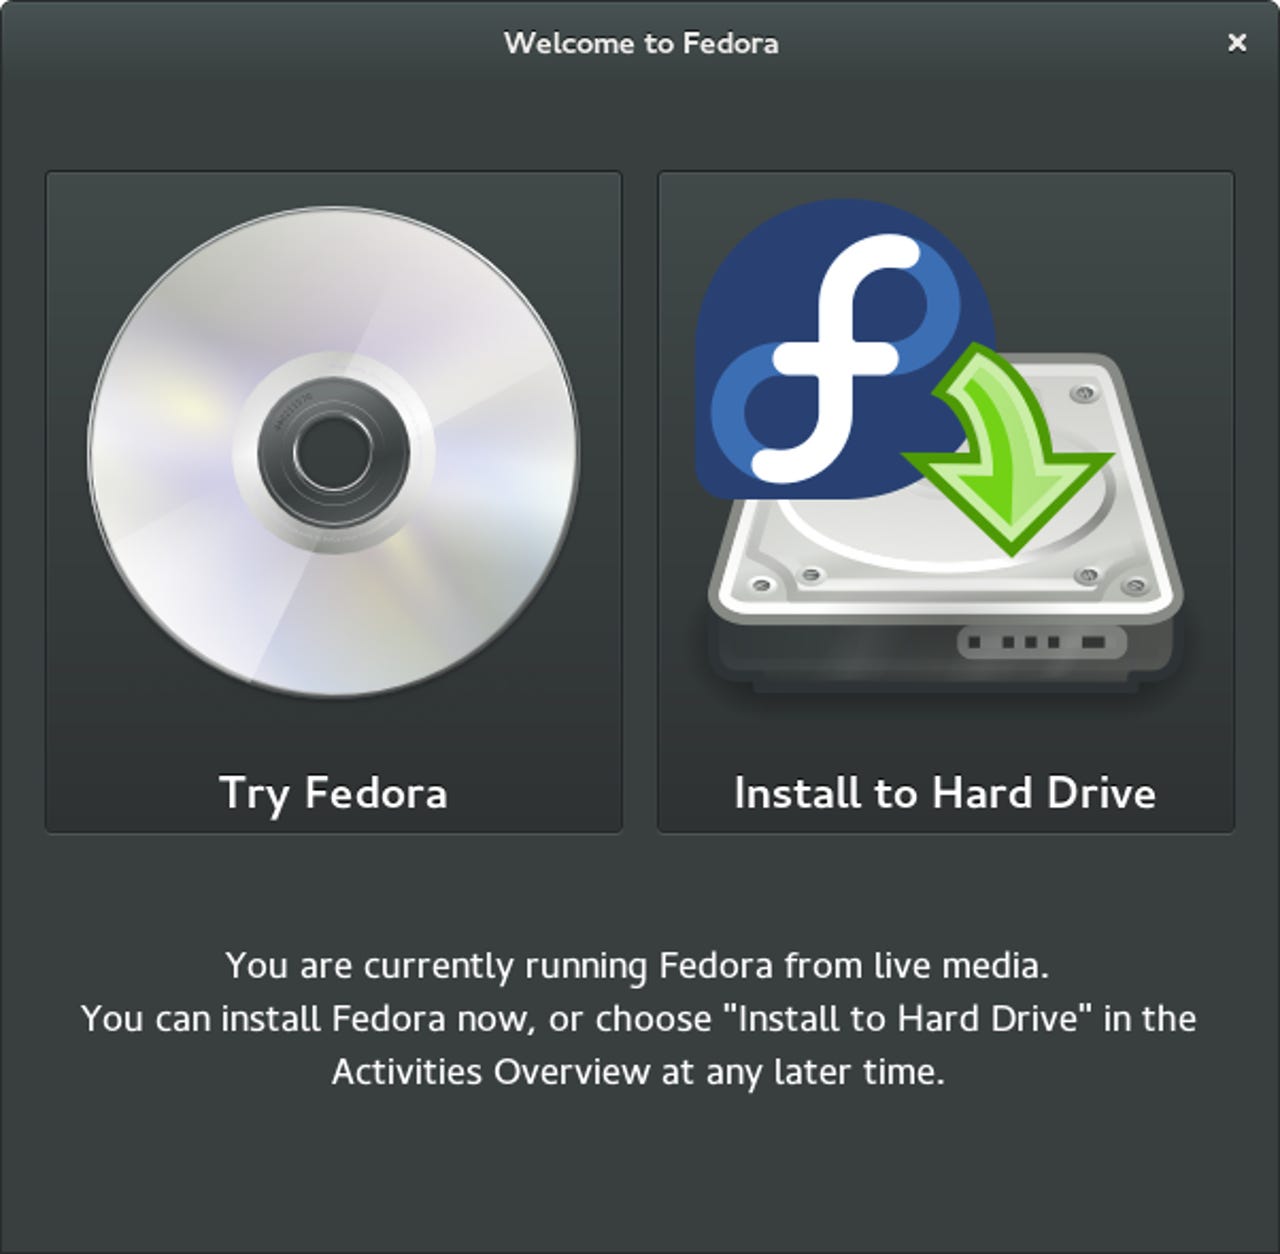
It hasn't been all that long since Debian still had only a text-based installer, and Slackware: but those days are fading fast. My personal hands-down favorite of all the installers I have tried is Fedora's 'Anaconda' installer.
I think it is an excellent example of software engineering - and I really mean that in the literal sense, it is a program that seems to have been carefully designed, specified, developed and tested for its purpose. It seems like anaconda has always got a lot of criticism, and that has been particularly intense over the past few Fedora releases, when it underwent a major overhaul. But I think that criticism is not justified, and I want to walk through a complete installation with my own comments to show why I believe this.
Please note, I am not involved in writing, maintaining or anything else to do with Anaconda. I don't know anyone who is involved, I have never met or corresponded with any of them. I know from their work that they are a very talented and hard-working team, but that is the extent of my connection to them.
Anaconda Welcome Screen and Language Selection
This is the Anaconda welcome screen, where you select the language. The language you select will be used for the installation dialog and as the default language of the installed system. If you have an active internet connection at this point, anaconda will try to determine your location from your IP address and will choose an appropriate default value based on that.
Anaconda Summary/Dispatcher Screen
This is the Summary screen, which I think of as the "Dispatcher". Here you have an overview of what needs to be done - or can be done if you choose - and you can see the current state of each of those tasks. You will go off to whichever ones you want to do and return here after each one is done until you are ready to install.
At this point I haven't actually done anything yet, but you can see from the summary that the wired network connection is active, and from that Anaconda has figured out where I am located and based on that it has preset the Timezone to Europe/Zurich. So I really don't even need to go to that task, although I will do so anyway for illustration purposes.
Also note that it tells me across the bottom of the screen that I can't install yet, because I haven't completed all of the required tasks.
Anaconda Localisation Settings
This is the Localisation screen: The correct timezone has already been selected based on the location of my IP address.
If I did not have an active internet connection, this would have been set to some default in the US and I would have to choose Switzerland. Even on such a small task, Anaconda does a good job - I can set the timezone by clicking the location on the map, but I think you can imagine how much fun that is, because Switzerland is a relatively small country in the middle of Europe.
Here I have the alternative of selecting the Region and City from drop-down lists, which can be a lot easier on my nerves at the end of a long day.
This screen also has an On/Off toggle for Network Time (ntp); if you have ntp enabled you can edit the list of time servers, and if you have ntp off you can manually set the time and date. But remember, all of this was set correctly by default, I didn't even need to come into this screen, so don't start whining about it being too complicated!
Anaconda Keyboard layout
This is the Keyboard Layout selection screen. Here I have already added Swiss German, and moved it up to the top of the list so it is the default. Now, look carefully at the top right corner of the screen, and look back at the previous screen shots for comparison. The layout for this session in Anaconda has changed to "ch" (Swiss German)! Hooray! Whoopie! This is new, it didn't used to do this, and whoever made this change, I love you. I worship you. You are my hero/heroine. Thank you, thank you, thank you.
There is also a "test" box on this screen, where you can type to verify that you have selected the correct layout. It's a bit difficult for me to imagine someone not knowing what keyboard layout they have, but I guess it's possible.
Once again, if you have a US Ascii keyboard, you don't even need to come to this screen because that will be set by default. So stop whining about this being too complicated!
Anaconda Installation Destination
This is the Installation Destination (disk selection) screen. Note that it shows two disks, the hard drive in the computer and the USB stick I am installing from. I have selected the 500GB hard drive as the target. At the bottom of the screen there is a link for Full disk summary and bootloader that you can click if you want to do special things with the bootloader installation. At this point you only specify the target disk(s) for the installation, when you are Done here, the next screen will get more details about this.
Anaconda Disk Options
This is the Disk Options screen - you can specify the filesystem type and decide whether you want to accept the default partitioning or you want to manually specify the partitioning. The defaults are perfectly reasonable. If you don't know any better, or you don't care, or you just want to the installation done in the quickest, easiest and most reliable fashion, just click Done to accept the defaults. The default filesystem type is LVM, but you can change that easily on the drop-down menu in the middle of the page. Until now I have always used ext4 filesystems, but starting with this release I am going to use BTRFS. If you want to manually specify or adjust the partitioning, you can choose that option here as well.
Anaconda Disk Partitioning
This is the Manual Disk Partitioning screen. Please excuse the fact that I am installing this on one of my test systems which already has a variety of Linux distributions on it, in addition to Windows 8.
If you are installing on a "normal" system, you would see only two lines here, the top one for New Fedora 20 Installation and the bottom one for Unknown (that is where anaconda lumps everything else, such as Windows, Recovery Boot and whatever other miscellaneous partitions are on your disk.
The important thing to remember here is that this screen can be as simple or as complicated as you want to make it. The simplest thing to do here is to click Create them Automatically, and anaconda will do what is necessary and then show you what it did so you can approve or edit it. I want to have a lot more control or where and how things are installed on my disks, so I set up all of the partitions manually. You can choose either of those extremes, or something in between.
I want to say a few more words about the presentation on this screen, too. Every other Linux distribution I am familiar with (and every other disk utility I am familiar with, for that matter) presents you with a view of the disk which corresponds to the physical layout of the disk partitions.
That is a more or less linear view showing sda1, sda2, sda3 and so on. But the thing that the Anaconda developers have realised here that is so absolutely brilliant is that a linear view of the disk is not really very useful in understanding how the disk is actually organised and used.
This was already true about MBR partitioned disks, especially if they used an Extended Partition which contained multiple Logical Partitions, and it is even more true of GPT partitioned disks and UEFI BIOS systems.
What Anaconda is showing you is the logical layout of the disk, which is much more useful at this point than the physical layout.
The system I am using here happens to be UEFI BIOS, so it has a separate EFI Boot partition which is shared by all of the different operating systems I have loaded (but doesn't necessarily have to be shared, there could be separate ones), and because there are other Linux distributions installed it already has a Linux swap partition which I will also want to share. A physical view of the disk would just show that those various parititions, but this logical view shows how they are grouped and used, and that can be extremely useful.
Anaconda Custom Disk Partitioning
This shows the partitioning that I have manually set up for this Fedora installation. It is the simplest of all possible configurations (please don't lambast me about how lame this is, it is only a simplified example). It has the EFI Boot partition that is required for this system (well, unless I enable Legacy Boot, which I am not going to do), and it has a Linux root partition. It's that easy. If this were not a UEFI BIOS system I wouldn't even need the EFI Boot partition (duh).
Anaconda Partitioning Confirmation
When you are done with Custom Partitioning, anaconda presents this summary to show you exactly what it is going to do. In this case because I am overwriting an existing partition (the old Fedora 19 installation), it shows me that it will destroy an existing partition and then reformat it for the new installation. All I have to do here is click AcceptChanges.
Anaconda Installation Summary
This is the Anaconda Summary/Dispatcher screen again. Now the timezone, keyboard and destination have been defined, the warning which had been across the bottom of the screen is gone, and the Begin Installation button is active, so just click that and the installation starts.
Note - when you are done with the target/partitioning task and return here, it will take a minute for anaconda to analyse what you have entered and confirm that it is acceptable.
Another noticeable improvement in this version of anaconda is that during that time the screen will either be opaque-masked or completely blank. Previously, as soon as you returned to the Dispatcher it appeared to be ready to continue, but it would still have the "incomplete disk specification" banner across the bottom of the screen, and it was easy to get confused by that and think that there really was something still wrong with the disk layout you had just entered. Now it is much more clear that Anaconda is busy, and as soon as it determines that the configuration is ok the screen will return to normal, but the warning banner will be gone and the Begin button will be active.
Anaconda User Configuration
While Anaconda is performing the installation, you have two more tasks to complete - you have to define a password for the root account, and you have to create a normal user account for your evenyday use.
Anaconda Root Password Entry
Here you enter the password for the root account. If you choose too weak of a password, Anaconda will warn you and will make you click Done twice to confirm that you really want to use it.
Anaconda User Account Definition
Here you create an ordinary user account (this is not the place for me to embark on my "don't login as root" lecture...). Again, if you enter too weak a password, Anaconda will warn you and make you click Done twice to confirm it.
Anaconda Configuration Complete
This screen shows that everything has been entered and accepted, and Anaconda will be able to complete the installation. The status bar and text at the bottom of the screen will keep you informed about what is happening and how far it has to go yet. On a typical notebook system, this copying, installation and configuration takes about 15 minutes.
Anaconda Installatoin Complete
When installation has finished you will get this screen. All you have to do now is reboot! Hooray! Now, was that difficult or complicated? I don't think so. Let's review what was really required:
- Language selection - but the default is probably ok in most cases
- Destination selection - the one thing you HAVE to tell anaconda is where to install
- Root and User account creation
That's the minimum, three steps, and one of them is nothing more than click Contine. If this is complicated or difficult to understand, well, I'll just eat my hat.