WordPress 2.8: Screenshots

Assuming that you have set up your web server of choice and MySQL environment, this is the first interaction with WordPress itself. A blog name and an email address is all that is needed to set up your WordPress environment. We aren't so sure that this install process is as famously easy as it claims, though.
And that's it for installation steps — it's almost too easy. A randomly generated password is assigned to the admin account to log into the dashboard.
Behold the state of our blog immediately after installation. A "Hello world!" post, an About page, and a pre-filled "Blogroll".
This is WordPress's dashboard. Each user from the lowest level to the highest has their own dashboard. This can cause problems with certain plug-ins not restricting their dashboard visibility as well as they could. For instance, certain plug-ins will show stats to all users, not just administrators.
Each of the different elements on the dashboard can be dragged and/or collapsed, giving each user the ability to customise the interface to their tastes.
Meet the "Add New Post" page — presumably the interface where WordPress users will spend most of their time. The rich text area is a pleasure to use and the media interface is equally as good.
One of the first tasks for a new WordPress instance is to select a new theme for it. One of WordPress's big drawcards is the myriad themes available from other users and developers; there are literally thousands of pre-rolled themes, which you can customise to your tastes. You can even create your own.
Installing a theme is taken care of by WordPress, removing the need for any use of the command line.
Here we have the selection of themes currently installed in our WordPress instance.
Clicking the "Preview" link on the previous page shows what your blog will look like in a particular theme. Choosing the theme is possible by clicking the link on the top right of the frame.
If a theme does not do exactly what you wish it to, you can edit it from within WordPress. This same interface can also be used to edit plug-ins.
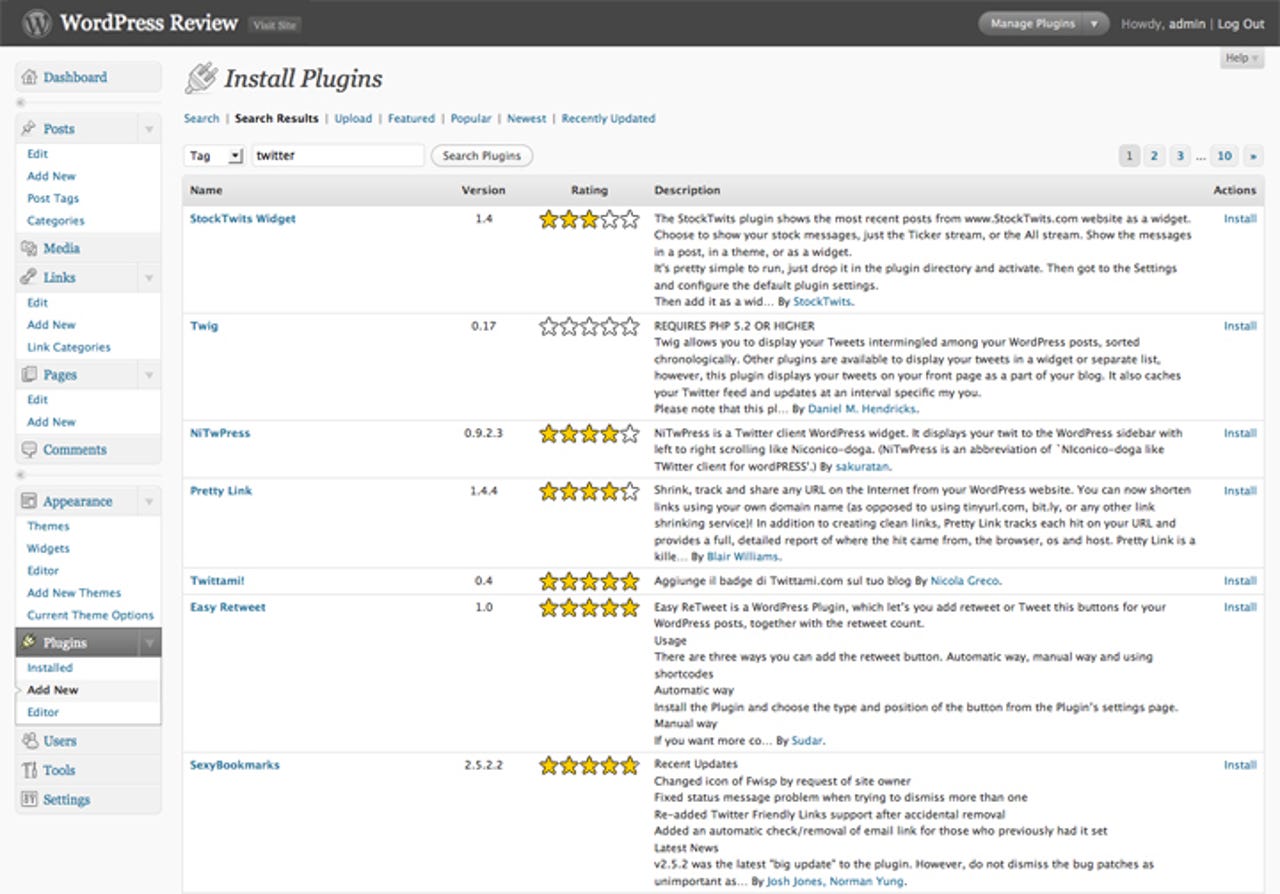
A wide range of plug-ins are available to extend WordPress's functionality. Examples include shopping carts, newsletter systems, statistics and Twitter integration.
Clicking on a plug-in displays an information page for it.
Plug-in installation is handled automatically like themes.
The Widgets page allows for customising the appearance of the sidebars of the site. In this shot we are configuring a Twitter widget installed via a plug-in.
You can see our new Twitter sidebar on the far right.
Adding a new stand-alone page (for example, an About or Contact page) is simple and uses an interface very much like the one for adding blog posts. The revision history at the bottom of the page is a useful touch.
Handling pictures is a snap with the media gallery. Insertion in HTML, resizing and alt text is taken care of in this one place — which can be reused in other blog posts or pages.
The comprehensive interface for taking care of a blogroll. Beyond just title of link and its URL, this interface includes XFN, notes, and relevant images and RSS feeds.
By default user comments do not show up on the site, and are left as "pending" administrator approval.
How adding a reader comment looks from the user's perspective.
The general settings for WordPress. From here we can change the blog name, date format and URL for the blog.
Permalink settings allow tailoring of the blogs' URL to suit your tastes. To implement a custom URL structure, your web server must support rewrite functionality.
The miscellaneous tool integration that WordPress offers.
If you already have a blog somewhere else, chances are it can be imported by WordPress.