How-to: Use Google Drive to upload photos from Android, iOS

The smartphone cameras have gotten so good that many folks use them instead of dedicated point-and-shoots. Both hardware and software on phones now offer sophisticated features that let even lousy photographers take decent photos.
Taking photos is only half the battle for budding photographers, as it creates the need to get those masterpieces onto a computer for storage and other purposes. The more photos you take, the bigger the task of getting them transferred to a bigger screen.
I take a lot of photos, especially for product reviews for ZDNet. I have regularly used a couple of methods to get the photos off the phone and onto the computer. I've used the old faithful method of emailing them to myself and other times swapping the memory card from the phone to the computer. Neither method was efficient, especially for a lot of photos.
Recently it ocurred to me that maybe a good way to get a lot of photos off my phone and onto my computer could be Google Drive. The more I looked into it, the more I realized this would work no matter what phone or computer I was using.
Photo transfers involve two steps: getting the photos from the phone to my Google Drive storage in the cloud, and accessing them on the computer. Using Google Drive works well for me as I sometimes take photos with the iPhone 4S and other times with the Galaxy Note 2. There are Google Drive apps for both iOS and Android so it works on both phones.
I don't always use the same computer to work with photos either, not even a single platform. I need to work with photos on the iPad, Chromebook, MacBook, or Windows 8 PC. This is why Google Drive works so well for me, as I can access my cloud storage using all these platforms/devices.
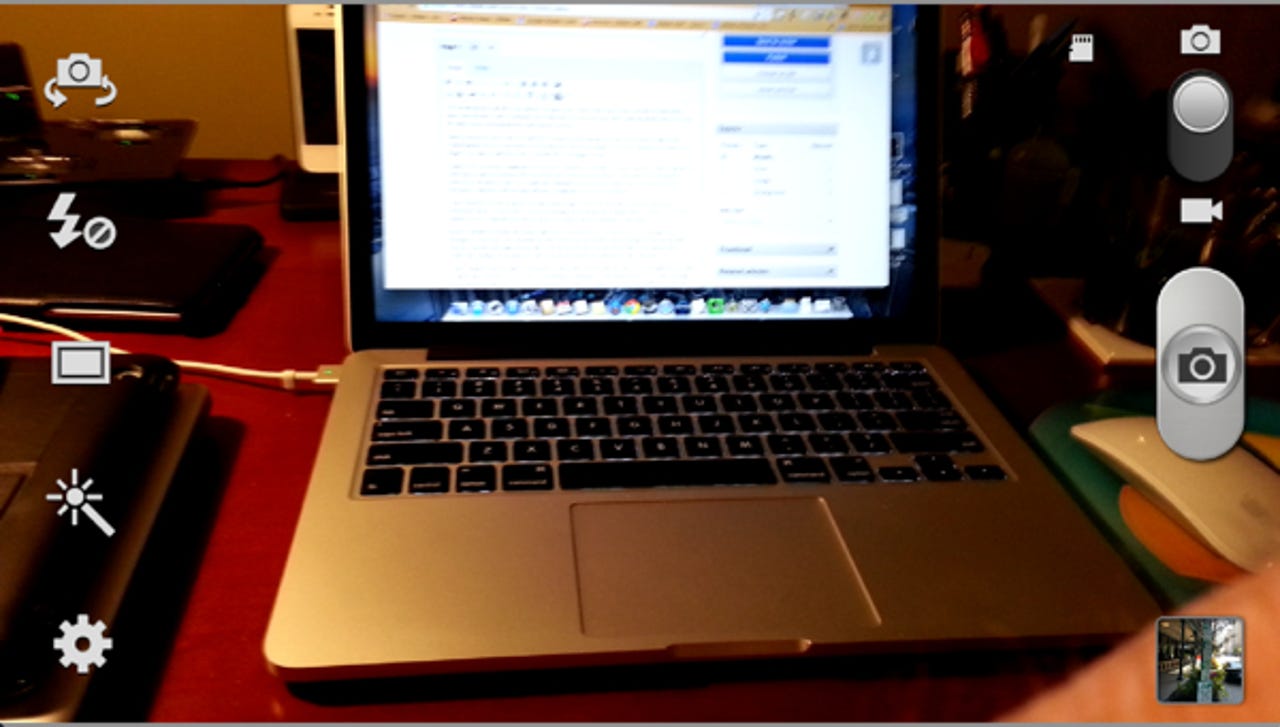
Uploading the photos
The first step of uploading the photos to Google Drive is slightly different depending on whether the photos are on the iPhone or the Note 2. The free Google Drive app must be installed on the Android phone or the iPhone to get started.
On the Note 2 it's a simple matter of opening the Gallery app and tagging all the photos for uploading. Once that's done, hitting the Share icon brings up the share menu shown above. Google Drive is an option, so tapping it and then confirming (above right) starts the upload process in the background. Sliding down the notification shade on the home screen allows checking the upload status. I have transferred as many as 50 photos using this method and it is fast.
The iPhone method is similar to that of the Note 2 but iOS doesn't allow sharing to the Google Drive. Instead, you should run the Google Drive app, then hit the "+" icon in the upper right. The Add screen appears so select the "Upload Photo or Video" option. This takes you to the photo storage on the iPhone, so select the ones you want to transfer and hit Upload. The photos will upload quickly.
If you are transferring a lot of photos, you may want to do it using wi-fi. It will probably be quicker than using 4G and it won't make a hit on your data quota.
Your photos are now on your Google Drive in the cloud and waiting for you.
Accessing on the computer
Google Drive can work with any platform, so it's a good choice for me. There is an app for the Mac, so I can access my Google Drive files directly in the Finder. Google Drive is built into Chrome OS, so I have access from the file manager on the Chromebook. The same iOS app used on the iPhone to upload the photos is used to access the Google Drive on the iPad.
There is no app for Windows 8 but Google Drive is accessible through the web browser. It's just as easy to use as on the native apps on the other OS's.
No matter what system is used to access them, the photos can be selected and either copied or moved from Google Drive to local storage. I usually move them as I don't want to keep them permanently on the Google Drive, but those who want to leave them in the cloud can copy them to the local destination.
On the Mac and the Chromebook it's technically not necessary to copy the photos to local storage, depending on what you are going to do with them. For uploading to a blog editor or editing in a photo editor they can be accessed directly from Google Drive as if they were located on the local computer.
Using Google Drive has turned a task that was fomerly a pain into one that is quick and easy. It's certainly not the only way to get the photos onto a computer, but it works very well for my needs.
See also: