Raspberry Pi 1 and Zero: Hands on with Manjaro ARM and PiCore Linux

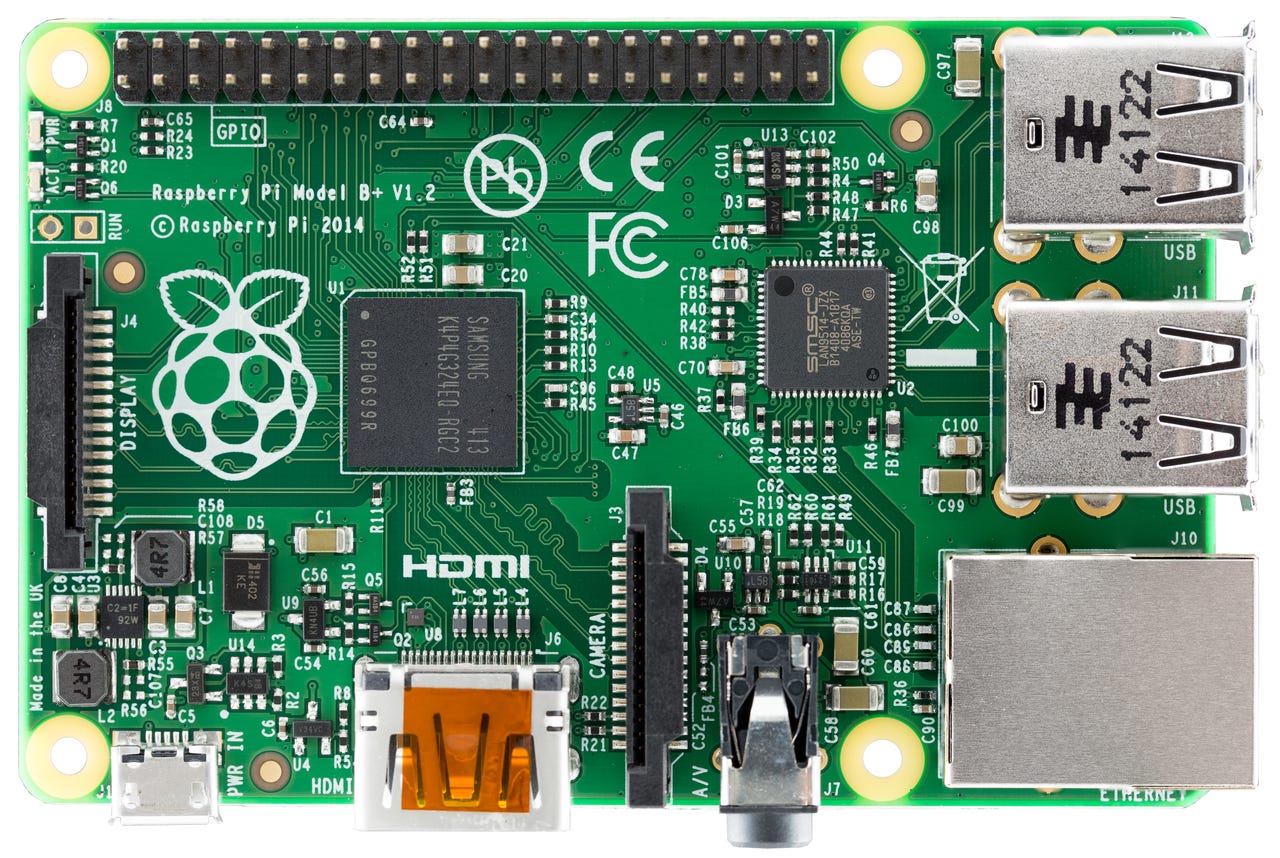
Trying out Linux distributions on older Raspberry Pi models (like the B , shown here) should be a challenge.
In the previous two posts I wrote about SUSE Linux and Fedora/Manjaro ARM/Ubuntu MATE for the Raspberry Pi 2 and 3. The results were mixed, at best.
This time I'm taking on even more of a challenge because I'm going to be looking at the original Raspberry Pi Model B and B+, and the Raspberry Pi Zero. These models all have much more limited CPU power and memory than the Pi 2 and 3, so it will be interesting to see what can be done with them.
Manjaro ARM
The Manjaro ARM distribution for the Raspberry Pi 1 and Zero comes in three variations - Minimal Edition, Server Edition and Media Edition. Noticeably missing from this list is the Base Edition, which includes the Xfce desktop. The Minimal Edition and Server Edition are both text/command-line (CLI) versions, and the Media Edition is pre-loaded with Kodi, which has its own dedicated GUI.
What I plan to do here is first try out the Minimal Edition, just using the CLI, and then I hope to add the X.org and i3 Window Manager packages to create my own GUI version with reasonable performance. So fingers crossed, and here we go.
The first step is to download the Minimal Edition image for the Pi 1 and Zero. It is only about 512MB, compared to 1GB or more for all of the Pi 2 & 3 versions that I have tried so far. Then unzip and copy the image to an SD card. The command I use is:
unzip -p Image | dd of=/dev/sdX bs=4M iflag=fullblock oflag=direct status=progress
As always, substitute the image filename and the appropriate device name.
Here's some nice news about this version, the image that it writes on the SD card only uses about 2.65GB, so you can actually load it on a 4GB SD card if you still have some of those laying around. You can then use gparted (or fdisk or whatever) to extend the root filesystem to use all of the available space on the card.
The next step is to insert the SD card into a Raspberry Pi B/B+/Zero and power it up, and in less than 30 seconds it boots to a text console login prompt!
manjaro-arm login:
I have to say, this is pretty impressive so far - less than 10 minutes, and I'm logged into a Model B+ and it seems to be working very well. From the console messages while it was booting I can see that the wired network connection came up (I had the cable connected), and the standard Raspberry Pi USB WiFi Dongle was recognized and configured.
More good news, no problems with my Logitech Unifying keyboard this time. Hooray!
The default account is 'manjaro', with a decidedly uncreative password, so as I said in the previous post the first thing to do is at least change the passwords - for both manjaro and root - or better yet create your own account, change the password for root and disable manjaro. Security matters, and good habits start early.
At this point I have accomplished my first objective, getting Manjaro ARM P1 loaded and running on the CLI. I did this on a Pi Model B+, but then I took the microSD card and booted it in the Pi Zero and it came right up, too. Again, from the boot messages I could see that it recognized and configured the Broadcom WiFi USB Hub adapter. Nice. Finally, I took the same microSD card (with an SD adapter), put it in my original Pi Model B and booted that. Perfect. Lovely!
So far this has all sounded very easy, and it fact it has been. But after the adventures that I had with the Pi 2 and 3 it's really nice to have something "just work", exactly the way it is expected to. Now it's time for the more challenging step - trying to load the X Window System and the i3 Window Manager.
Fortunately there are some instructions in the Manjaro ARM Wiki for doing this. However, I found that those instructions are a bit out of date, and they are intended for installation of the Xfce desktop, so I had to figure some things out and make some adjustments on the fly.
On the Manjaro ARM home page, go to Wiki and then scroll down to 'After the Installation'. That starts out with some good information about using pacman from the CLI, and some generally good advice about system administration. Scroll on down to the section titled 'Minimal Edition', where you will find the information for installing a GUI desktop.
It is a very good idea to perform all of the initial steps listed there, to get the pacman mirror list updated and optimized, get the GPG keys updated, and then get all of the latest updates installed before you start installing Xorg.
Once that is all done, you are ready to install the X Window System (X.org) files. This is where the wiki is a bit out of date; because it is not necessary to manually create the symlinks for the GL and EGL libraries, that will be done automatically during the package installation. So just install the Graphic Drivers and Xorg files as described.
pacman -S --needed xorg-server xorg-server-utils xorg-xinit
pacman -S --needed xorg-twm xorg-xclock xterm
When these packages have been installed, it should be possible to manually start an X session. So I went back to my normal login (not root), and tried startx. Yay! Hooray! Whoopeee! This is what I got!
Raspberry Pi Model B / Manjaro ARM twm
But wow, is that ever UGLY! When was the last time that I used X with nothing but twm? Well, at least two things are clear here - I now have at least enough installed for X to run and produce a primitive desktop, and I definitely need to install some kind of modern desktop/window manager.
So, I have accomplished my second objective, getting a GUI desktop working on the Manjaro ARM Minimal Edition. I've still only been working on this for about half an hour, so it is going much smoother and faster than I thought it might!
Continuing with the Wiki, I am not interested in having a graphic Desktop/Login manager, and I want to see how it all works manually before committing to automatically starting X, so I didn't bother to install slim and I didn't make the change to ~/.bash_profile yet.
At this point, rather than installing Xfce as described in the Wiki, I installed i3:
pacman -S --needed i3 dmenu
Those two packages should be enough to get i3 running, all I needed to do was get the X startup to use i3 rather than twm. I'm only interested in seeing if it works right now, so I took the quick-and-dirty method of creating ~/.xinitrc containing nothing but
exec i3
Then I ran startx again... and gave an even bigger cheer, because that brought up an i3 desktop! It's not exactly a work of art, because the screen is just plain black with the i3 status bar across the bottom, and there's not much functionality because there still aren't many of the normal graphical utilities or applications - but hooray anyway, because it works!
I then added a few things on top of this very basic installation, to make it a bit more functional or comfortable to use, such as network-manager-applet to make it possible to control wireless network connections from the i3 status bar, and scrot to get quick and easy screen shots. Oh, and a decent looking wallpaper, so that I could include a nice screenshot like this.
Raspberry Pi Model B / Manjaro ARM i3
What's left to do now is to think about what you plan to use the Raspberry Pi for, and install the necessary GUI utilities and applications for that - while keeping in mind that this is a limited power/memory system. Here are some examples of what I have decided on so far:
- PCmanFM file manager - I like it, and installing any of the popular alternatives would have brought along lots of support files and libraries. Midnight Commander (mc) would have been a good alternative as well.
- Midori browser - I initially installed Firefox, purely out of habit. The first time I started it I was convinced that it was the wrong choice. I remembered that Raspbian originally included Midori, so I tried it. Much better.
- geeqie image viewer - small, lightweight, flexible and very fast. Again, most of the alternatives required a lot of other stuff to be installed as well.
- geany - The base installation includes vi (yes, really vi, not even vim). If you started using vi in the days when Bill Joy was still working on it, then it is probably still sufficient for your needs. But for the rest of the real world, a decent GUI text editor and basic IDE are a must.
I think those examples pretty much show what has to be done. Decide what you want/need to have installed. Think about the overhead involved, both in terms of the total size of the program and all of the support files and libraries it needs on disk, and in terms of CPU power and memory requirement when it is running. When you come up with a candidate, you can check the Manjaro ARM repositories to see if it is available with this command:
pacman -Ss [package name or description]
With some careful consideration and a bit of trial and error, I am looking forward to creating a very nicely usable Manjaro i3 system for my Raspberry Pi 1 and Zero systems!
piCore Linux
Next up, something completely different. piCore is a spin of The Core Project, who are best known as producers of TinyCore Linux. I looked at PiCore 7.0 a year ago, and most of what I said there is still valid, although of course development has continued and the current release is 8.1 now.
The first and perhaps most important thing to know about piCore is that it is not a general-purpose install-and-forget release. piCore is for users who really know what they are doing (or want to learn that), and who are happy to have to deal with lots of low-level details. You don't have to be an expert to install and use piCore, but if you aren't one at the beginning you're very likely to be one when you finish.
You can find information about PiCore development and track the latest releases (both Test and Final) on the TinyCore Linux Raspberry Pi page. The 8.x releases can be downloaded from http://tinycorelinux.net/8.x/armv6/releases/RPi/. MAKE SURE that you read the README file before installing PiCore. There is also a file called IMPORTANT in that download directory, and all it contains is the statement "Read README". Get the message?
The installation image is extremely small (less than 40MB!). Although it is a zip file, it is different from the other distributions we have looked at because it doesn't contain just the image, it also contains a text file with the MD5 checksum. So you can't just unzip it and dump it to the SD card in one pipline as we have before, you have to do something like this:
unzip piCore-8.1.3.zip
dd if=piCore-8.1.3.img of=/dev/sdX bs=4M iflag=fullblock oflag=direct status=progress
This initial installed image is only about 15MB, but it only has about 1.3MB of free space, so you really have to expand it before moving the card to a Pi and booting it.
I booted it first on the Pi B+, and it came up to a text console very quickly. The Release Announcement for PiCore 8.1.3 mentions that if you want a basic GUI, you need to install the TC.tcz package. This of course implies that you have a wired network connection (there is no wireless support in the base installation). Then you just type
tce-load -wi TC
That will download and install all the necessary packages. The GUI will then start automatically when you reboot, or if you are impatient you can just run startx.
Raspberry Pi Model B+ / piCore Linux 8.1.3
After getting this far on the Pi B+, I shut it down and moved the card to a Pi Zero. It booted right up to the GUI desktop. Very nice. There is a bit of an issue on the Pi Zero, though. As I just said above, there is no wireless support in the base installation. The Pi Zero has no wired network interface. So you would have to either prepare piCore on a Pi Model B/B+, and get wireless support working, or you would have to have a USB-Wired Network adapter for the Pi Zero.
I'll finish this short section with the same statement that I made to start it - piCore Linux is completely different from anything you are familiar with (unless you happen to already know one of the other tinyCore versions). It is installed, configured and maintained differently. A lot of people love tinyCore, for a lot of good reasons, so if you have an open mind, and you don't mind digging, investigating and learning a lot of new things, it could be a very good choice for any model of the Raspberry Pi.
Ubuntu MATE
I mentioned in the previous post that there are only distribution files for Ubuntu MATE 16.04 LTS available, not for the newer Ubuntu 16.10 release. Since that post I have had time to follow up on something that I mentioned at the time, and at least get the installed system to upgrade to 16.10
By default Ubuntu MATE is set to only notify you of new LTS releases. If you go to System / Administration / Software & Updates, you can change that setting so that it notifies you of any updates.Then go back and run the Software Updates utility, and after installing any available 16.04 updates, it will tell you that the 16.10 upgrade is available, and ask if you want to install it now.
Before clicking yes, be advised that this update takes a long (long, long, long) time even on the Raspberry Pi 3. Mine took more than four hours, on a wired network connection. The first hour or so of that was downloading the upgrade files, and the rest of the time was grinding through the upgrade.
The good news is that the entire upgrade worked flawlessly. So now you can decide for yourself, if you are satisfied with 16.04, which is an LTS release, then by all means I would strongly recommend that you stay with it. If you have some specific need, project or just plain curiosity for the newer kernel and utilities that are in Ubuntu 16.10, then you can invest half a day in upgrading. Keep in mind, though, that 16.10 is not an LTS release so if you upgrade now, you're probably committing yourself to follow up with the 17.xx releases as well, at least until we get to the Ubuntu 18.04 LTS release.