Samsung 305U - Part 2, Linux Preparation and openSuSE Installation

Just to be complete and accurate, please note the correction in the title of this post - apparently the general designation of this laptop is 305U, and the specific model I have is a 306U1A.
In the first post on this subject, I unpacked the new Samsung laptop and went through the Windows 7 Home Premium installation and configuration. To be perfectly honest, this is an exceptionally nice sub-laptop, even when running Windows - it is fast, the keyboard and touchpad are comfortable, the screen is very readable and has good resolution, and although booting and shutting down Windows is noticeably slow, using the recommended "sleep/resume" is very fast, and I haven't had any problems with that yet either. The next step is to prepare it for Linux installation, and then to actually install Linux on it - in this case that will be openSuSE 12.1 KDE.
So, what needs to be "prepared" for Linux installation? As I mentioned in a previous post about setting up Windows/Linux dual-boot systems, the first thing to do is create the Windows Recovery Media, if your system wants/needs/requires that (i.e. did not come with recovery media included). In addition to that, you might want to make a backup of the finished Windows installation, because if you subsequently need to restore from the "Recovery Media", the notebook will be put back to the original factory configuration, and you will have to slog through the "First Startup and Configuration" procedure again.
Next comes the disk partitioning - you have to have a place to install Linux. In the case of this Samsung notebook that will be a little easier than with some other systems, because the Samsung installation procedure for Windows gave me the choice of either using the entire available space on the disk for one large C: driver, or splitting the available space between a C: and a D: drive. By choosing to split the space, what I was actually doing was dividing the available space between Windows and Linux - Windows will get the C: drive, of course, and Linux will be put in place of the D: drive. If you are just installing Linux for the first time, and you only want to "stick your toes in the water", you can make the D: partition relatively small, just enough to contain a Linux root partition and a Linux swap area. I have routinely installed Linux distributions in a 4GB root partition, but if you want a bit of room to install additional software and working space, I would recommend something like 8GB-16GB. The swap space should be at least the size of the memory in the computer, so in this Samsung I will make that 4GB, which means making D: at least 20GB is enough. At the other extreme, if you know that you will be primarily using Linux, and you are only keeping Windows around for backward compatibility, you can easily reduce the C: partition to something like 64GB, and give the rest to D: (eventually for Linux). Anything within these two extremes is of course perfectly acceptable, and although experience can help determine a reasonable range, the exact distribution is always going to depend heavily on the particular size of disk and amount of memory you have.
There are a number of ways to manage disk partitioning under Linux, any one of which is vastly superior to the nearly useless Windows. I prefer GParted, because it gives me a graphical interface, and it can control pretty much every aspect disk management, including create/delete/resize of Primary and Extended partitions, lots if different types of filesystems (including NTFS), and set the flags associated with disk partitions. It is included on the Live distributions of Ubuntu and Linux Mint (and various others), and on various dedicated administration and disk recovery Live media including its own Parted Magic, the well-known System Rescue CD and others. I always have Ubuntu and Mint live USB sticks handy, so I just boot one of them to run GParted; if you don't have one, I can say that it is never a bad idea to have a Parted Magic or System Rescue CD around.
When I ran GParted on the Samsung after completing the Windows installation, the disk looked like this:
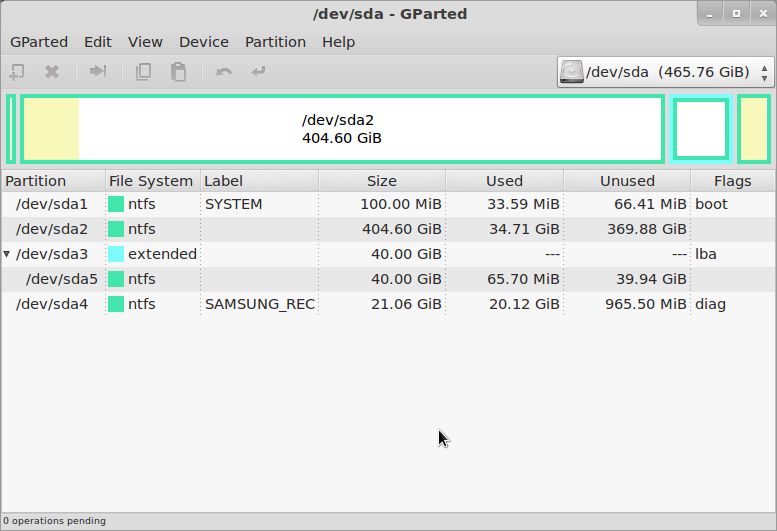
There you can see the first partition is 100MB for the Windows bootloader, the second partition covers most of the disk (404GB) that I gave to C:, the third partition is actually an Extended partition which contains only the 40GB that I gave to D:, and the fourth partition is 21GB for the Samsung Recovery Solution. Another nice feature of the Samsung installation procedure can be seen here - not only did it let me split the disk for C: and D:, it also put D: in an Extended Partition, rather than using all four available Primary Partitions for its own installation. This makes it a bit easier to re-allocate the D: area for Linux.
So, at this point all I have to do is select /dev/sda5, which is the NTFS logical partition within the extended partition, and delete it. As I am fairly picky about how/where my partitions get allocated, and the exact sizes, I would then go ahead and create a 36GB ext4 partition and a 4GB Linux Swap within the /dev/sda3 Extended Partition, but you certainly could just shut down at this point, and let openSuSE/Fedora/Ubuntu/Mint/whatever automatically allocate the necessary partitions during installation, and they would make reasonable choices.
Once the disk partitioning is done, you are ready to install Linux. In this case I am going to install openSuSE 12.1, so I go to the openSuSE Download web page, and get the Live KDE image. I generally use the 64-bit version whenever possible (which is just about always these days), so I download that ISO image. There are links on the openSuSE download page to information on how to burn the ISO image to CD, and how to convert it to a Live USB image.
Once you have a bootable CD or USB stick, you're ready to take on what can be one of the trickiest parts of the procedure - figuring out how to boot it. If you are installing from CD, you have the problem that most netbooks and sub-notebooks don't have a built-in CD/DVD drive, so you have to boot from a USB CD/DVD drive. If you are installing from a USB stick, you have to boot from that - which is generally NOT exactly the same as booting from a USB CD drive. In general, when you first power on a system it goes through a power-on self-test (POST) sequence. During this time you can hit some key to tell it that you want to select the device to boot from, but exactly what key that is varies between systems, and there might even be more to it than that. Here are a few quick notes:
- Samsung uses ESC on most of its systems
- HP uses F9 on most of its systems
- Fujitsu uses F12 on most of its systems
- Acer uses F12 on most of its systems, but you often need to go into the BIOS to enable it
There are, of course, other variations; I can't remember what either Lenovo or Dell use, and there are plenty of others I have never tried. In general, look at the screen during POST for a hint about what is possible. If all else fails, you can try going into BIOS setup and change the boot priority, to put things like "USB CD", "USB Disk" and "USB Floppy" ahead of the hard disk drive. Oh, just to keep thing interesting, there are occasionally other weird variations and limitations. This Samsung 305U, for example, will only boot from a USB stick when it is initially powered on, and specifically NOT when it is "rebooting" from either Windows or Linux. So if you are up and running, and want to go back to a USB boot for some reason, you have to shutdown and power off, then start again, you can't simply "reboot". Sigh.
When you boot the openSuSE installation disk, you will get a menu which lets you select the Live image, the Installer, or a couple of other debug/startup options. If you boot the Live image it will bring up a full Linux system, running only from memory and the installation media, where you can try it out, check device support (see, for example, if wireless networks are found), and generally get the feel of Linux on your system before installing. If you then decide to go ahead and install, there is an "Install" icon on the desktop which will start the installation procedure. Alternatively you can choose "Install" from the boot menu and it will go directly into the installation procedure, without completely bringing up Linux and all of its associated services, which can be a bit faster.
The installation procedure then goes through only a few screens, as follows:
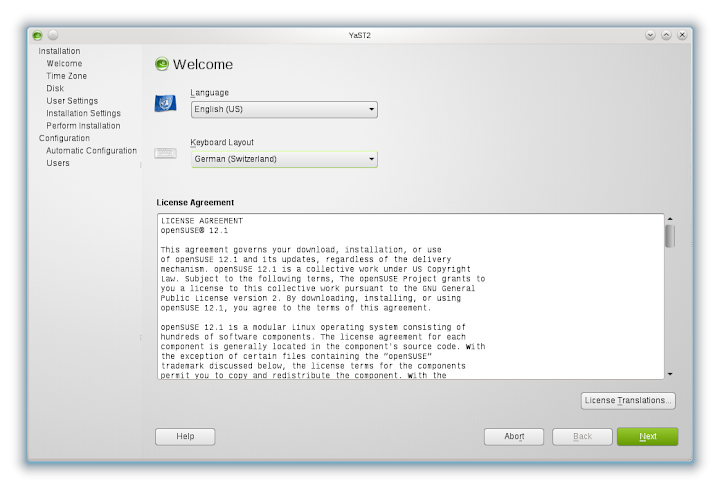
- Language/Keyboard selection: If you have a non-U.S. keyboard, this is the place to define it. This option frequently gets overlooked because it is a small box at the top of the window, and the rest of the window is filled with the Software License Agreement.
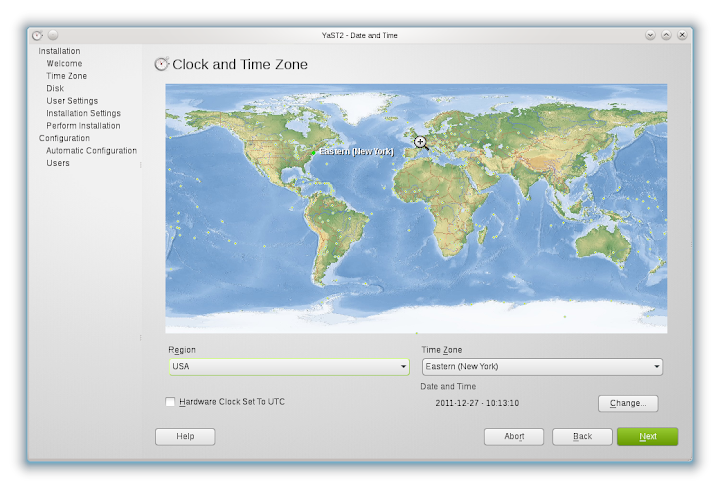
- Clock and Time Zone selection: Click on a region to get an enlarged map (Europe or whatever), and then your specific location. Note that if you have a steady hand and sufficient patience you can select the specific location directly from the first world map.
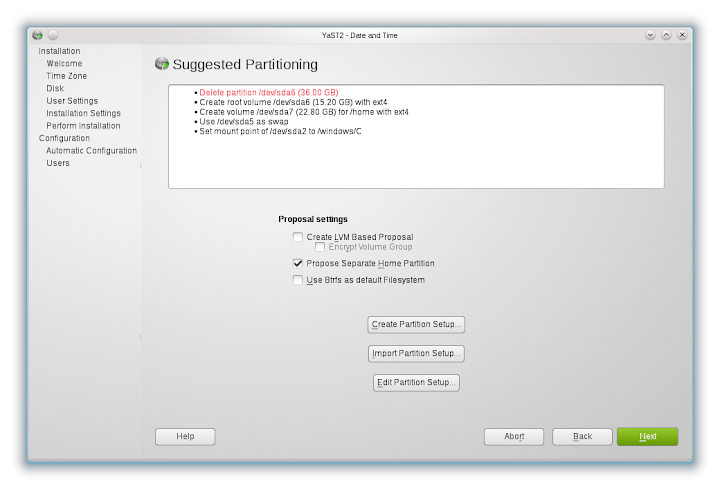
- Disk Partitioning: There are several important choices packed in this screen. First, it will examine the disk drive and propose a layout based on the free space that it finds, so if you just left the extended partition empty after deleting D: above, it will propose a root, a home and a swap partition within that area. If this is good enough for you, just click Next and move on. If for whatever reason this isn't what you want, there are a couple of options. The simplest is if you don't want a separate /home partition, perhaps to save disk space or make things a bit simpler. Just un-check the box for that, and it will update the proposal. If you want even more control, you can click "Edit Partition Setup" and make changes to the proposed layout, or click "Create Partition Setup" and make whatever you want.
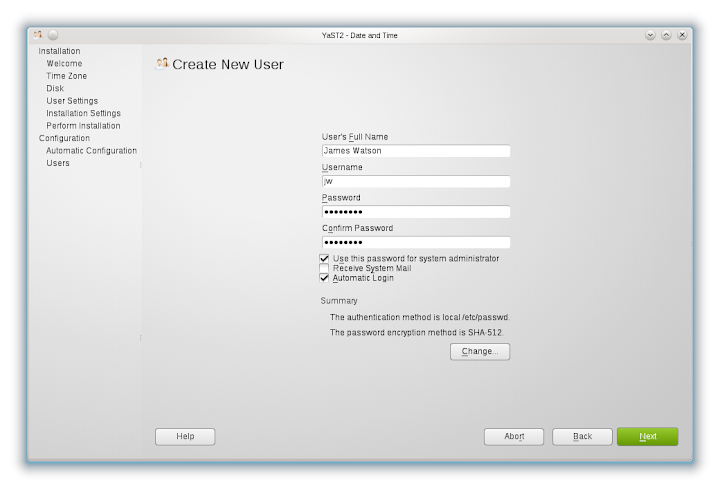
- Create New User: It will not let you create a user with no password. This is a good thing.
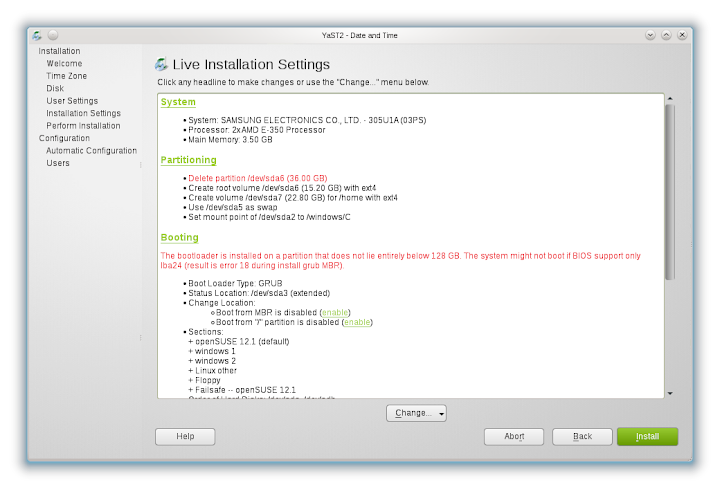
- Summary and Confirmation: This shows everything that either you have specified or openSuSE has assumed, so you can confirm it all.
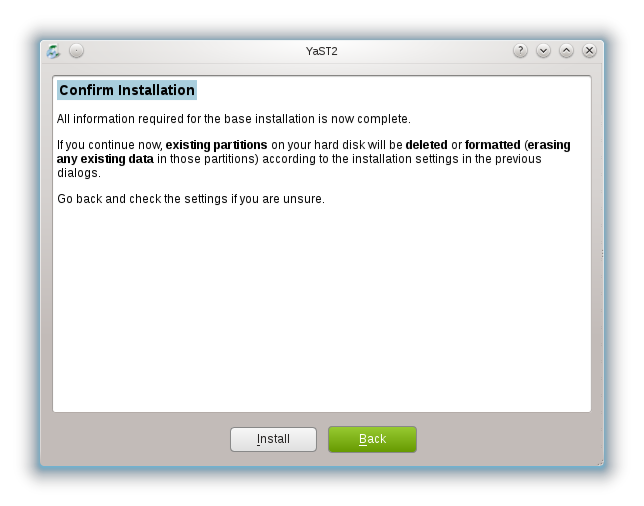
- Last Chance: One more time, just to be absolutely sure. Click "Install", and you're off.
Installation takes 15 minutes or less, and then prompts you to either reboot or continue testing. You're done!
jw