'ZDNET Recommends': What exactly does it mean?
ZDNET's recommendations are based on many hours of testing, research, and comparison shopping. We gather data from the best available sources, including vendor and retailer listings as well as other relevant and independent reviews sites. And we pore over customer reviews to find out what matters to real people who already own and use the products and services we’re assessing.
When you click through from our site to a retailer and buy a product or service, we may earn affiliate commissions. This helps support our work, but does not affect what we cover or how, and it does not affect the price you pay. Neither ZDNET nor the author are compensated for these independent reviews. Indeed, we follow strict guidelines that ensure our editorial content is never influenced by advertisers.
ZDNET's editorial team writes on behalf of you, our reader. Our goal is to deliver the most accurate information and the most knowledgeable advice possible in order to help you make smarter buying decisions on tech gear and a wide array of products and services. Our editors thoroughly review and fact-check every article to ensure that our content meets the highest standards. If we have made an error or published misleading information, we will correct or clarify the article. If you see inaccuracies in our content, please report the mistake via this form.
How to screen record on your iPhone

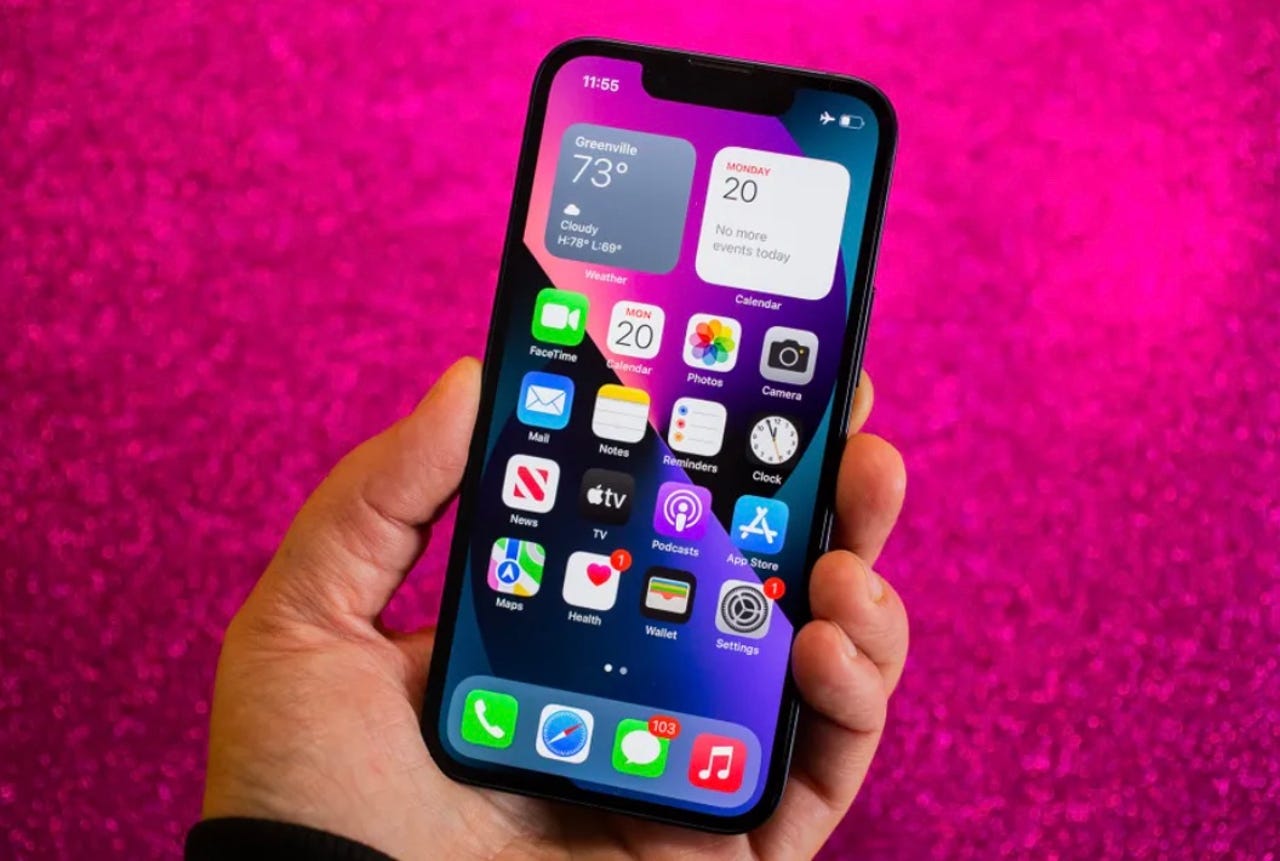
Whether you're trying to demonstrate a bug to a tech support rep or you're demonstrating an iPhone task for your co-workers, it's useful to be able to quickly and easily screen record your iPhone. Luckily, Apple made it simple to do just that with its release of iOS 14 in 2020. Read on to see how to quickly access and use the built-in tool to take native screen recordings of any modern iPhone.
How to screen record on any iPhone
- Materials needed: Any iPhone running iOS 14.0 or later
- Estimated time: Less than 1 minute
You'll find the necessary setting in the Control Center section of your Settings app
1. Open your Settings app and find "Control Center"
Apple added a quick, easy way to record your screen with iOS 14 in 2020, but you'll need to enable it before you can use it. To do this, open your Settings app and find Control Center (as seen above in the red rectangle).
This is the Screen Recording option we'll be adding to Control Center
2. Add the Screen Recording button to your Control Center
Once you're in the Control Center section, you'll see a couple of toggles, an "Included Controls" section with all of the options that have already been added to your Control Center, and a section called "More Controls."
Depending on how many controls you have active, you may need to scroll down a bit to see this. In the More Controls section, find Screen Recording (as seen above in the red rectangle) and tap the green + icon to its left. This will add it to the Included Controls section and make it accessible via Control Center.
This is the screen recording button we'll use to start the recording.
3. Open your Control Center
Next, you'll want to open Control Center. This can be done from your home screen, or from within the vast majority of iPhone apps. For iPhones without a physical Home Button, you can access it by swiping down from the top-right corner of the display.
For iPhones with a physical Home Button, you can access it by swiping up from the bottom of the display. Once it's open, scroll through your options until you see the button that looks like a solid circle within a hollow circle, like the one circled in red above.
While recording, your Screen Recording button will look like this (minus the red circle we added)
4. Begin screen recording
When you're ready to begin recording, tap the Screen Recording button. This starts a 3-second countdown. At the end of it, the recording will begin. This countdown time can be used to close the Control Center and get back to the true subject of your Screen Recording before the video capture actually begins.
While recording is active, the Screen Recording button in Control Center will turn white and the icon within it will turn red, to indicate recording is active. The clock on the top left of your display will also be surrounded by a red indicator (as seen below).
Your clock will look like this as long as Screen Recording is active.
Step 5: Record
This is when you'll want to complete whatever task it is you wanted to screen record. Once you've finished recording your task, move on to the final step below.
This is the confirmation box that will appear when you stop your recording.
5. End your recording
When you're ready to end your recording, there are two ways to stop it. The first is to tap the red clock in the top left of your screen. This will produce a dialogue box like the one seen above. You'll need to tap "Stop" to end your recording. If you're in a full-screen app that hides the clock, you can also once again pull out your Control Center and tap the Screen Recording button. If you use this second method, the recording will end immediately, with no confirmation required.
In both cases, the recording you just produced will immediately be saved to your Photos library. In the Photos app, you can play it back, share it, edit it, and do all of the same things you could with a video you captured using your iPhone's built-in camera.
Also: How to record a call on your iPhone
FAQs
What does the Screen Recording app actually capture?
It captures everything that goes on across your entire iPhone screen, as well as any sound produced by the iPhone itself while it's recording. This includes any actions you perform, any full-screen videos, and any audio you play via websites, apps, etc.
Can I add narration to my captured videos?
Unfortunately, the built-in iPhone tool for recording your screen doesn't support capturing narration or any input from your cameras while active. There are, however, free third-party solutions that can be downloaded from Apple's App Store that do support things like narration, an integrated face cam or rear camera feed, and more. We've rounded up three of the most well-reviewed options below:
- Techsmith Capture - A straightforward screen recorder app that works almost identically to the built-in process, but supports adding real-time narration using the iPhone's built-in microphones.
- RecordIt! - A slightly more complex option that also allows for real-time narration or post-capture editing. It also supports face cam captures, so you can record your screen and yourself at the same time.
- Screen Recorder + - A similar option to RecordIt!, Screen Recorder + touts its ability to start up in just one second, for those spur-of-the-moment captures.
How can I share my captured video?
Screen recordings can be shared via all of the same options available for videos and photos produced by your iPhone's built-in camera. This includes Messages, email, AirDrop, and any third-party apps you're usually able to share media through.
Be aware that some apps, particularly email and messaging apps that don't rely on Apple's iMessage platform, might have size limits that screen recordings, especially longer ones, can exceed.