Windows 10 tip: Stay organized using virtual desktops

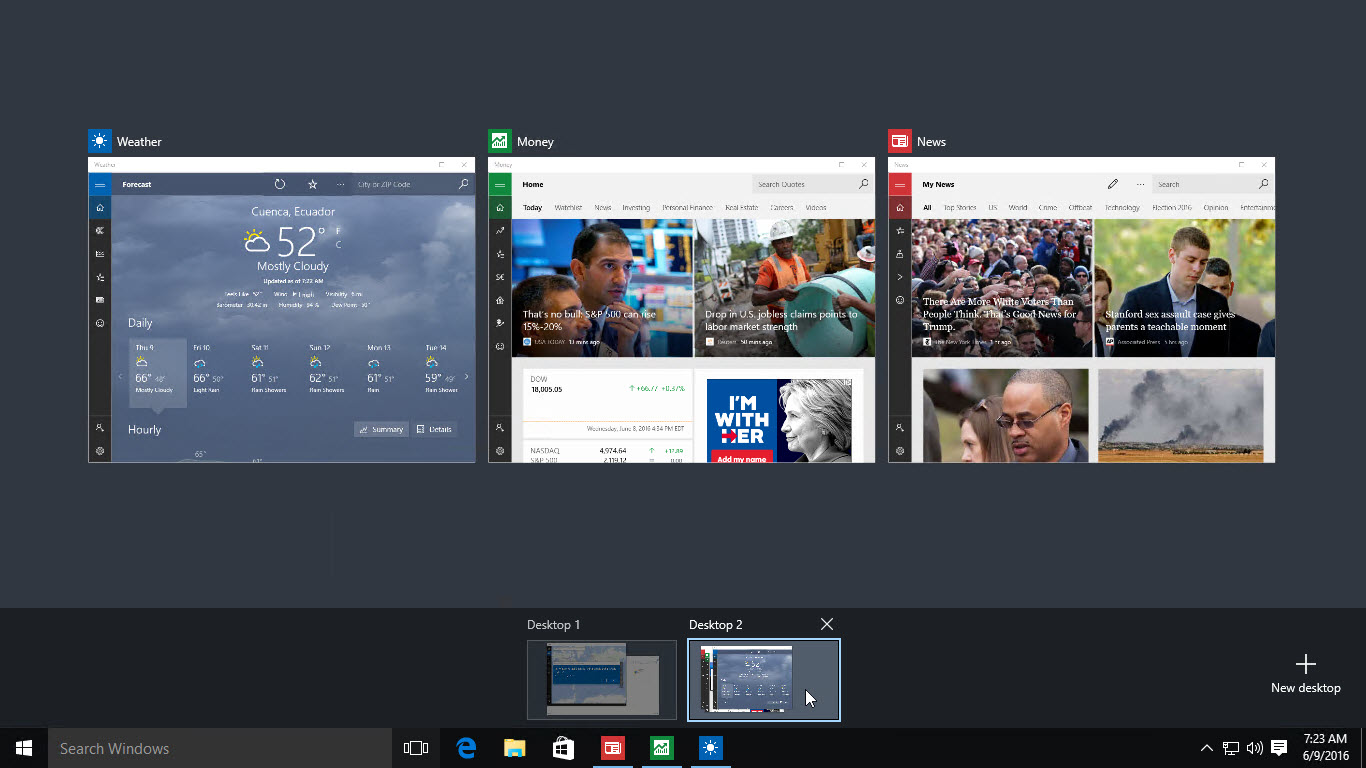
Aim the mouse pointer at a virtual desktop (below) to see its contents. Drag open apps to move them onto a new desktop.
Virtual desktops are nothing new for Windows, but earlier versions required third-party software (such as the free Sysinternals Desktops utility).
In Windows 10, this feature is built in, as part of Task View. You can have multiple virtual desktops, organizing open apps into different desktops to minimize clutter and distraction.
To create a new, empty virtual desktop, click the taskbar's Task View button (just to the right of search) or use the keyboard shortcut Windows key + Tab, and then click New Desktop.
Each virtual desktop is numbered, with the main desktop identified as Desktop 1. To see which apps and open windows are associated with a given desktop, let the mouse pointer hover over the thumbnail of that desktop. To move an app from one desktop to another, just drag the app from the rows of thumbnail in Task View and drop it on the desktop you want to use.
To close a virtual desktop, click the X in the upper right corner of its thumbnail in Task View.
You can use Task View to switch virtual desktops, but it's faster to move between them using the keyboard shortcut: Windows key + Ctrl + right arrow/left arrow.
On a laptop equipped with a precision touchpad, use a four-finger swipe to quickly switch between desktops. Swipe left to move to higher-numbered desktops, swipe right to return to Desktop 1.
Previous tip: Point and click to edit the system path variable