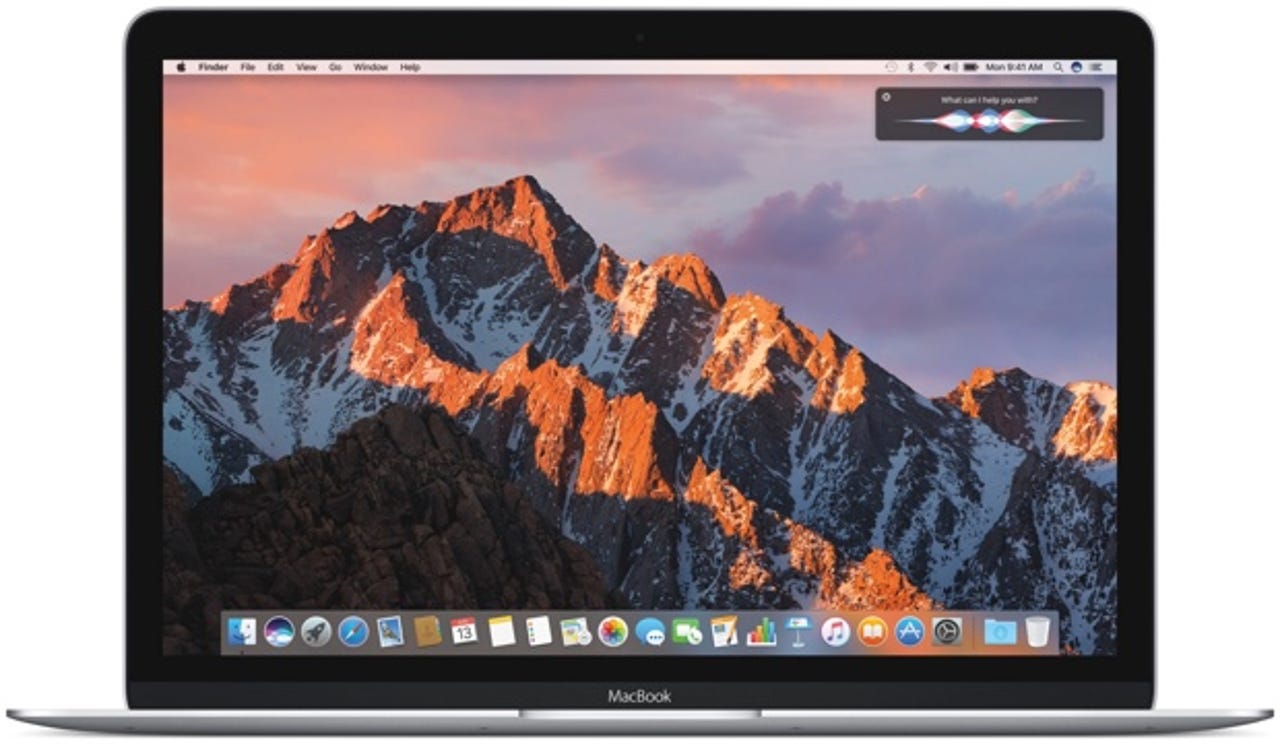
Get your Mac ready for macOS Sierra


Apple has released macOS Sierra to the public today(Sept. 20, but you still got time to prepare your Mac for the upgrade so that you have the best possible chance of everything going smoothly.
Step 1: Check compatibility
The following Macs are compatible with macOS Sierra:
- MacBook - Late 2009 and newer
- iMac - Late 2009 and newer
- MacBook Air - 2010 and newer
- MacBook Pro - 2010 and newer
- Mac Mini - 2010 and newer
- Mac Pro - 2010 and newer
Anything that falls outside of this range isn't supported, and OS X El Capitan will be the end of the line.
Step 2: Backup
Don't put your data at risk!
The fastest and least hassle way to back up a Mac is using Time Machine -- either to an Apple Time Capsule or another connected storage device (either on the network on directly connected to the Mac).
Alternatively, you can do an off-site cloud backup. How long this will take depends on how fast your internet connection is and when you last did a backup, so factor that into the equation.
At the very least, you should plug in a USB stick and copy over onto it any important files and documents (just in case something goes wrong).
Step 3: Free up space
You can begin by deleting your trash (right-click on the icon and choose Empty Trash). You might free up a few megabytes or hundreds of gigabytes!
If you want to clear out the system caches, temporary files, and other detritus, I suggest running a tool such a Cleaner for Mac (it's free).
If you have a lot of duplicated stuff on your system -- especially audio and video files -- then a tool such as Gemini 2 should help free up some storage space. Not sure of you have duplicated files? Use the trial version of Gemini 2 to find out.
Then you can do a quick audit of the applications you have installed and delete anything that you no longer use of have replaced with a different app.
Wondering why we back up first and then free up space? It's in case you goof up and delete something you need!
Step 4: Know your important passwords
Specifically, make sure you have your Apple ID, because you'll need it when after carrying out the upgrade.
Also, if you encrypted your backup, make sure that the only copy of that password isn't stored on your Mac, because if things go bad, you won't be able to roll the system back.
Step 5: Get a good internet connection
macOS Sierra is going to be several gigabytes in size, so make sure you have a good internet connection before you kick off the upgrade.
Also, be patient. Millions of other people are going to be hammering Apple's download servers at the same time.
Step 6: Consider delaying the upgrade for a few days
If you rely on your Mac, or a specific application, you might want to wait a few days before upgrading in case there are any show-stopping bugs that Apple needs to patch or some software application requires an update to work properly.
Nothing is more annoying than pulling the trigger on an upgrade only to land yourself in a world of hurt and be in a position where you're not able to get your work done.
Top accessories for your MacBook (September 2016)
See also:
- How to fix iOS 10's most annoying feature
- Here's how Apple made the iPhone 7 water resistant
- Can I just ignore the recall and carry on using my Galaxy Note 7?
- iPhone 7 shattering pre-order records
- Stop calling the iPhone 7 'waterproof'. It isn't
- iPhone 7 and iPhone 7 Plus: New features highlights
- How to securely wipe your iPhone for resale