Weekend Project: Securely erasing hard drives

Quite a few of you have been asking me this questions lately, so when this one dropped in the Hardware 2.0 mailbox today, I picked it:
I have quite a few old hard drives about the place that I've accumulated over the years that I need to wipe and get rid of. How do you suggest I go about this without eating my entire weekend?
Well, given that I don't know how many drives you have, and whether you want to sell them, recycled the metal, or reuse them, and given that I don't know whether you have drives that a defective and cannot be accessed, I'm going to suggest three different methods to use – software, hardware, and the hands-on method.
Software
The cheapest way to tackle a pile of hard drives is to wipe them with a software eraser. I warn you though, it's not quick, and it won't work on defective drives.
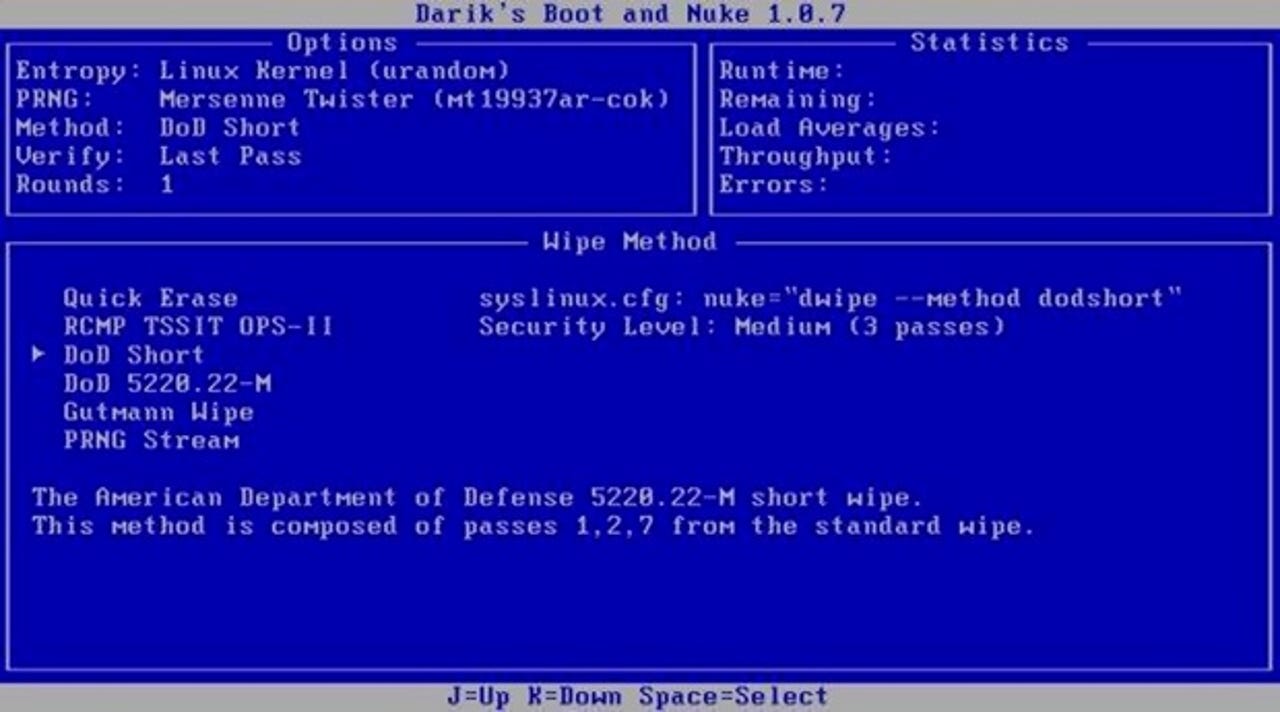
My tool of choice for wiping drives is Darik's Boot And Nuke. It's free and does a good job.

To use it you'll need to create a wipe disc, and then hook up the drives you want to wipe to a PC and run the software. Be careful not to inadvertently wipe a drive containing data you need (I suggest using a spare PC or disconnecting all the data drives from the system you use, just in case.
I recommend that you read and thoroughly familiarize yourself with the documentation for this software – if you inadvertently nuke the wrong drive — and if you're using a working PC to wipe drives, that can happen if you take your eye off the ball — YOUR DATA IS GONE!
Hardware
If you don't feel like taking the software approach, another method you can take is to employ a hardware tool to do the job. At this point things start to get a little expensive, but it is faster and does mean that you don't have to dedicate a PC to the wiping operation.
The tool I use is Wiebetech's Drive eRazer Ultra. It's a fast, reliable, stand-alone solution to wipe disks. You connect the drive up, tap a few buttons, and Drive eRazer Ultra takes care of the rest.
I've used this tool to wipe dozens of drives with great success. It's an expensive solution for sure – the eRazer Ultra starts at $200 – but if you have a lot of drives to wipe, it's well worth it.
The hands-on method
OK, what do you do if you want to wipe dives quickly (for example, you're just going to take them for recycling – or the drives died in some way with data still on them that now cannot be wiped?
Here's where the hands-on method comes into play.
You will need:
- A hefty hammer (16oz will do)
- A thick nail – a 6-inch nail will do file
- Thick gloves – because you're going to be hammering that nail though the drive using the hammer, and you will almost certainly hit your hand
- A block of wood – so you don't nail the drive to your floor (preferably do this outside if you can)
- Eye protection – you only get two to play with!
Now you apply brute force. Ideally you want to put a nail through the platters of the drive, going all the way through (it's actually not as hard as it sounds. I aim for this red X:
By aiming for this spot not only will you smash the platter holding the data, but also destroy the heads. If you're really paranoid, put a nail through the green stars too.
This is a very effective method of destroying drives, and it's also a lot of fun and a good way to relieve stress!