Hands-on with the Nest learning thermostat

You don't generally think too much about your home's thermostat, but I have to say I am quite excited about the design, functions, and features of my new Nest thermostat. Installation was a breeze and I look forward to realizing the savings this year.
Check out my ZDNet Mobile Gadgeteer blog post that includes more details on the Nest learning thermostat.
The Nest is set in the box on a frame with a plastic shield over the top.
The back of the Nest shows the connection ports and other information.
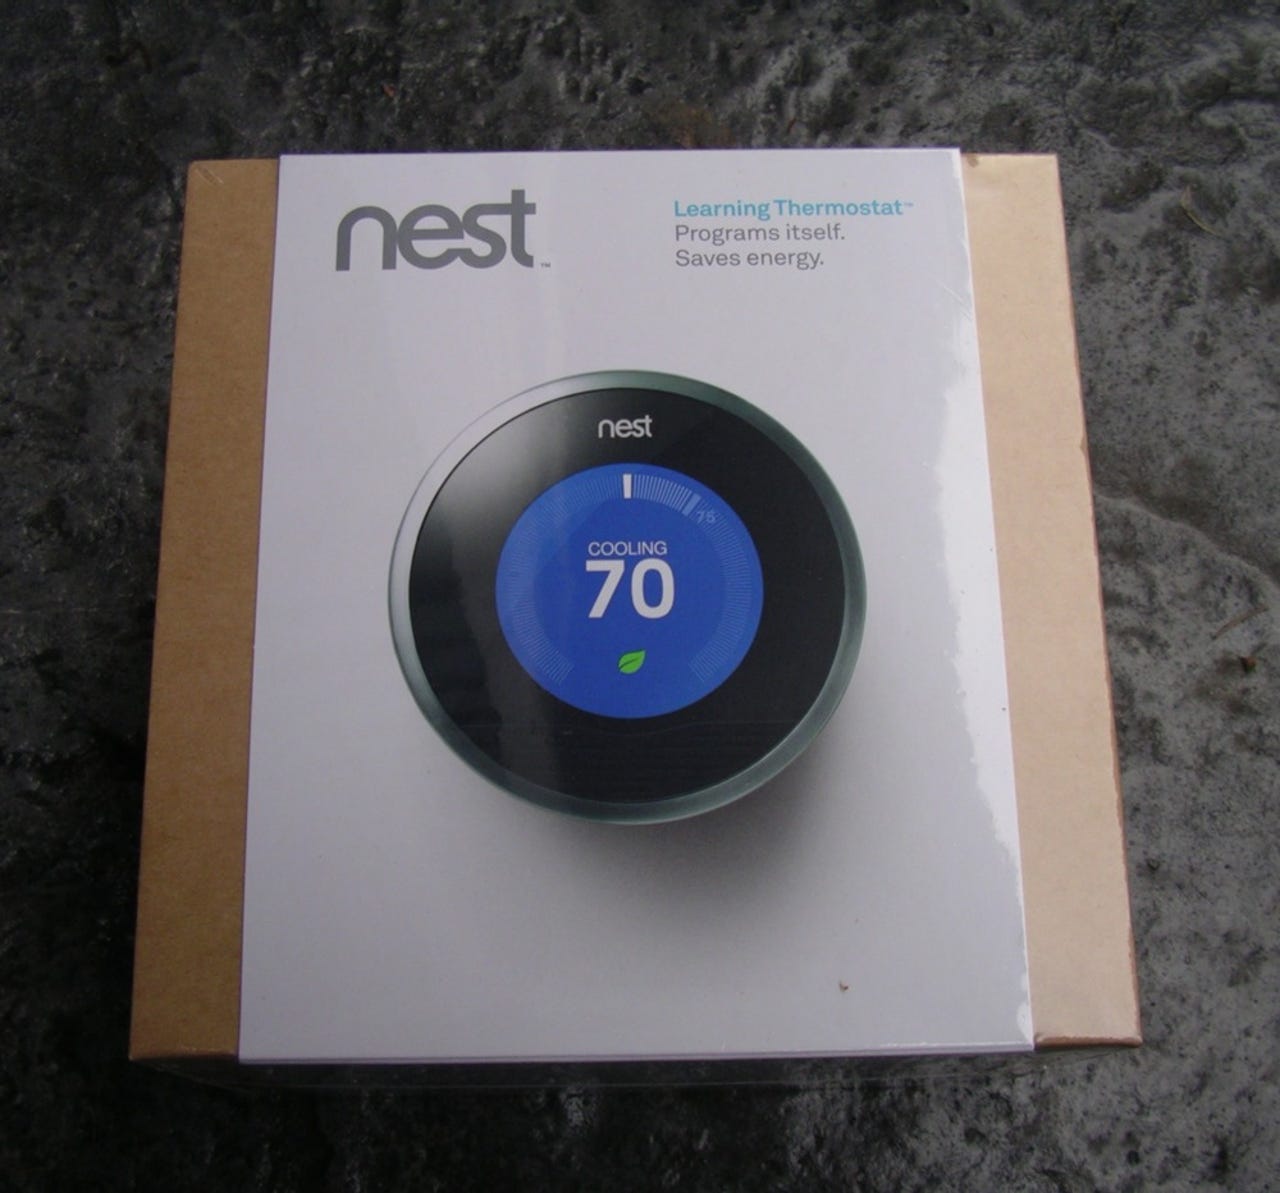
Here you can see the box contents included when you purchase your Nest for $249.
The bottom storage compartment stores the mounting panel, plastic anchors, and Nest screwdriver.
The Nest mounting piece has clearly identified cable connection ports and even a small level to make sure you mount it squarely on the wall.
As you can see my existing Honeywell thermostat has a broken button and is quite large.
When the cover of my old thermostat is flipped up you can see there are options to program the thermostat. However, it never seemed to work as scheduled and was unrealiable.
You can find the wires you need to connect to your new Nest when you pull off the old thermostat.
The wire labels you need to use are provided in the Nest retail box.
After mounting the Nest backing plate, the wires are easily inserted into the ports.
When you first energize your Nest you will see this screen appear.
You need to walk through the setup procedure of your Nest after powering things back up.
To enter your WiFi password you rotate and then press in to select.
The Nest shows you the setup that it detects during the setup process.
You can choose your method of heating on the Nest.
You need to enter your ZIP code so that the Nest can connect via WiFi to check for local temperatures.
You can have more than one Nest in your house if you have multiple thermostats, but I just have one in my home so named it Nest.
You can set a reduced temperature for when you are away from your home.
After the initial setup you can later go back to your Nest and access more settings and controls by pressing in on the outside of the Nest.
The current temperature is shown along the dial with the set temperature shown in large numbers in the center of the Nest.
You get a Nest screwdriver in the box with four bits found at the top of the tool.
There are several settings available to you on your Nest, including when the screen turns on.
The click sound can be enabled for when you rotate the Nest too.
The brightness of the display can also be selected.
There is an iPad app and as you can see I only have one Nest to manage in my home. The current setting is shown with the current outside temperature appearing in the upper right.
Unlike the other mobile apps, the iPad app lets you access and customize the daily schedule of your Nest.
The iPhone and Android app simply show you the Nest(s) you have in your home with the current set temperature.
You can use the app on your iPhone or Android device to turn the thermostat up or down by tapping on the up or down arrows.
Nest image gallery 1
Nest image gallery 2