Search
  • Videos
  • Windows 10
  • 5G
  • Best VPNs
  • Cloud
  • Security
  • AI
  • more
    • TR Premium
    • Working from Home
    • Innovation
    • Best Web Hosting
    • ZDNet Recommends
    • Tonya Hall Show
    • Executive Guides
    • ZDNet Academy
    • See All Topics
    • White Papers
    • Downloads
    • Reviews
    • Galleries
    • Videos
    • TechRepublic Forums
  • Newsletters
  • All Writers
    • Preferences
    • Community
    • Newsletters
    • Log Out
  • Menu
    • Videos
    • Windows 10
    • 5G
    • Best VPNs
    • Cloud
    • Security
    • AI
    • TR Premium
    • Working from Home
    • Innovation
    • Best Web Hosting
    • ZDNet Recommends
    • Tonya Hall Show
    • Executive Guides
    • ZDNet Academy
    • See All Topics
    • White Papers
    • Downloads
    • Reviews
    • Galleries
    • Videos
    • TechRepublic Forums
      • Preferences
      • Community
      • Newsletters
      • Log Out
  • us
    • Asia
    • Australia
    • Europe
    • India
    • United Kingdom
    • United States
    • ZDNet around the globe:
    • ZDNet France
    • ZDNet Germany
    • ZDNet Korea
    • ZDNet Japan

Gallery: Here's what's inside the Palm Pre

1 of 15 NEXT PREV
  • 309518.png

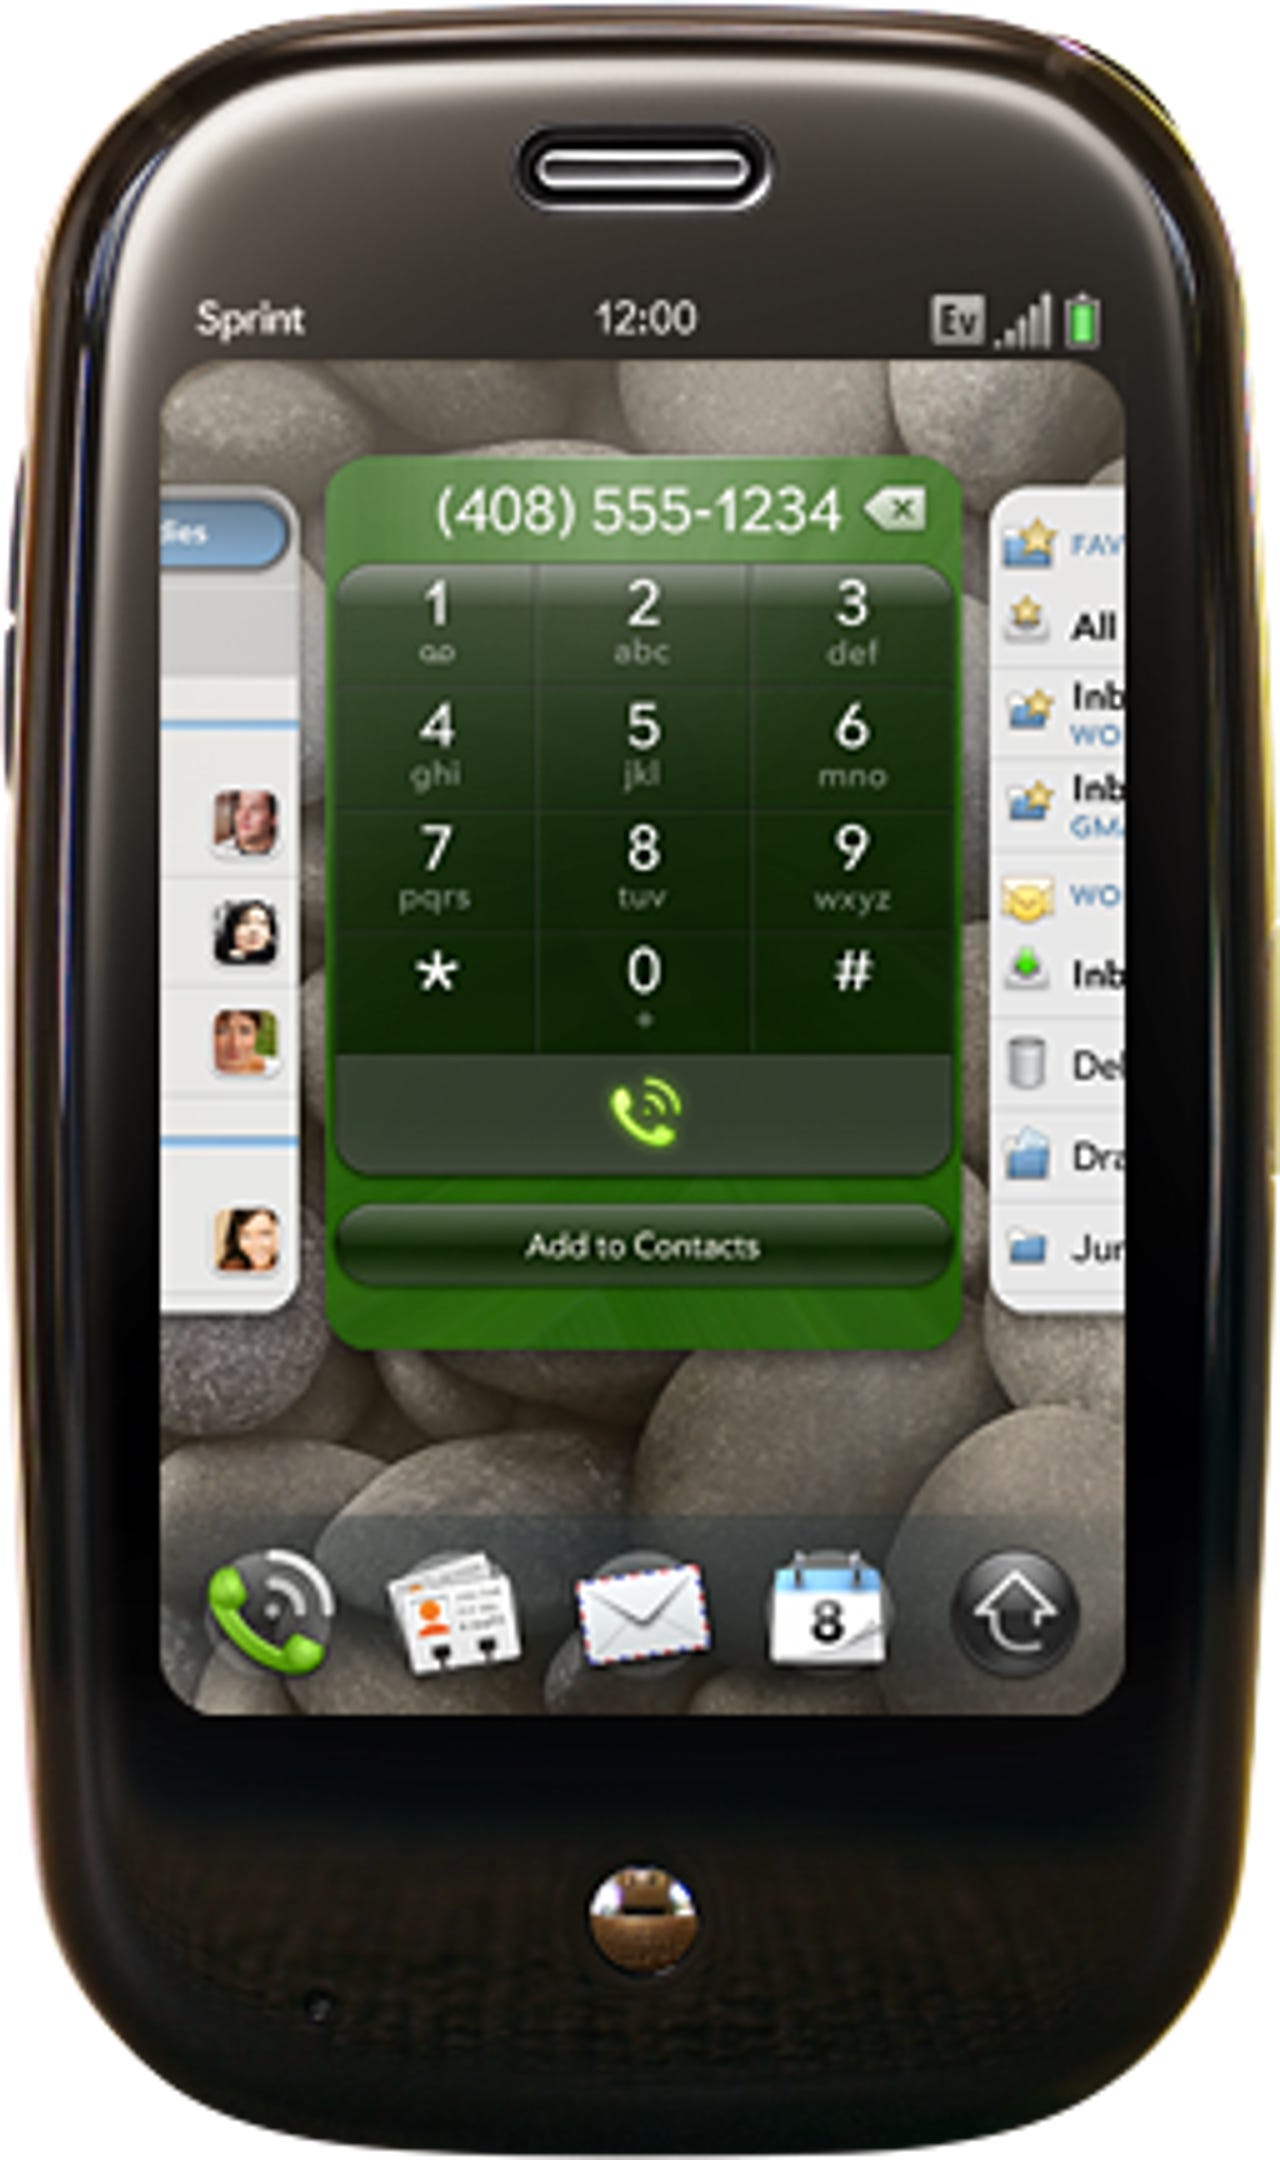
    The folks at RapidRepair weren't satisfied being one of the first owners of a Palm Pre. They had to take it apart and see what's inside.

    You can replace screens and batteries but be careful, you may void your warranty.

    Credit: Rapid Repair

    Published: June 6, 2009 -- 10:14 GMT (03:14 PDT)

    Caption by: Andy Smith

  • 309519.jpg

    Prepare
    • Tools required: Small Phillips Screw Driver, Small Flathead, Pliers, solder iron, exacto razor & Safe Open Tool
    • Repair Toolkit available HERE
    Gather all neccesary tools and place your Palm Pre Phone on a clean flat surface, use a soft cloth or towel to place under it.

    Credit: Rapid Repair

    Published: June 6, 2009 -- 10:14 GMT (03:14 PDT)

    Caption by: Andy Smith

  • 309520.jpg

    Nice looking phone. It comes with a manual, earbuds (not Apple), pouch, USB cable, and charger.

    You want to be sure to only use the OEM charger otherwise you will fry the phone.

    The box has a slick design, similar to the original iPhone box.

    Credit: Rapid Repair

    Published: June 6, 2009 -- 10:14 GMT (03:14 PDT)

    Caption by: Andy Smith

  • 309521.jpg

    Check out the back of the phone, small and sleek.

    Credit: Rapid Repair

    Published: June 6, 2009 -- 10:14 GMT (03:14 PDT)

    Caption by: Andy Smith

  • 309522.jpg

    To get started, push the tab on the bottom of the phone to remove the back panel. This should be pretty easy to do since the battery is user replaceable.

    Total of six screws must be removed at this point.

    Credit: Rapid Repair

    Published: June 6, 2009 -- 10:14 GMT (03:14 PDT)

    Caption by: Andy Smith

  • 309523.jpg

    Remove the battery so we can expose the 2 clips on the side of the back panel bezel. You can use the razor blade or small flathead to push the clips out. These 2 clips are on the outer edge of the phone.

    The tabs secure the top of the keyboard bezel.

    Credit: Rapid Repair

    Published: June 6, 2009 -- 10:14 GMT (03:14 PDT)

    Caption by: Andy Smith

  • 309524.jpg

    To remove the keyboard bezel you must use a nylon safe open case tool and spudge all the way around until the bezel pops up. This will remove the back panel partially.

    Credit: Rapid Repair

    Published: June 6, 2009 -- 10:14 GMT (03:14 PDT)

    Caption by: Andy Smith

  • 309525.jpg

    Before you pry the back panel bezel all the way off, you must 1st disconnect the communications board cable pictured.

    Credit: Rapid Repair

    Published: June 6, 2009 -- 10:14 GMT (03:14 PDT)

    Caption by: Andy Smith

  • 309526.jpg

    Now we can see the entire front panel with components revealed.

    Credit: Rapid Repair

    Published: June 6, 2009 -- 10:14 GMT (03:14 PDT)

    Caption by: Andy Smith

  • 309527.jpg

    Let's step back to the front bezel and remove the antenna wires to expose the comm board. This board houses chips for GPS, wireless, etc.

    Remove the small metal plate with the razor (pictured) so you can unplug the antenna.

    Credit: Rapid Repair

    Published: June 6, 2009 -- 10:14 GMT (03:14 PDT)

    Caption by: Andy Smith

  • 309528.jpg

    We want to focus on removal of the front bezel slide with keyboard. There are 2 clips (bottom corners) to start removal of the keyboard.

    Remove the one visible screw, then slide the keyboard in and out to reveal 2 more hidden screws. One hidden screw is located under the ribbon which connects the comm board to the system board.

    Remove the two larger board clips at this point. (camera board and comm board clips).

    Credit: Rapid Repair

    Published: June 6, 2009 -- 10:14 GMT (03:14 PDT)

    Caption by: Andy Smith

  • 309529.jpg

    We can see the front panel internals now. There are 3 small flip clips to remove. Clips used for: Digitizer, ear piece speaker and mic/LED panel.

    Remove the gray tape to expose the actual clip to the LCD.

    After the clips are removed, remove the board to expose the Palm Pre LCD screen.

    Credit: Rapid Repair

    Published: June 6, 2009 -- 10:14 GMT (03:14 PDT)

    Caption by: Andy Smith

  • 309530.jpg

    Now that the system board is removed, we can concentrate on removal of the heat shield. Use a pair of needle nose pliers along with a heat gun or solder iron to get started.

    This step is very difficult, don't try it unless you need to identify the chips.

    Chips seen here:

    Texas Instruments CPU TWL5030B/ 94A20PW C

    Elpida K2132C1PB-60-F/ 09100N024

    Samsung 910 KMCMG0000M-B998, 8GB NAND memory for storage is suspected.

    Credit: Rapid Repair

    Published: June 6, 2009 -- 10:14 GMT (03:14 PDT)

    Caption by: Andy Smith

  • 309531.jpg

    After removal of the board from step 8 we can clearly see the LCD/digitizer combo.

    This component is problematic from a design point of view. It mimics the terrible iPhone 1st gen LCD/Digitizer module.

    Currently we have not found a way to separate the LCD from the digitizer. Looks like people will be paying for both parts if one should fail.

    Credit: Rapid Repair

    Published: June 6, 2009 -- 10:14 GMT (03:14 PDT)

    Caption by: Andy Smith

  • 309532.jpg

    Look at all the glorious parts and modules. Reverse this guide to put it back together. Good luck.

    Credit: Rapid Repair

    Published: June 6, 2009 -- 10:14 GMT (03:14 PDT)

    Caption by: Andy Smith

1 of 15 NEXT PREV
Andy Smith

By Andy Smith | June 6, 2009 -- 10:14 GMT (03:14 PDT) | Topic: Mobility

  • 309518.png
  • 309519.jpg
  • 309520.jpg
  • 309521.jpg
  • 309522.jpg
  • 309523.jpg
  • 309524.jpg
  • 309525.jpg
  • 309526.jpg
  • 309527.jpg
  • 309528.jpg
  • 309529.jpg
  • 309530.jpg
  • 309531.jpg
  • 309532.jpg

The folks at RapidRepair weren't satisfied being one of the first owners of a Palm Pre - they had to take it apart and see what's inside. Take a look.

Read More Read Less

The folks at RapidRepair weren't satisfied being one of the first owners of a Palm Pre. They had to take it apart and see what's inside.

You can replace screens and batteries but be careful, you may void your warranty.

Credit: Rapid Repair

Published: June 6, 2009 -- 10:14 GMT (03:14 PDT)

Caption by: Andy Smith

1 of 15 NEXT PREV

Related Topics:

Mobility Smartphones Mobile OS Security Hardware Reviews
Andy Smith

By Andy Smith | June 6, 2009 -- 10:14 GMT (03:14 PDT) | Topic: Mobility

Show Comments
LOG IN TO COMMENT
  • My Profile
  • Log Out
| Community Guidelines

Join Discussion

Add Your Comment
Add Your Comment

Related Galleries

  • 1 of 3
  • Diamond Dog screen protector for Apple iPhone 12 Pro Max: Affordable, clear, and easy to install

    While today's modern glass displays are designed to handle more abuse than in the past, they can still scratch or break so the first thing I do with a new phone is to install a screen protector. ...

  • Mous cases for the Samsung Galaxy S21: Drop protection and magnetic accessory features

    Mous has a couple of case options for the Samsung Galaxy S21 lineup. Both models offer AiroShock drop protection while the Limitless 3.0 case includes strategically placed magnets ...

  • Incipio and Survivor cases for Samsung Galaxy S21 Ultra: Dual-layer and compostable options

    Wrapping your expensive phone in a case is a good way to provide extra protection. Dual-layers, enhanced grip, and even cases you can easily recycle are available from Incipio and ...

  • Gear4 and InvisibleShield for Galaxy S21 Ultra: Impact protection and anti-microbial treatment

    ZAGG has Gear4 case options and InvisibleShield screen protection for the new Samsung Galaxy S21 Ultra 5G. Various levels of drop protection are provided in different case models. ...

  • Samsung Galaxy S21 Speck Presidio cases: Drop and antimicrobial protection

    Speck cases are designed to help you hold onto your phone and if you happen to drop it then the case is there to aid in the likelihood of survival. 13-feet drop protection and Microban ...

  • How to test chargers and power banks to make sure they don't blow up your expensive smartphone

    I test dozens of chargers and power banks every month, and you can be guaranteed that plugging my expensive iPhone or iPad into them isn't the first thing I do. (Updated: October 2018) ...

  • Spigen cases for the Samsung Galaxy S21 series: Affordable prices, professional looks

    Spigen offers a wide range of case options for the new Galaxy S21 series with prices ranging from $19.99 to $39.99. All the cases are available in black with a couple subtle color options ...

ZDNet
Connect with us

© 2021 ZDNET, A RED VENTURES COMPANY. ALL RIGHTS RESERVED. Privacy Policy | Cookie Settings | Advertise | Terms of Use

  • Topics
  • Galleries
  • Videos
  • Sponsored Narratives
  • Do Not Sell My Information
  • About ZDNet
  • Meet The Team
  • All Authors
  • RSS Feeds
  • Site Map
  • Reprint Policy
  • Manage | Log Out
  • Join | Log In
  • Membership
  • Newsletters
  • Site Assistance
  • ZDNet Academy
  • TechRepublic Forums