Image Gallery: Barnes & Noble Nook electronic book reader

The Barnes & Noble Nook is the newest electronic book reader on the market and takes things to the next level with both AT&T and WiFi connectivity, support for the largest number of ebooks available, capability to lend books, Google Android operating system powered and more. Let's take a look at the hardware, navigation, and ebook reading aspects of the device.
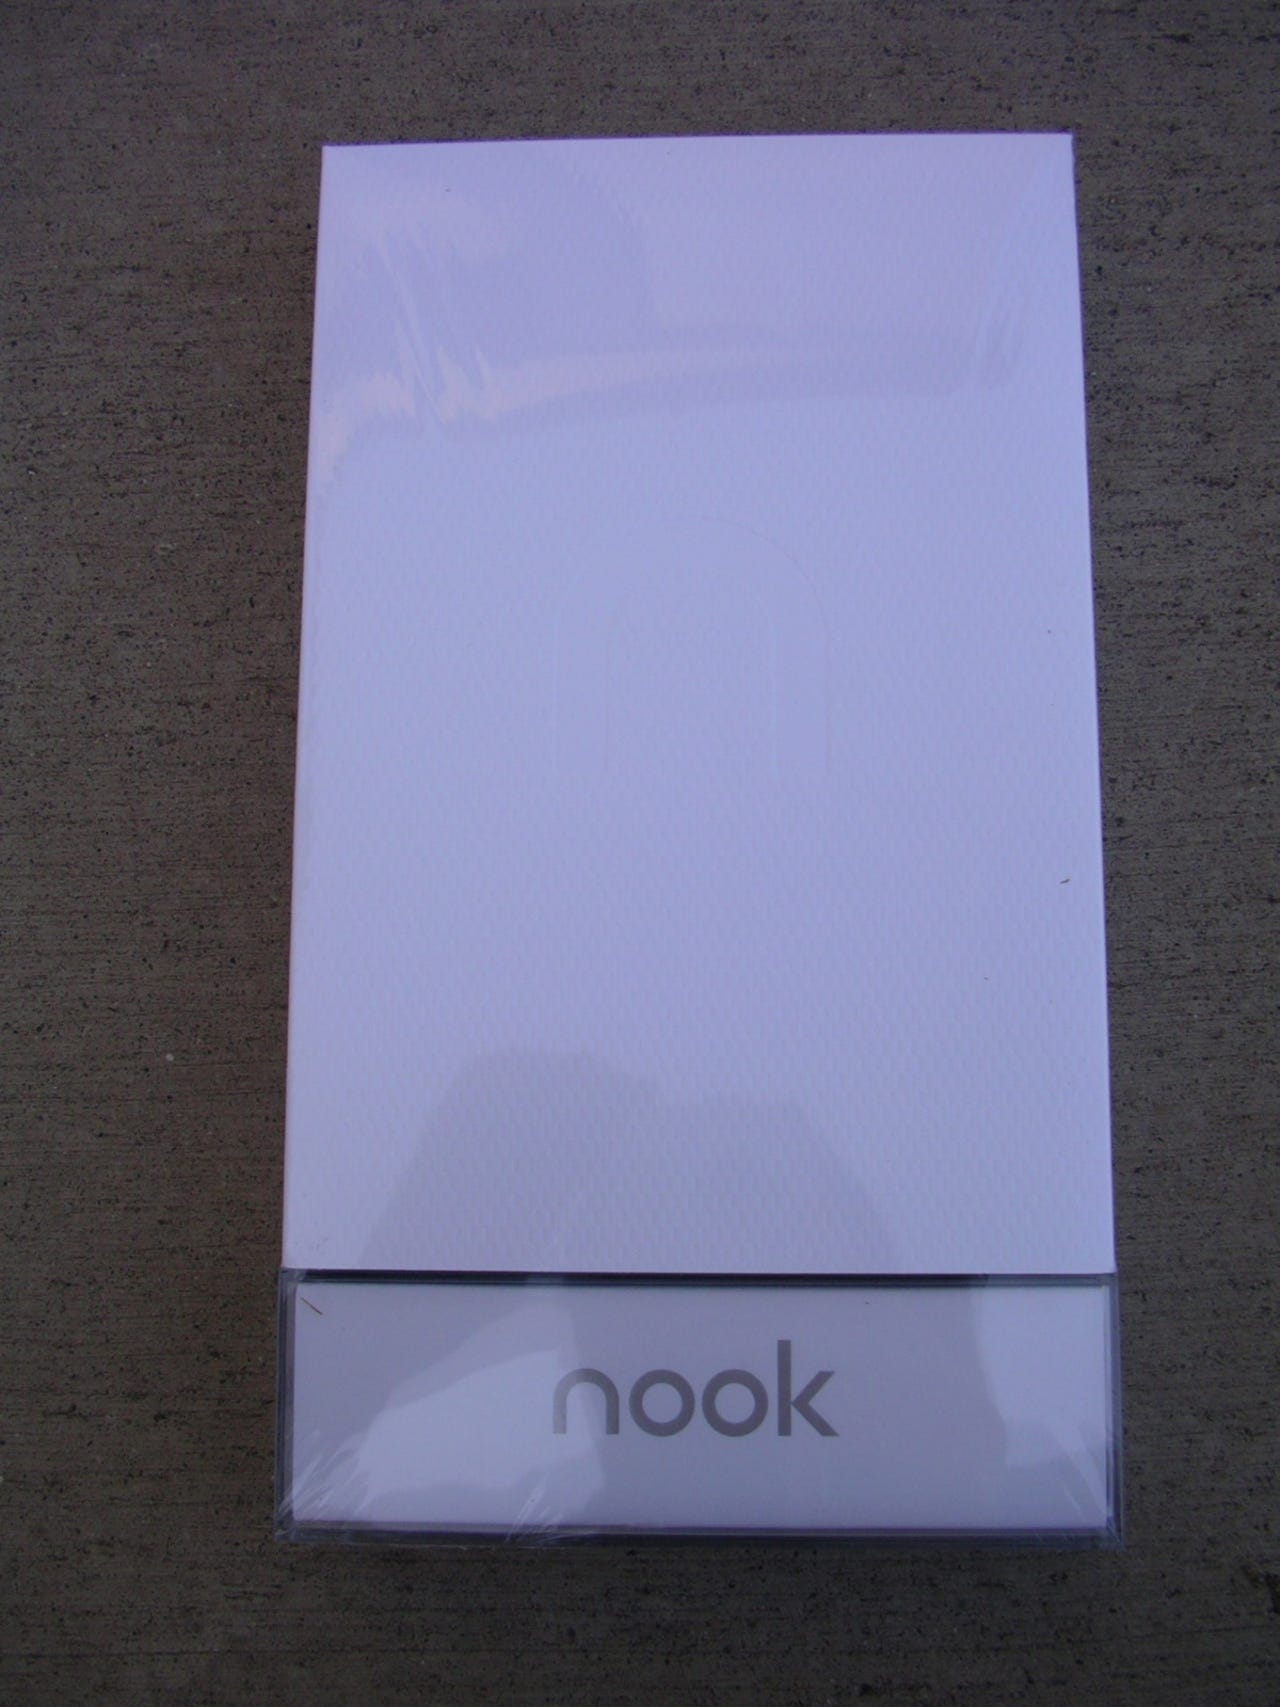
The white cardboard piece slides off to reveal the plastic internal packaging.
It does take a bit of effort to take the Nook out of the plastic casing and I recommend you follow the directions on the back of your packing slip to prevent breakage and issues.
You will find the USB cable and A/C adapter, along with a Quick Start Guide, in the lower box of the Nook package.
The Nook has both an upper eInk display and lower color LCD.
This gives you a feel for the size of the Nook compared to my Sony Reader 505.
The Nook is taller than the Sony Reader 505.
The back has a Nook logo and is covered in gray soft touch material to help you grip and hold your Nook in hand.
A slim silver button is found on the top of the Nook. There are two small openings present too that I think are for case options.
A mono speaker, microUSB port, and 3.5mm headset jack can be found on the bottom. There are also two small opening that look like they are designed for future case options.
There are page forward and page back buttons on both sides of the Nook. The buttons/areas have a matte finish and small dot protrusion to help you find them with your thumb or finger.
Here you can see the thickness differences between these two ebook readers.
Here is a shot of the Sony 505 on top of the Nook.
Pop-up bubbles appear during initial start up screens to guide you through some navigation aspects of the Nook.
There are ways you interact with the bottom color LCD during startup too.
You can register your Nook to get it connected with your online account.
As you can see a software keyboard appears across the entire bottom Nook color display. It is capacitive too so it is easy to tap away on the keyboard with your fingertip.
I recommend taking a walk through the tour during initial startup so you won't have to view the manual later.
Here you can see the Welcome notice on the Nook.
Navigation options appear on the bottom display as you read your books. This screen can be set to turn off if you just want to read without distractions too.
Daily content can be downloaded wirelessly to your Nook and enjoyed as well.
This part of the Welcome screen states what type of content is available.
This part of the Welcome screen explains how wireless access can be enjoyed on the Nook.
As you can see there are five main parts of the color "Home" screen. The daily, my library, shop, reading now, and settings.
You can play audio content in MP3 format and this player is available at the bottom of the main menus in the five different home screen parts.
Here you can see the B&N library I started out with on my Nook. All of these books were automatically added to my account when I downloaded the iPhone B&N reader application.
Here you can see some of the basic stats available in the settings area.
When you tap on Settings then this is what options you see in the menu.
You can connect your Nook to a B&N store or to your home network with ease.
Here are a few display settings.
I am not sure why there are contacts on the Nook, but it is there.
When you choose to shop then you are taken to the Barnes & Noble store. Special offers appear at the bottom and can be navigated through with the forward and back buttons on the side of the Nook.
There are various ways find content on the Nook using the bottom color display.
You can find ebooks, magazines, and newspapers on the Barnes & Noble store.
You can view store content by color covers, as seen here with magazines.
Only three newspapers are available at this time, but I imagine these offerings will grow quickly.
There are subscription options available for the Nook newspapers.
Here are the book covers of some available ebooks in the store.
The volume for the audio player is controlled via an on-screen controller/slider bar.
The entire back of the Nook is pried off to reveal the microSD card slot, battery, and AT&T SIM card.
The battery is held in place with a small single screw.
Instructions are provided for removing the battery.
The battery needs to be removed to take out the SIM card.
It is easy to take out the battery and for long trips you may want to have spares, but don't forget the screwdriver too.
Different standby images can be selected to appear on the Nook.
This logo is embedded on the back of the Nook.
This Nook button/area is placed on the top of the color display area and pressing it will take you back to the five icons on the color display.
As you can see the eInk display is set in a bit from the surrounding material. This may help you remember the top is not a touchscreen.
The surrounding plastic is glossy, but the page turning buttons have a matte finish on them to help you turn pages.
Wallpaper and Nook bottom Home page in hand.
Thumbnail 1
Thumbnail 2