Image Gallery: First impressions of the Dash Express connected GPS device

The Dash Express stands out from the growing pack of stand-along GPS in-car devices due to its GPRS and WiFi radios that keep it connected all the time. With this wireless functionality you can receive real-time traffic updates, road construction warnings, weather, and much more.
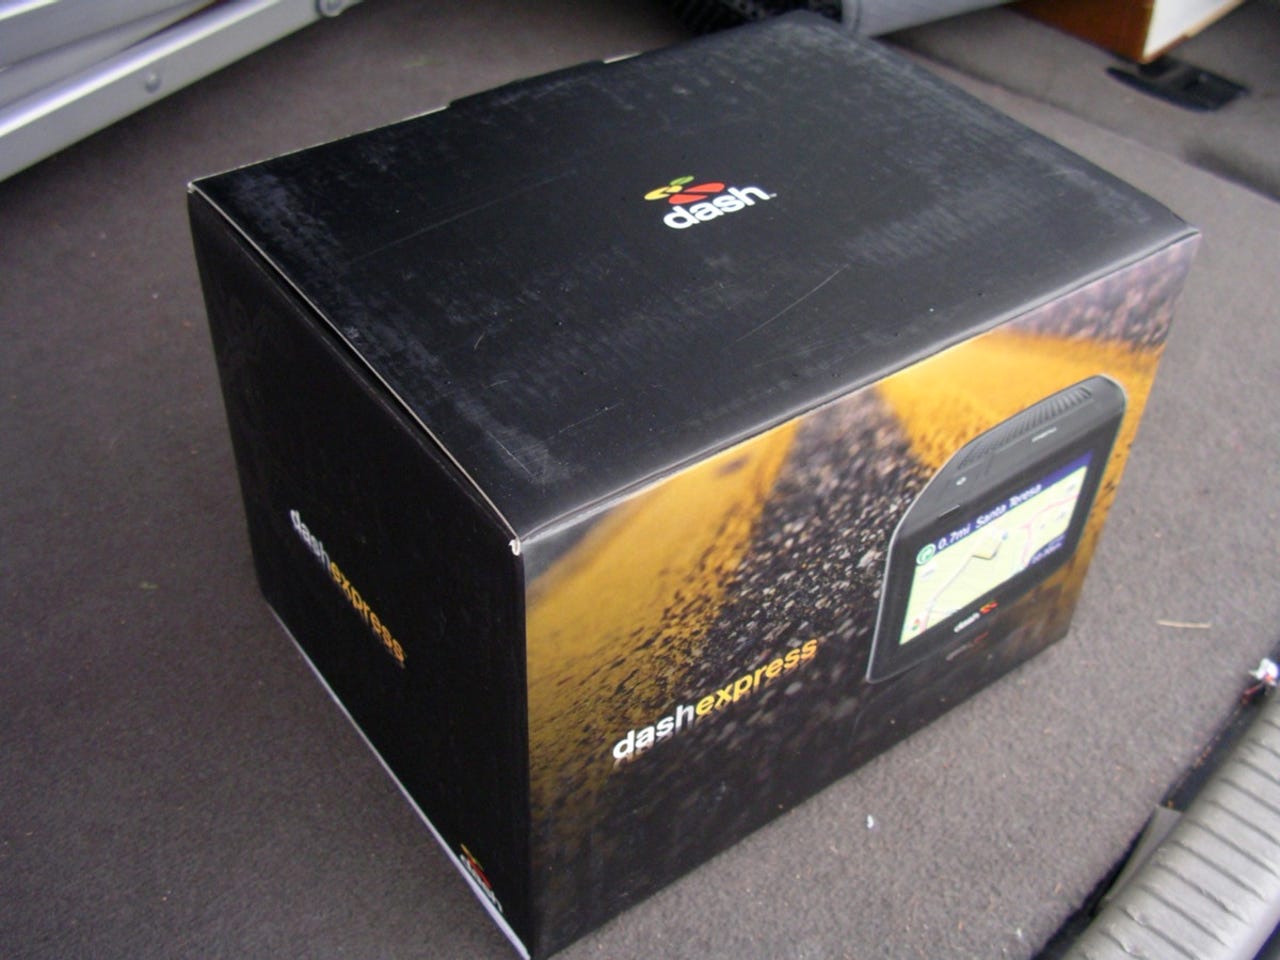
Front view of the Dash Express retail box.
The installation guide provides simple setup information on the device.
Getting Started and Installation Guides are provided along with some Dash stickers. You may not want to stick them on your car though as smart thieves may figure out you have such a device inside.
You should find a safe place to hide the device and mounting arm. It is too big to carry along with you, unless you carry a large bag.
There are some accessories stored under the device in the box.
Everything you need to get setup and going is included in the retail packaging.
There is a mounting arm with window attachment and also a piece to mount to your dash if you do not want to use your window.
You should keep the cable in the case until Dash issues an update to support USB connectivity.
So far I have only used the car charger, but there is a charger for your home too.
The Dash Express screen is very visible in all lighting conditions.
The initial launch display of the Dash Express.
After tapping the Menu button/area on top of the device you will see the following options.
The Dash Express uses Yahoo! Local Search to find destinations via the wireless GPRS connection. You can also load up applications, like the Fox News feed shown in the screen capture.
You can view maps in different formats and adjust other settings of the device.
WiFi is used to connect to your home or hotspot to download software updates (including maps) on the Dash Express.
More settings on the Dash Express.
You simply use your finger on the scroll bar to the right to look at all the settings.
I thought this was a pretty funny heading for settings and wondered what this was.
As you can see the geek screen shows you satellite tracking details.
There are several different ways to enter your destination.
My favorite way to get destinations to the Dash was by sending them via the online form. You simply enter the address and it gets sent right to the Dash Express.
The Dash Express will usually give you at least two route options and more if available. As you can see here the two options are also shown on a map view so you can quickly decide which route you want to take.
While navigating you see small car icon along with your highlighted route. The next turn is shown on the top and easy to tap icons are present for zooming in and out.
You can view a summary of your trip after you complete it.
You can step through the screens to find a destination.
Where do you want to go?
You will often see several results for your search and you simply tap the one you like to select.
After you find your destination you have a few options you can take.
Here you can see route options for my next trip.
You can tap the bottom right of screen to toggle through destination options. One of them gives you your ETA that changes based on your speed and the traffic.
You can also check the distance left to your destination.
The last destination option is the time left (countdown format) to reach your destination.
You simply tap the top areas to access the functions. They are not buttons that press, but touch sensitive areas.
Tapping this area access the volume slider so you can control how loud the device is.
Here you can see the top touch sensitive areas and speaker.
The window mounting bracket is very stout and lets you control the horizontal and vertical placement of the device.
The bracket has adjustable screws.
Here is another view of the mounting bracket.
The Dash Express slides into this bracket for mounting in your car and for charging. You must place it here to charge in your car.
A standard cigarette lighter/DC power supply charger is provided.
Thumbnail 1
Thumbnail 2