Image Gallery: Hands on with the T-Mobile G1 Android device

I was lucky enough to be able to attend the T-Mobile/Google launch event for the T-Mobile G1 and took a few photos of the hardware and various screens on the device.
There are several settings on the T-Mobile G1 as you can see in the main settings display.
You can manage the wireless radios from this settings page.
There are few further menu pages in wireless settings and this is an example of the T-Mobile network settings.
There are several call settings to manage on this display.
Here you can manage volumes, ringtones, and alerts.
From this display you can choose which Google services will auto-sync. Gmail, Calendar, and Contacts are currently supported.
Google did a good job with location management on the G1 and on this display you can manage those settings.
This display provides for security of your applications and keyboard shortcuts for applications. (Sorry for it being blurry.)
The G1 has a microSD (supports SDHC) card slot and you can manage that card with these settings.
You can manage your time and date formats with this settings page. (Again, sorry about it being blurry.)
It appears that a spell checker is supported on the G1, but I need to spend more time with it to answer that question fully.
I wanted to post this so I could compare what the shipping ROM will look like when I get a chance to get my hands on a device.
Here is a shot of what is currently found in the Android Market application store. There seems to be a few applications to choose from and I hope for more very soon.
As you can see there is very limited functionality with the camera and the two settings will be shown in the next image.
You won't see anything like panaroma, black and white, and all the other settings you expect on a device. Instead you will see the same lame options as the iPhone.
This is the display when you make a call in portrait mode.
These are the options you have available during a phone call.
The device is a bit long, but it actually feels good in your hand and is also quite solid. It looks better in person than in photos too.
Here is a shot of the bottom left side of the keyboard, with the dedicated Google Search button shown with the magnifying glass icon.
Here you can see the flush keys on the right side. It is nice to see two shift keys.
The dedicated number row is a nice touch for the keyboard and as you can see the spacing is quite good.
I like the Pearl/Curve like trackball navigator and found that it worked pretty well in my initial testing.
You can only enter text with the keyboard so you will spend a considerable amount of time in landscape mode.
The display doesn't flip up or slide up directly as seen on other devices, but slides out and up in a slight arc with this special hinge. It seems quite durable and it will be interesting to see if it remains this stiff after lots of usage.
There is a simple volume button on the upper left side of the device.
There is a slight curvature to the entire lower part of the device that must be for ergonomics when using the keyboard. The microSD slot is externally accessible under this small door on the lower left hand side.
HTC uses their proprietary connector that also works with miniUSB. This port is used for syncing, charging and the headset. I would have preferred a 3.5mm headset port.
Pressing and holding this launches the camera application and then the button becomes the shutter button. This is found on the lower right side.
Here is a view of the curvature from the right side of the G1.
As you can see the camera lens is quite small and there is no flash or mirror. The speaker is also found on the back next to the camera.
When you press the menu button (found above the trackball in the center) these options appear on the Home screen.
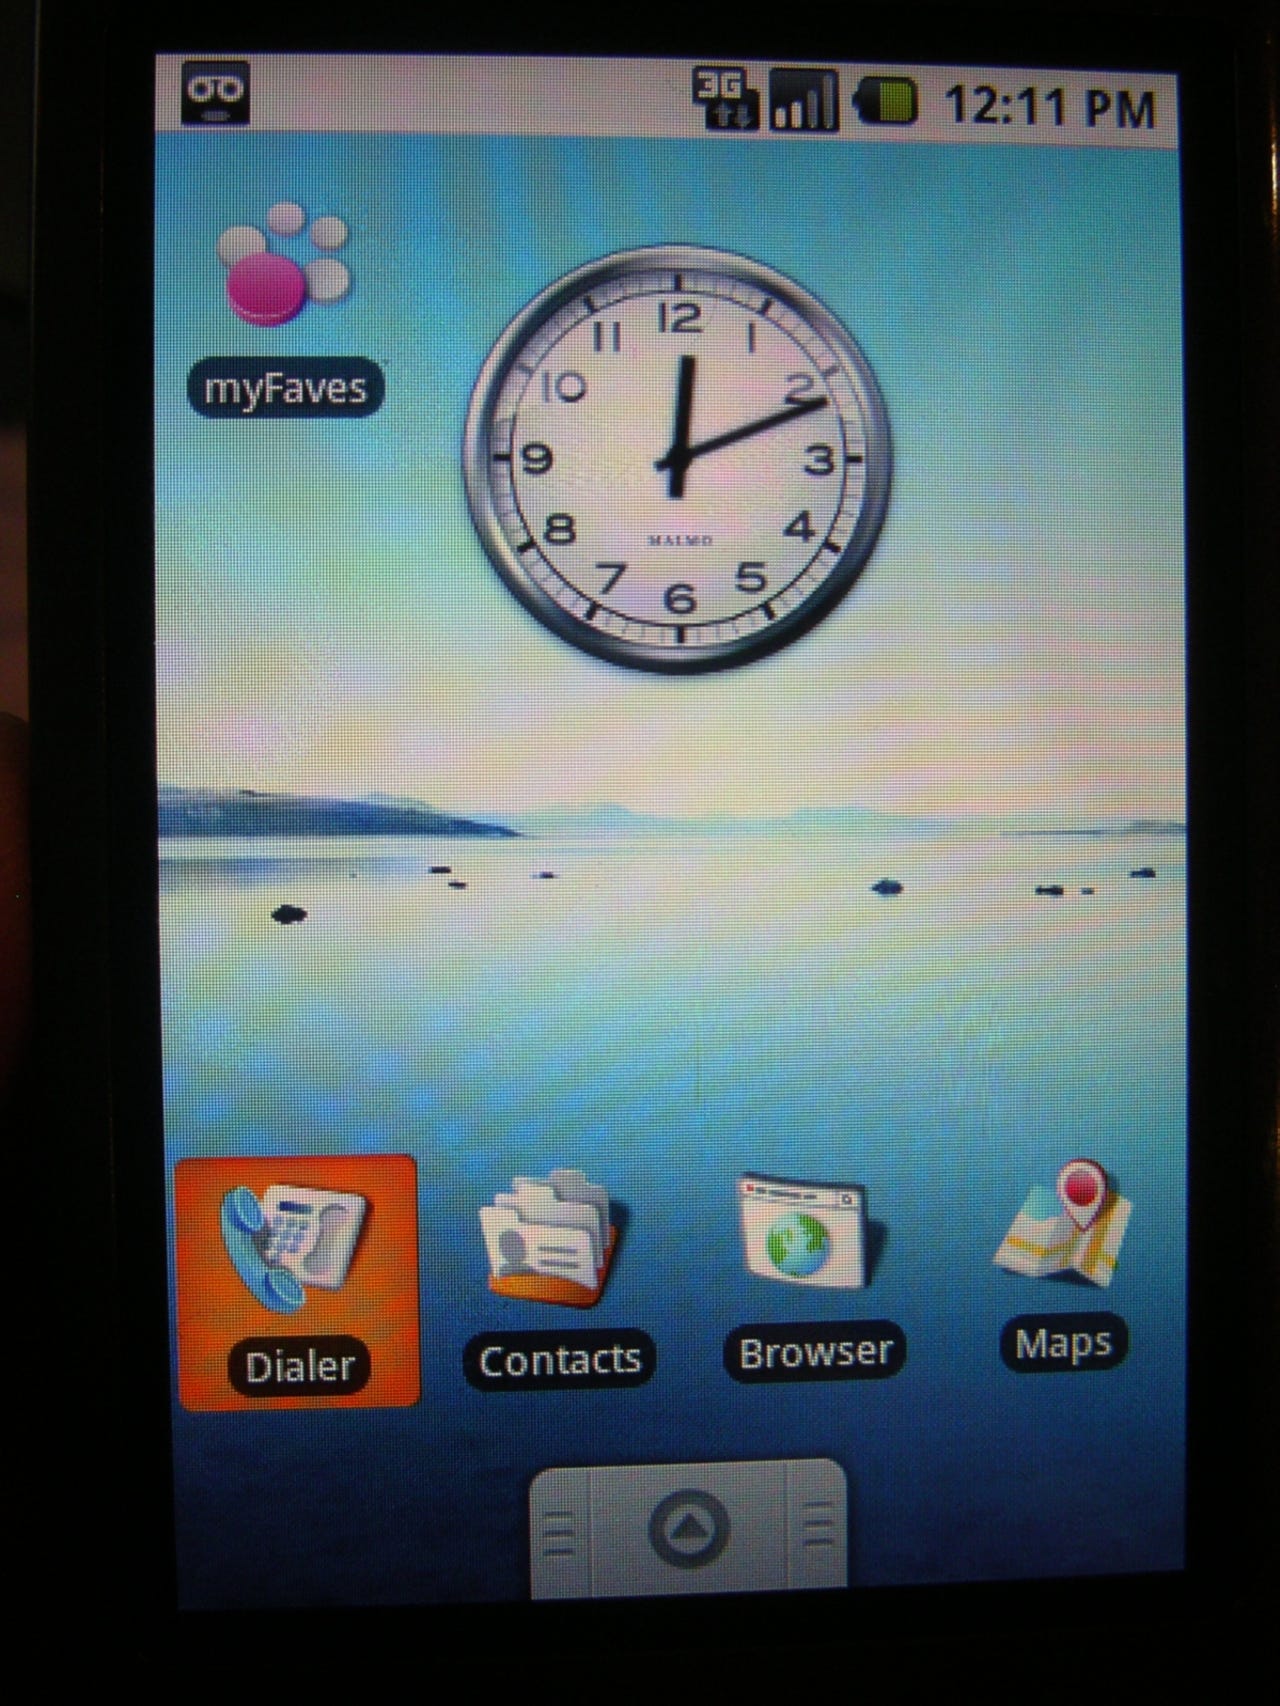
The display is fantastic at 480x320 and looks even better in person. You can customize the background image too and I am sure we will see lots of tweaks here with 3rd party apps and utilities.
When you press the applications key you see all of the apps loaded on the device in this launcher.
The threaded text messaging isn't as pretty as the iPhone or Windows Mobile, but at least it has it (unlike S60).
There were a couple applications announced at the event, including this barcode scanner call ShopSavvy.
You can see some of the functionality of the application here.
Google Maps is one of the premier apps on the device. Here you can see options for Street View.
Street View uses the onboard compass and turns as you turn. This can be very handy for walking around cities.
As you can see you are not limited with this Google Maps application.
Here is a shot of the standard Map View mode in Google Maps.
This is the menu that appears in the web browser. I need to spend lots more time playing with the browser before I can fully judge it.
This display lets you choose different windows you have open in the browser.
First shot of the shortcuts for the included applications.
2nd section of the included applications.
3rd section of the included applications.
Thumbnail 1 image
Gallery thumbnail 2