iOS 12.3: How to keep your iPhone safe from hackers and snoopers

Why you should lock down your iPhone
Do you have information on your iPhone or iPad that you don't want to fall into the hands of others? Or maybe you want to make your iPhone next to worthless to a thief. Either way, locking down your iOS device makes a lot of sense.
Here are settings you should check (and change) and tweaks you should make to harden the security and lock down your device.
It all begins with a strong passcode
Security all starts by keeping people out of your device!
No matter whether you use Touch ID or Face ID, you still need a passcode, and the stronger the passcode you can use -- and remember! -- the better. It really is the cornerstone of your security. If this falls into someone's hands, they own your iPhone and its data.
Go to Settings > Face ID & Passcode (or Touch ID & Passcode on iPhones with the Touch ID button), enter your existing passcode, and then tap on Passcode Options to get a set of options.
Choose between Custom Alphanumeric Code (the most secure) or Custom Numeric Code (second best option), or 4-Digit Numeric Code. I don't recommend using a 4-digit pin code because it's easy for shoulder-surfers to see what your PIN code is (it's also sometimes obvious which four numbers are in use because of the position of the greasy fingerprints on the display).
Featured
Prevent someone trying to guess your passcode
iOS has built-in brute-force protection to prevent an unauthorized user from trying to guess your passcode by tapping endless guesses.
Go to Settings > Face ID & Passcode (or Touch ID & Passcode on iPhones with Touch ID), enter your existing passcode, and scroll down to Erase Data.
After 10 attempts (toward the end there will be a timer-based lockout to slow down the entry process, preventing pranksters from nuking your data), the encryption key will be deleted and your data permanently and securely wiped.
Featured
Activate two-factor authentication
One of the best ways to protect your data is to set up and use two-factor authentication. This means that, even if an attacker has your iCloud username and password, Apple will send an authentication code to a device you've chosen, which should block most attacks.
Go to Settings > and tap your name at the top of the screen, then go to Password & Security, then choose Two-Factor Authentication.
Featured
Switch on automatic iOS updates
Want to make sure that you are running the latest version of iOS? A feature in iOS 12 is the ability to install iOS updates automatically, which makes sure that your iPhone or iPad's operating system is always up-to-date.
To set this up head over to Settings > General > Software Update and turn on Automatic Updates.
Featured
Stop reusing passwords!
Reusing passwords is probably one of the dumbest things you can do. Stop it! Good news is that if you use the iCloud KeyChain to keep your internet passwords, you can now use this to check for password reuse.
Go to Settings > Passwords & Accounts > Website & App Passwords and authenticate with either Face ID/Touch ID or your passcode.
You will see a grey triangle with an exclamation mark next to any entry that is reused. To change the password, tap Change Password on Website.
Featured
Control access to what's accessible when the iPhone or iPad is locked
Control how much -- or how little -- you want to be accessible on a locked device.
iOS 12 gives control over the following:
- - Today View
- - Notification Center
- - Control Center
- - Siri
- - Reply with Message
- - Home Control
- - Wallet
- - Return Missed Call
- - USB Accessories
The bottom line is that the more you lock down, the more secure your device and data will be. The flipside is the more you lock it down, the more often you have to unlock your device to see what's going on.
The USB Accessories feature is especially useful, because it will prevent the Lightning port from being used to connect to any accessory if your iPhone or iPad has been locked for more than an hour.
Go to Settings > Face ID & Passcode (or Touch ID & Passcode on iPhones with Touch ID), and enter your existing passcode to control this.
Featured
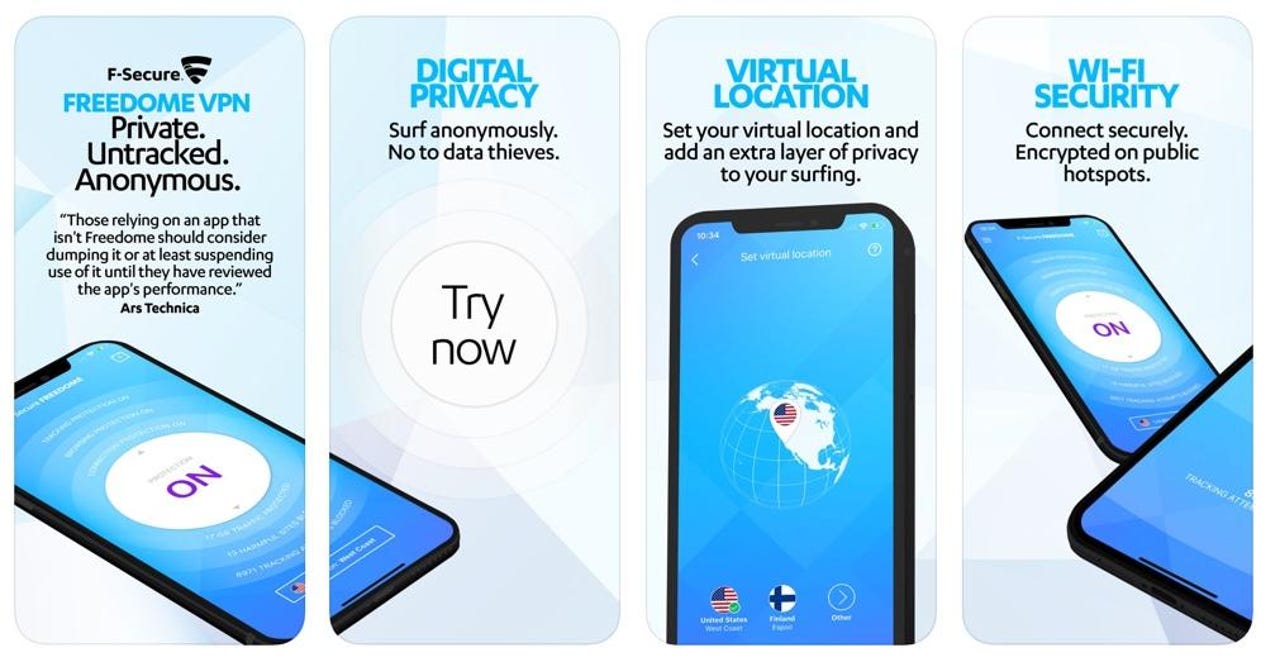
Use a VPN, especially when using public Wi-Fi
A VPN (virtual private network) allows you to create a secure connection between your device and the VPN service provider's server, allowing you to browse the web securely and without others being able to snoop on what you are doing.
There a a lot of VPN providers out there, but one that I've used a lot and trust is F-Secure's Freedome VPN.
Notifications make your information available to all
While it's super convenient to have information displayed on the lock screen, remember that this is available to all, so you might want to lock down what's displayed.
To do this go to Settings > Notifications > Show Previews and change the setting to When Unlocked or Never.
Featured
Kill unnecessary widgets
Widgets are another way your your locked iPhone can leak data.
To prevent this you can either disable the Today View from being accessible when your device is locked (see earlier tip: Control access to what's accessible when the iPhone or iPad is locked), or you can edit the widgets as follows:
Swipe to the right on the Home screen into the Today View panel, and then scroll to the bottom of the screen and hit Edit. Now, you can remove any panel that you do not need.
Featured
Find out which apps have microphone access
A lot of apps ask to have access to your microphone, so it's a good idea every so often to check to see if you are still comfortable with them having this ability.
To do this head over to Settings > Privacy > Microphone and make changes as you see fit.
Password control
This, in my mind, is the killer security feature that Apple introduced in iOS 12. It gives security a really good boost.
iOS 12 has both a password autofill feature using the iCloud Keychain and has the ability to connect to third-party password apps such as LastPass, Dashlane, and 1Password.
You can find this feature in Settings > Passwords & Accounts > AutoFill Passwords.
Featured
Limit what Face ID/Touch ID can do
Do you want the convenience of Face ID or Touch ID, or would you rather have the additional protection that having to enter your passcode offers? Again, it's balancing security against convenience.
iOS 12 allows you to switch Face ID/Touch ID on and off for:
- - iPhone Unlock
- - iTunes and App Store
- - Apple Pay
- - Password AutoFill
Go to Settings > Face ID & Passcode (or Touch ID & Passcode on iPhones with Touch ID), enter your existing passcode to control this.
Featured
Who are you sharing your location with?
Do you want an app knowing where you are at all times? If not, then you can limit its ability to track you without completely switching the feature off (if you don't want to do that!).
Go to Settings > Privacy > Location Services, and from there you can go through your apps.
You can choose between:
- - Never
- - While Using the App
- - Always
Each app should also give you a brief explanation of how it uses your location data.
Featured
Reduce the lock screen timeout
The shorter you set the lock screen timeout setting (there are options ranging from 30 seconds to never), the faster your iPhone or iPad display will require authentication to access it. This is also a good way to save battery power.
You can change the auto-lock time by going to Settings > Display & Brightness > Auto-Lock.
Featured
Set a recovery key
While setting up two-factor authentication (go to Settings > tap your name at the top of the screen, then go to Password & Security, and choose Two-Factor Authentication), you can also set up a Recovery Key.
Once set, without this key or another device signed in with your Apple ID, you will not be able to reset your Apple ID password, so keep this in mind.
Featured
Here's how to force passcode entry
iOS 12 -- as was the case with iOS 11 -- allows you to disable Face ID or Touch ID and force the use of the passcode in an emergency with key presses.
To do this press the power button five times (just be sure to cancel the SOS Emergency calling feature if you have this activated, otherwise you'll be connected to the emergency services).
Featured
Take control over location-based alerts, Apple ads, and suggestions
Location-based alerts, Apple ads, and suggestions are all very handy, but in exchange for this convenience you are allowing your location to be tracked.
If you want to take control over this, head over to Settings > Privacy > Location Services > System Services and tweak the settings you feel make you more comfortable.
I generally keep Location-Based Alerts and Location-Based Suggestions on, and disable Location-Based Apple Ads, but you can turn them all off if you wish.
Turn on "Find My iPhone"
This is a handy feature to have on if you worry about your device being stolen, or if you are the sort of person who loses things.
To activate it go to Settings > then tap your name at the top of the screen, and go to iCloud > Find My iPhone.
From here, you can also check the Send Last Location feature, which sends the location of your device to Apple when the battery is low, allowing you to find it even when the battery is flat.
Featured
Lock down the Safari browser
If Safari is your browser of choice on iOS, Apple gives you a number of security customizations.
Head over to Settings > Safari, and from there, you will get access to numerous options, from blocking pop-ups to preventing cross-site tracking.