iPadOS storage how-to in pictures

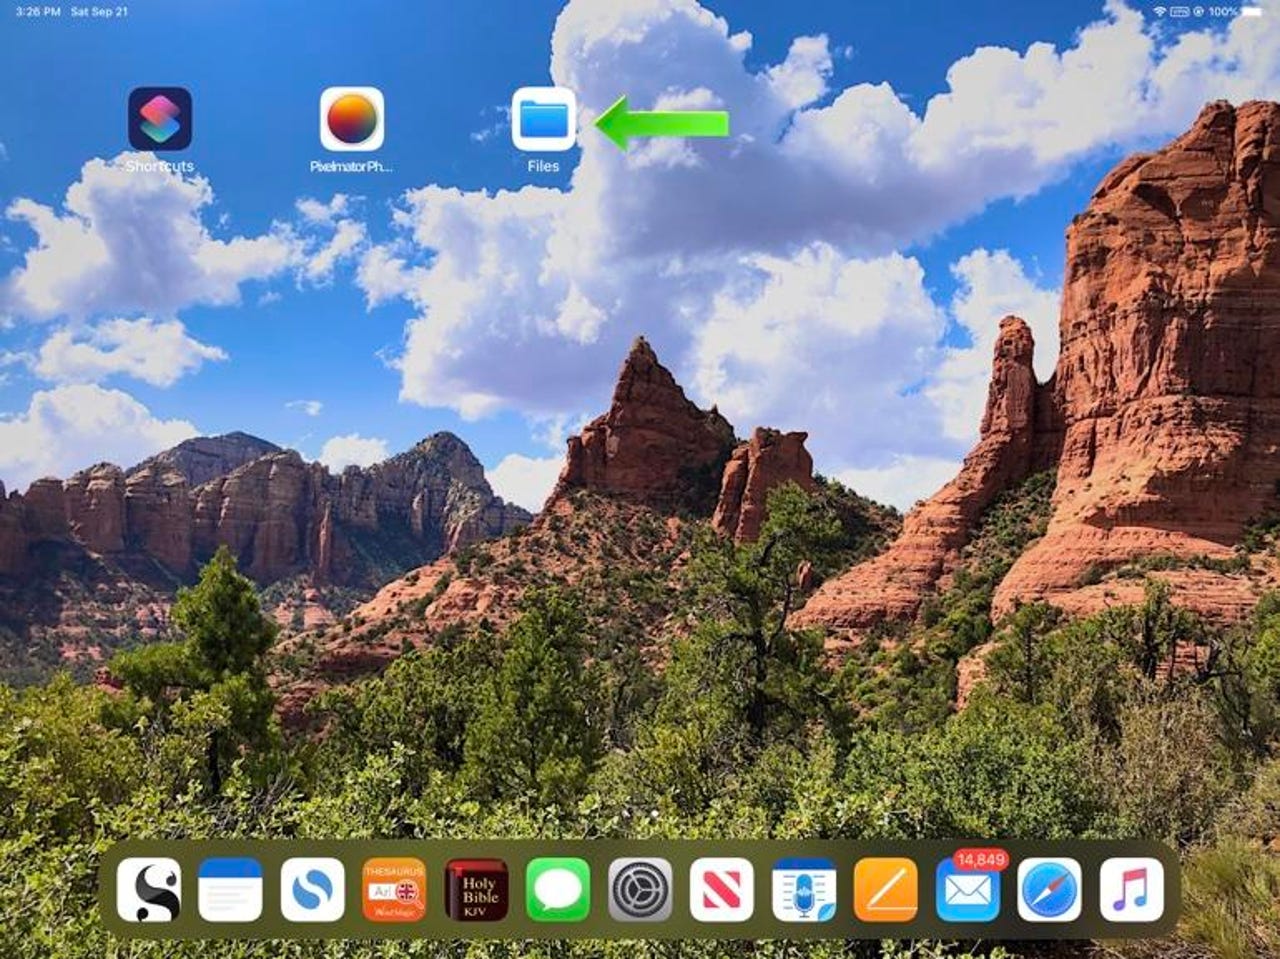
First, find the Files application
The Files app was introduced in iOS 11. For the first time it gave iOS users the option to directly access files -- but not much more.
In iPadOS you can plug in a USB-C thumb drive, disk, or SSD. Then you drag and drop files and folders from one location to another. Very handy if you work with a lot of files or don't like paying Apple's outrageous iPad storage prices!
The green arrow points to the Files app. Click to open Files.
Put the Files app in the dock
The Files app is easier to use if kept in the Dock, as shown here. Why? Because you need two File windows to move files from one folder or device to another.
I'll show you what that looks like in the next slide.
Two Files views side-by-side
Another iPadOS improvement is that you can now have two instances of an application open at the same time. Essential for moving files or folders from one location to another.
If you tap and drag down on the window the sorting options (green arrow) appear: Name, Date, Size, Kind, and Tags.
Note: The icons and text sizes are set large (Settings > Accessibility > Display and Text Size > Larger Text). In real life, they can be much more compact.
ipados-files4
Click on Locations to get a drop-down menu of active storage locations. In addition to the standard iCloud Drive and On My iPad items, I have attached a 2.5-inch hard drive using a USB-C storage cable.
The 2018 iPad Pro easily powered the hard drive with little impact on battery life. I'd prefer an external SSD for heavy storage use, such as video or audio editing.
In the next slide, we open the hard drive.
New Folder & List View options
Click on the New Folder icon (green arrow) to open the New Folder dialog box.
Click on the List View icon (green star) to switch to -- you guessed it! -- List View.
Drag file to a new location
Tap and hold to drag a file (green arrow) to a new location.
USB-C is fast: that 600MB file took less than 10 seconds to transfer.
File moved & List View
The video file is now resting peacefully on my iPad.
The right window is now in List View.
But wait! There's more!
Options & Get Info
A long press (left side) on a file brings up a list of file options. Most are self-explanatory.
Info brings up file info as shown on the right Files app view.
Compress creates a .zip file. Remember that already compressed files, such as the drone video, won't compress further.
Trim enables quick video file trimming. Alas, it's not working in the beta. However, what is working is rotating video in 90-degree increments.
The Wrap Up
Developers have yet to take full advantage of the new capabilities in the Files app and add-on storage. In particular, including add-on storage as a location apps can import data from. But I'm sure they're working on it.
Does iPadOS make file management as flexible as MacOS or Windows? No. If your workflow requires moving many files from one app to another, iPadOS isn't for you. But if like most of us, your files are usually used by one app, it is a major advance.