'ZDNET Recommends': What exactly does it mean?
ZDNET's recommendations are based on many hours of testing, research, and comparison shopping. We gather data from the best available sources, including vendor and retailer listings as well as other relevant and independent reviews sites. And we pore over customer reviews to find out what matters to real people who already own and use the products and services we’re assessing.
When you click through from our site to a retailer and buy a product or service, we may earn affiliate commissions. This helps support our work, but does not affect what we cover or how, and it does not affect the price you pay. Neither ZDNET nor the author are compensated for these independent reviews. Indeed, we follow strict guidelines that ensure our editorial content is never influenced by advertisers.
ZDNET's editorial team writes on behalf of you, our reader. Our goal is to deliver the most accurate information and the most knowledgeable advice possible in order to help you make smarter buying decisions on tech gear and a wide array of products and services. Our editors thoroughly review and fact-check every article to ensure that our content meets the highest standards. If we have made an error or published misleading information, we will correct or clarify the article. If you see inaccuracies in our content, please report the mistake via this form.
How to set up your first Raspberry Pi

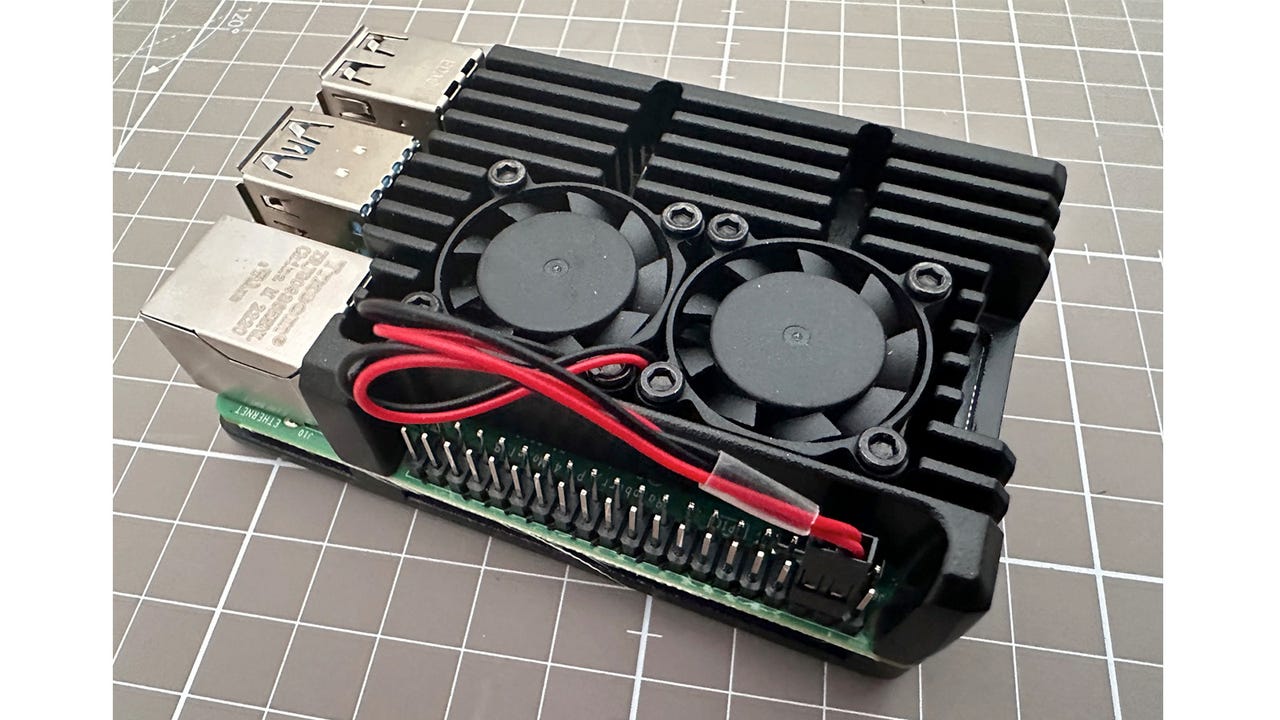
Raspberry Pi fitted with cooling case.
I love my Raspberry Pi computers and use them whenever and wherever I can. But I can remember that first time I unpackaged a Raspberry Pi board and had to set it up. It was a bit daunting.
But it doesn't have to be.
Also: These are my 3 must-have Raspberry Pi accessories
Here's everything you need to know to set up your first Raspberry Pi
1. Here's what you need
You don't need much. Of course, you need a Raspberry Pi (and keyboard/mouse/display), a microSD card, the operating system you're going to run on the Raspberry Pi, and software to prepare the microSD card and copy the software over to it.
Oh, and if your computer doesn't have a slot for an SD/microSD card, you'll need an adapter.
2. Say hello to the Raspberry Pi Imager
The software we're going to use to get the microSD card ready for use is the Raspberry Pi Imager.
Why? Because it takes the stress out of everything.
You don't even have to download the operating system you're going to run on your Raspberry Pi -- it'll do that for you!
Also: How I solved one of my biggest Raspberry Pi headaches
You can download the Raspberry Pi Imager here. There are versions for Windows, Mac, and Linux.
Download and install the Raspberry Pi Imager on the computer you want to use to prepare the microSD card.
3. Pick your Raspberry Pi operating system (OS)
Right, you now have everything you need. Connect the microSD card to your computer and fire up the Raspberry Pi Imager.
Raspberry Pi Imager software
Now click on Choose OS.
Choose your OS
The default is Raspberry Pi OS (32-bit) which is a good choice, but if you have a Raspberry Pi 3, 4, or 400, you can go find the 64-bit version. To do this, click on Raspberry Pi OS (other) and then scroll down to find Raspberry Pi OS (64-bit) and click on this to select it.
Choose the Raspberry Pi OS (64-bit)
4. Get ready to install!
Next, click Choose Storage and click on your microSD card.
Choose your microSD card
5. Make life easier for yourself later by setting the Wi-Fi password now
I'm a big believer in making things as easy as possible for myself. One way to do this is to use the Raspberry Pi Imager to set the Wi-Fi SSDI (the name of the Wi-Fi network you want it to connect to) and password for me in the Raspberry Pi operating system.
Also: Raspberry Pi: Where to buy the hard-to-find latest model and its alternatives
To do this, click on the cog in the bottom-right of the imager to access the Advanced Options.
Accessing Advanced Options
Here you'll find a bunch of options.
Scroll down to Configure wireless LAN, check the box, fill in the details, and click Save.
Configure wireless LAN
6. Write to the microSD card.
You're now ready to write to the microSD card. Click Write to kick off the process.
Write the operating system to the microSD card
You'll be asked if you want to erase everything on the microSD card. Click Yes if you're sure this is the right card.
Confirm erasing the microSD card
Let the writing process commence!
Writing to the microSD card
The software will tell you when it's done. Click Continue to finish.
Done!
7. Put the microSD card into the Raspberry Pi
Remove the microSD card from your computer and install it into the Raspberry Pi.
The microSD card fits into the microSD card slot on the underside of the Raspberry Pi. The image below shows the way the card fits into the slot.
The microSD card slot is on the underside of the Raspberry Pi
Slide the card as far into the slot as it will go. There isn't a click or anything to tell you when it's all the way unlike most microSD card slots found on smartphones and drones.
microSD card fully inserted into the slot on the Raspberry Pi
8. Connect a display and power
Finally, you need to connect a display and power.
If you're going to be connecting your Raspberry Pi to a TV of computer monitor, then you can use HDMI.
There are two micro HDMI ports built into the Raspberry Pi 4.
The Raspberry Pi 4 Model B has two micro HDMI ports
Since most computer monitors and TVs have a full-sized HDMI port, the best solution here is to get yourself a micro HDMI to HDMI cable.
A micro HDMI to HDMI cable
The micro end connects to one of the micro HDMI ports on the Raspberry Pi, the other end to your TV or monitor.
The micro HDMI connector attached to the micro HDMI port on the Raspberry Pi
Alternatively, you might want to use a touchscreen display on your Raspberry Pi. This is a bit more involved, but it's a fun project that I've detailed here.
9. Power!
Finally, connect your Raspberry Pi to power to boot it up, and you're ready to start your adventure!
You need a USB-C cable to supply power, and you can use a power supply or a power bank to power your Raspberry Pi. I recommend using the official USB-C power supply because they are cheap, well made, and super reliable.
Power connects to the USB-C port marked POWER IN, which is next to the HDMI ports.
Power is supplied to the USB-C port marked POWER IN
There's no on button, so as soon as you connect power to the Raspberry Pi, it'll switch on and start booting up.
Once booted up, the Raspberry Pi will guide you through connecting your keyboard and mouse (it usually involves pressing the pairing button in your keyboard or mouse and waiting a few seconds).
Boot up!
You're done! Enjoy your Raspberry Pi!