How to use the Windows 11 Sandbox as a virtual machine

I often install and test different applications and features in Windows as part of my work. And most of the time, I don't necessarily want those new or unknown apps and features to affect my main Windows working environment. The trick then is to keep any changes I make isolated from the core OS.
ZDNET Recommends
I do rely on several Windows virtual machines running in applications like VMWare Workstation and Oracle VM VirtualBox. But sometimes, I just want a fast, temporary VM to do something relatively quick and simple. Plus, getting Windows 11 to work as a virtual machine in a third-party application can be challenging due to its onerous requirements. That's where the Windows Sandbox comes into play.
Available in the Pro and Enterprise flavors of Windows 10 and 11, the Sandbox is a lightweight and temporary virtual machine outfitted with the same version of Windows installed on your host PC, meaning 10 or 11. You can install apps, set up different features, and run processes without worrying about your activities conflicting with your core Windows environment.
Simply open the Sandbox, do what you need to do, and then shut it down. All your changes in the Sandbox disappear. The next time you open it, the Sandbox appears as a fresh installation of Windows. For now, restarting Windows in the Sandbox is not supported, so restarting is the same as shutting down, meaning any changes you've made disappear. However, Microsoft says that Windows 11 Build 22509 will support reboots in the Sandbox to allow changes to stick. That will certainly be helpful if you need to install an application or run another task that requires a reboot.
Let's see how the Sandbox works in Windows 11.
First, confirm that the virtualization features are enabled for your PC. Boot into the BIOS, look for a setting for Virtualization and make sure its switch is turned on.
Next, you'll need to install the Sandbox. And you can do this in a few different ways.
After booting into Windows 11, open Control Panel and select the applet for Programs and Features; on the next screen, click the option for Turn Windows features on or off. At the Windows Features window, scroll down the list and check the one for Windows Sandbox, click OK, and then reboot.
Alternatively, you can more easily get to the Windows Features window by clicking the Search icon and typing optionalfeatures. At the Windows Features window, check the box for Windows Sandbox, click OK, and reboot.
Yet another way to enable the Sandbox is through a PowerShell command. Open the Windows Terminal app as an administrator. At the prompt, type this string: Enable-WindowsOptionalFeature -Online -FeatureName "Containers-DisposableClientVM" -All or this string: dism /online /Disable-Feature /FeatureName:"Containers-DisposableClientVM" -All. Reboot the PC if prompted.
Log back into Windows. Open the Start menu and go to All Apps. Scroll down to the W section to find the shortcut for Windows Sandbox. Before you actually open the Sandbox, add its shortcut to the Start menu and the Taskbar so you can more quickly access it in the future. Right-click and select Pin to Start. Right-click again, move to the More option and select Pin to Taskbar.
If the shortcut for Windows Sandbox doesn't appear in the Start menu or All Apps list, you get to grab the executable file directly. Open File Explorer to the Windows\System 32 path. Scroll down until you see the WindowsSandbox.exe file. You can then create a shortcut from the file and put it in a convenient spot, such as the Desktop.
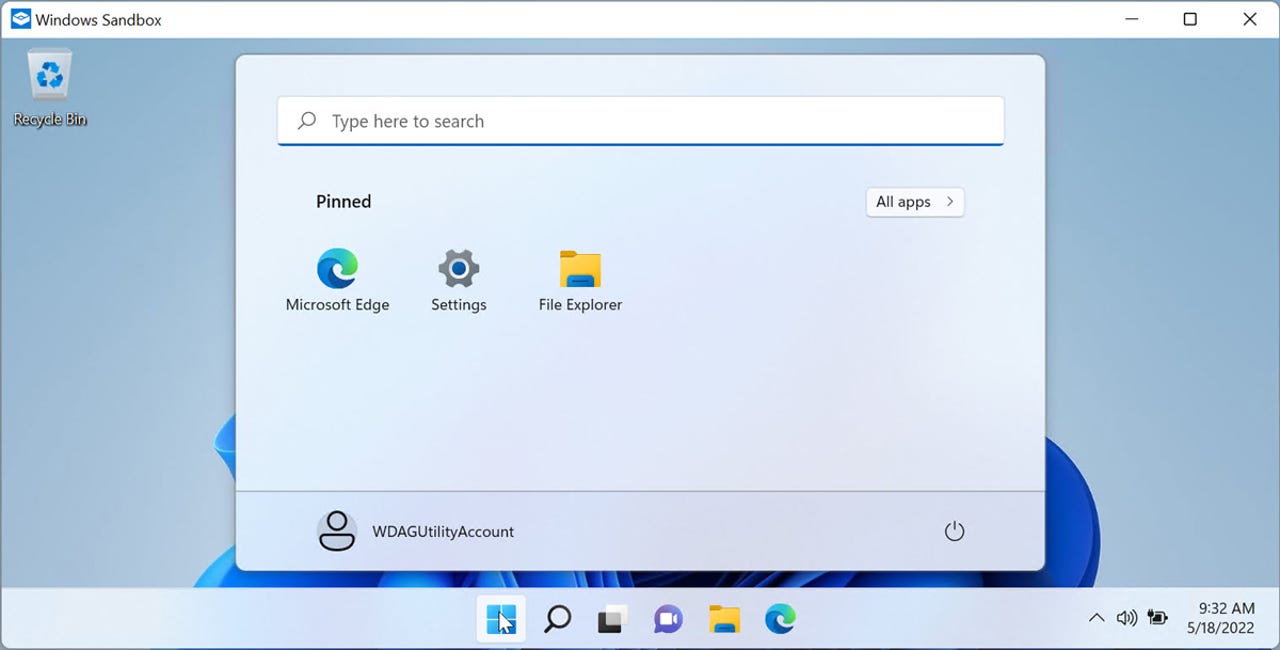
Click the shortcut, and the Windows 11 environment appears in the Sandbox but with only the built-in applications and features. Click the Start button to see the pinned apps and then the All Apps entry to see all the installed Windows apps (Figure 1).
Figure 1
Open an app such as Microsoft Edge. You have full internet access through the host machine's connectivity, so you can directly download and install an application you want to test in the Sandbox (Figure 2).
Figure 2
After you've tested the application, you might then want to start fresh with another task. Just exit the Sandbox as you would normally shut down Windows 11 or simply close its window, and whatever applications you installed or changes you made disappear.
Open the Sandbox again. Now perhaps the file for the program you wish to install is already on your host machine. No problem. You can copy and paste any folder or file from your host into the Sandbox. Open File Explorer in both the host and the Sandbox. Then just select and copy the file you want to run or open and paste it into a folder in the Sandbox (Figure 3).
Figure 3
If you decide you no longer want to use the Sandbox in Windows 11, you can remove it in a few different ways. Return to the Windows Features window in your host environment, uncheck the one for Windows Sandbox and then reboot. Alternatively, open Windows Terminal as an administrator and enter this string: Disable-WindowsOptionalFeature -FeatureName "Containers-DisposableClientVM" –Online or this string: Dism /online /Disable-Feature /FeatureName:"Containers-DisposableClientVM" and then reboot.
Overall, the Windows 11 Sandbox isn't as robust as a full-featured virtual machine program like VMWare Workstation, especially since, for now, you can't restart it without losing all your changes. But if you want to test a single application or enable a specific feature in Windows without affecting your core environment, the Sandbox offers a quick and easy way to do that.