InvisibleShield Glass Curve Elite for Galaxy S9 Plus: Smooth surface, clear protection after careful installation

(Binary data 4 bytes)
Featured
Last week this post ranted and raved, mostly ranted, about my experiences installing the new ZAGG InvisibleShield Glass Curve Elite (GCE) screen protector and my miserable failure to get rid of the bubbles while also breaking the protector during installation. I've updated this post to reflect some lessons learned and help make sure that readers are successful with installation as well.
The folks at ZAGG reached out to discuss my experiences with a sincere desire to understand what happened and try to help. While I watched the installation video, included in this post now to make sure you get it right, I clearly pushed too hard with the squeegee trying to get out bubbles.
Samsung's smartphones have curved glass along the edges that have presented a significant challenge for makers of screen protectors. Despite watching the installation video, thoroughly cleaning the display, and exercising a high level of patience, the new ZAGG InvisibleShield Glass Curve Elite didn't work out for me the first time.
A decade ago, I used screen protectors on every device I owned and those were made of durable flexible plastic material. Glass companies have continued to improve display products and I don't usually install protectors on my smartphones today. Sometimes the phone screen gets scratched, but I never drop my phones so it is only through careless pocketing of change or rubbing together of other phones, I carry several every day for testing, that causes problems for me.
I've tested quite a few screen protectors before and have put them on the displays of many family and friends so I consider myself the resident expert on installation. After being married for 25 years and helping raise three daughters, including coaching my youngest in soccer for 10 years, I am a very patient man as well. Despite my experience and patience, I was completely let down by this screen protector on the evaluation Galaxy S9 Plus I have on hand I failed during my first installation.
After receiving some additional guidance from ZAGG, I applied a much lighter touch with the squeegee and tried to use multiple fingers to apply an even force to the protector. I stuck with the fabric end this time and more closely followed the guidance of working from the bottom to the top to get out bubbles.
The InvisibleShield Glass Curve Elite protector is available now for $49.99. It is a piece of tempered glass, with a shock absorbent layer, and full screen adhesive that is designed to keep it in place. The protector doesn't extend all the way to the top, bottom, or sides so that a case may still work with the protector in place.
Installation
Inside the retail box, you will find complete installation instructions with a suggestion to view the installation video. To make sure I performed everything correctly, I went and watched the installation video before attempting the install.
This is actually one of the easiest protectors to install thanks in large part to the EZ Apply Tray that serves as an alignment guide to help you simply place the protector down onto your phone with no need for multiple attempts to line up specific openings in the protector.
I cleaned the display, used the dust removal sticker (before and after installing the EZ Apply Tray), and then confirmed there was not a spec of dust on the screen. Peel off the back of the glass protector and place it down within the EZ Apply Tray using the two clear tabs.
The specific squeegee directions are in bold and I followed them to the letter. You hold it with four fingers and use the fabric end on the display to move from the botom to the top of the screen. This fabric end is then run up the sides where the curved part of the display and protector can be found. The last step is to use the hard end of the squeegee to work out remaining bubbles.
All sounds good and even though it takes a bit of time, it is not difficult. However, my results were terrible and forced me to throw away the protector the first time. I pressed too hard to get out the bubbles and worked diligently with the hard plastic end to work those bubbles out.
InvisibleShield Glass Curve Elite for Samsung Galaxy S9 Plus: in pictures
In the past with the flexible durable plastic protectors, removing a corner to try to get out bubbles and reapply always ended in disaster. Since ZAGG sent a few new protectors for me to test out, I decided to throw out what I learned in the past and trust ZAGG's directions to gently lift the screen protector, use the dust removal sticker when needed, and then squeegee out the bubbles again. After lifting and reapplying all four corners, I now have a bubble-free screen protector on the Galaxy S9 Plus.
Bubbles, brokenness, and performance impact
The website advertises that installation will be fast, accurate, and bubble-free. Despite confirming there was not a speck of dust on the display, I ended up with over a dozen bubbles after installing it and trying to work them out. About half of them eventually went away as the adhesive set in, but there are still about six that I cannot remove.
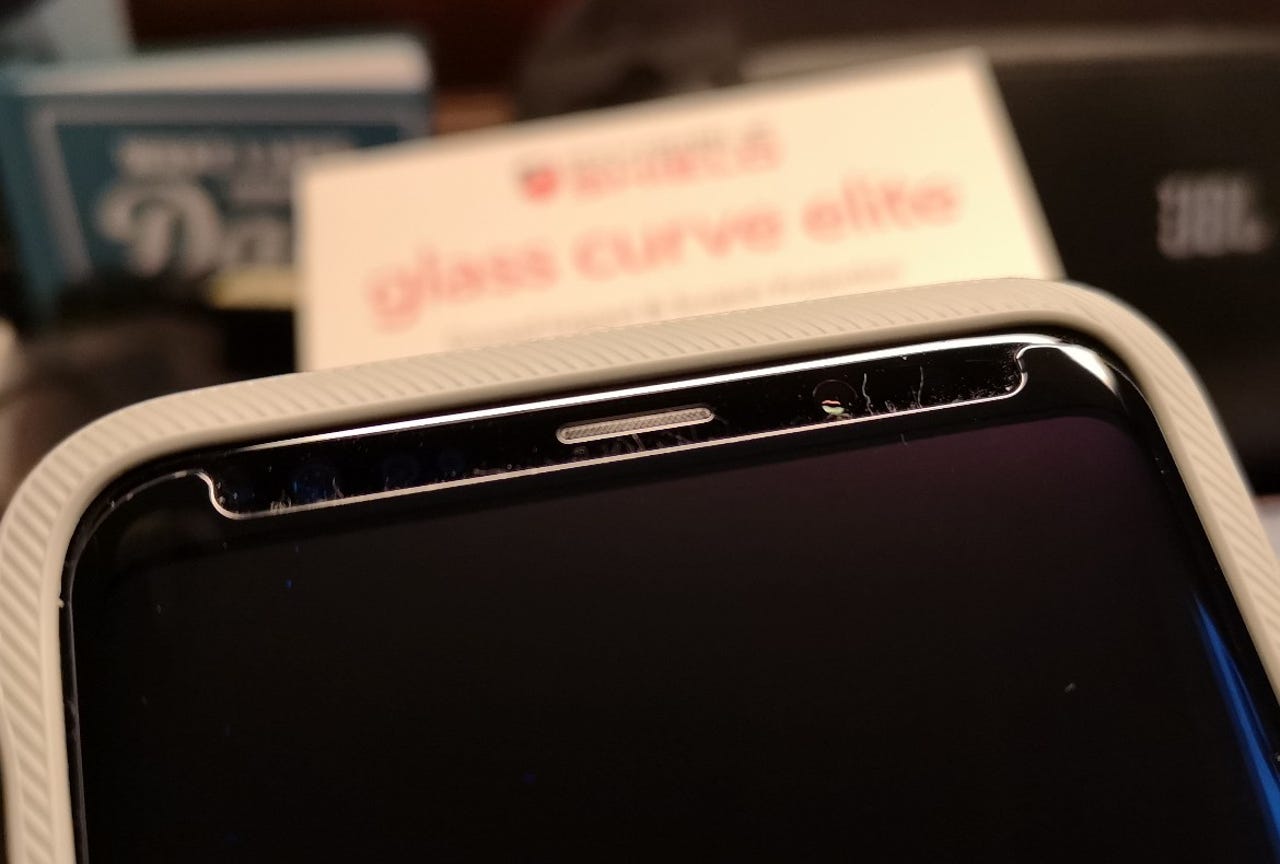
The major issue I have though is that the top right corner of the protector shattered as I was using the squeegee to work out bubbles in that area. I was frankly shocked at how quickly and easily it shattered as I had just starting working out the bubbles and wasn't being aggressive or using much force.
After installing the protector and removing the EZ Apply Tray, you notice that the protector is actually quite thick since the edges are exposed when you don't have your phone in a case. The edges are not sharp, but my fingers definitely rub up against them when I hold it in my hand.
ZAGG provides directions to adjust the home button pressure and flip the toggle for increased touch sensitivity in order for the protector to work better for you. I changed these settings and found the display responsiveness to be just fine with text, swiping, and more all working as I desired.
Swiping in from the edge to launch the Edge panel works most of the time, but if you ever want to shift the placement of the Edge panel activation bar then you may be out of luck. The Edge panel indicator bar is hidden by the screen protector, but after messing around with it I noticed you can swipe in just a bit and then the indicator bar will appear with a directional arrow so you can easily move it and place it where you need it. The Edge panel itself always works, it is just that moving the bar around presents a slight challenge at first.
Other than that Mrs. Lincoln, how was the play?
Looking past the installation and impact on using the edge panels, what can I say about this screen protector solution?
ZAGG advertises that the protector offers a smooth, silky feel and this is completely accurate. It feels better to my finger to slide around on the protector than on the display of the S9 Plus itself. I also see less fingerprints on the protector than I did on the display, which is a major benefit to me.
I was able to pop the S9 Plus into all of the cases I have been testing and the screen protector remains securely in place. It is nice knowing that the display is protected as it gives me a bit more freedom to use the phone as I desire without having to always think about what pocket I am carrying it in. The display honestly feels better to me with the protector installed so I am keeping it in place as I continue to test the Galaxy S9 Plus.