'ZDNET Recommends': What exactly does it mean?
ZDNET's recommendations are based on many hours of testing, research, and comparison shopping. We gather data from the best available sources, including vendor and retailer listings as well as other relevant and independent reviews sites. And we pore over customer reviews to find out what matters to real people who already own and use the products and services we’re assessing.
When you click through from our site to a retailer and buy a product or service, we may earn affiliate commissions. This helps support our work, but does not affect what we cover or how, and it does not affect the price you pay. Neither ZDNET nor the author are compensated for these independent reviews. Indeed, we follow strict guidelines that ensure our editorial content is never influenced by advertisers.
ZDNET's editorial team writes on behalf of you, our reader. Our goal is to deliver the most accurate information and the most knowledgeable advice possible in order to help you make smarter buying decisions on tech gear and a wide array of products and services. Our editors thoroughly review and fact-check every article to ensure that our content meets the highest standards. If we have made an error or published misleading information, we will correct or clarify the article. If you see inaccuracies in our content, please report the mistake via this form.
How to connect your Android to your Chromebook (and why you should)

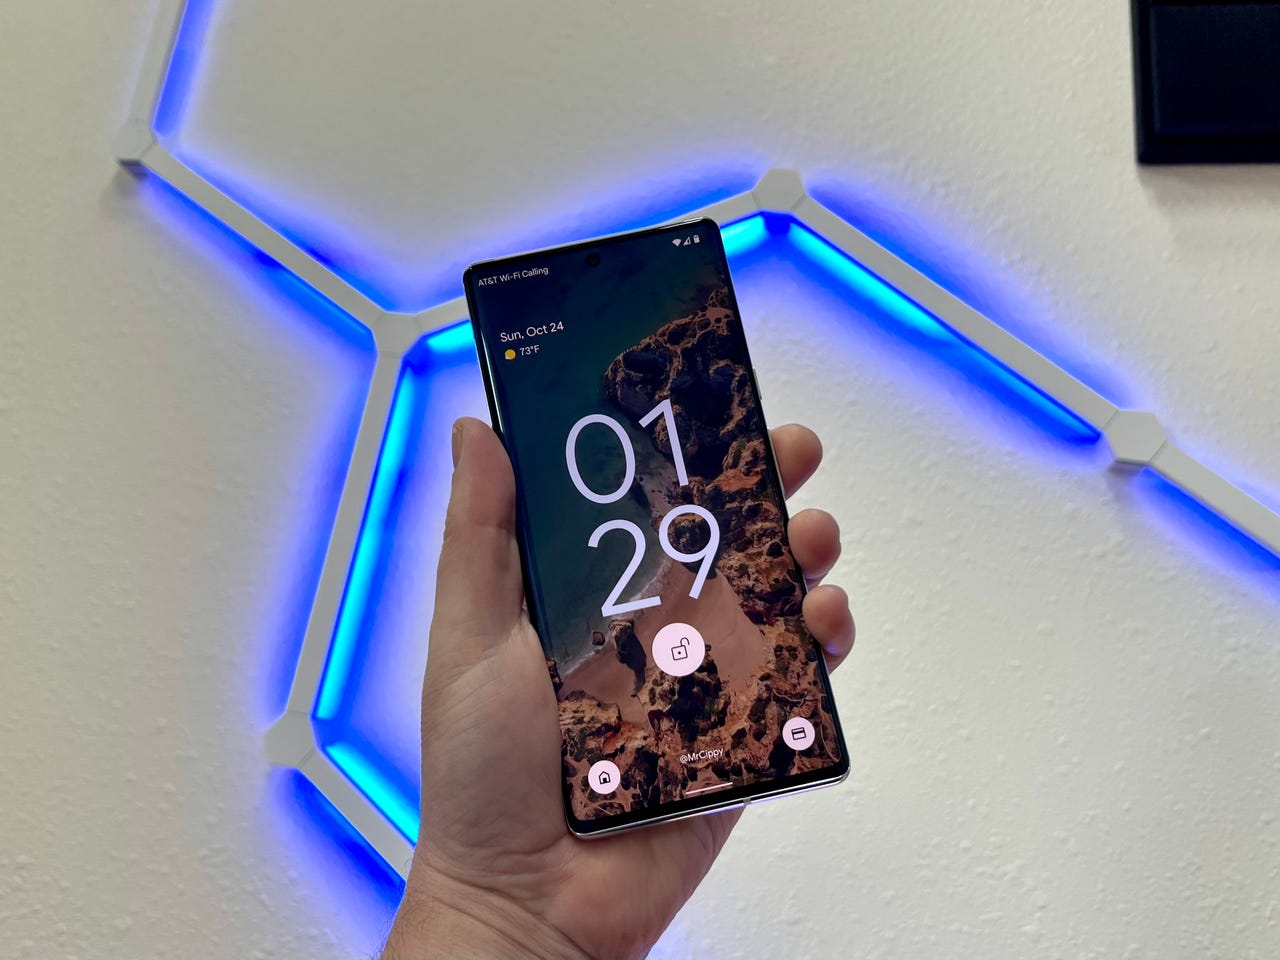
The Pixel 6 Pro.
Did you know that you can connect your Android device to your Chromebook?
Once you've made this connection, you will enjoy:
- Chat notification syncing
- File sharing between devices.
- Send and receive text messages from your Chromebook.
- Connect your Chromebook to your phone's network
- Use your phone to unlock your Chromebook.
ZDNET Recommends
This should be considered a no-brainer for anyone who uses both Android and ChromeOS. The only caveat to this setup is that your Chromebook will be unlocked as long as your phone is nearby. Because of that, you'll want to be careful as to where you leave your Chromebook. Warning aside, I've always found this to be a must-do for all of my Chromebooks.
Let me show you how it's done.
Requirements
To make this work, you will need the following:
- A Chromebook running ChromeOS version 71 or newer (I'll be demonstrating with ChromeOS 103.0.5045.0).
- An Android device running at least version 5.1 of the OS (I'll be demonstrating with Android 12 on a Pixel 6 Pro).
- A Google Account.
With those things at the ready, let's make this connection.
Connect Android to ChromeOS
1. Open Settings
Log into your Chromebook and open the Settings app either from the launcher or the system tray. If opening from the Launcher, click the Launcher icon at the bottom right of your desktop and locate the Settings app. If opening from the system tray, click the tray and then click the gear icon in the popup window (Figure 1).
Figure 1: The System Tray popup on Chrome OS 103.
2. Add your Android device
Click Connected devices in the left sidebar of the Settings app (Figure 2).
Figure 2: The ChromeOS Settings app is where you configure nearly all aspects of ChromeOS.
In the resulting window (Figure 3), click Set up associated with Android Phone.
Figure 3: The Connected devices section of the ChromeOS Settings app.
In the Select a device drop-down (Figure 4), you will see a list of all Android devices associated with your Google account.
Figure 4: Select your phone to associate with your Chromebook.
Select the correct phone and then click Accept & continue. You will then be prompted for your Google Account password. Type the password and click Done. Click Done again, and then, back at the Connected devices page (Figure 5), click the ON/OFF slider (associated with your new device) until it's in the ON position.
Figure 5: Enabling the connection between the newly-added device.
You will, once again, be prompted for your Google account password. Type it and click Confirm.
And that's it; your Android phone is now connected to your Chromebook. Once you've taken care of this, make sure to expand the entry so you can enable/disable any features you want and also connect Messages (by clicking Setup - Figure 6).
Figure 6: Enable or disable any of the features you want from here.
Close out Settings, and you're good to go. Your Android device is now connected to your Chromebook.
