'ZDNET Recommends': What exactly does it mean?
ZDNET's recommendations are based on many hours of testing, research, and comparison shopping. We gather data from the best available sources, including vendor and retailer listings as well as other relevant and independent reviews sites. And we pore over customer reviews to find out what matters to real people who already own and use the products and services we’re assessing.
When you click through from our site to a retailer and buy a product or service, we may earn affiliate commissions. This helps support our work, but does not affect what we cover or how, and it does not affect the price you pay. Neither ZDNET nor the author are compensated for these independent reviews. Indeed, we follow strict guidelines that ensure our editorial content is never influenced by advertisers.
ZDNET's editorial team writes on behalf of you, our reader. Our goal is to deliver the most accurate information and the most knowledgeable advice possible in order to help you make smarter buying decisions on tech gear and a wide array of products and services. Our editors thoroughly review and fact-check every article to ensure that our content meets the highest standards. If we have made an error or published misleading information, we will correct or clarify the article. If you see inaccuracies in our content, please report the mistake via this form.
Assemble your own portable storage with this Satechi SSD enclosure

I'm a big fan of Satechi hardware. The company makes all sorts of docks and peripherals and storage devices that look and feel like Apple hardware.
The latest in the Satechi line is a new USB-C NVME and SATA SSD enclosure.
The idea is simple. You buy the solid-state drive (SSD) enclosure, add a PCIe or NMVe M.2 drive, and away you go. There's even a USB-C to USB-C included.
No screwdrivers or tools needed to assemble.
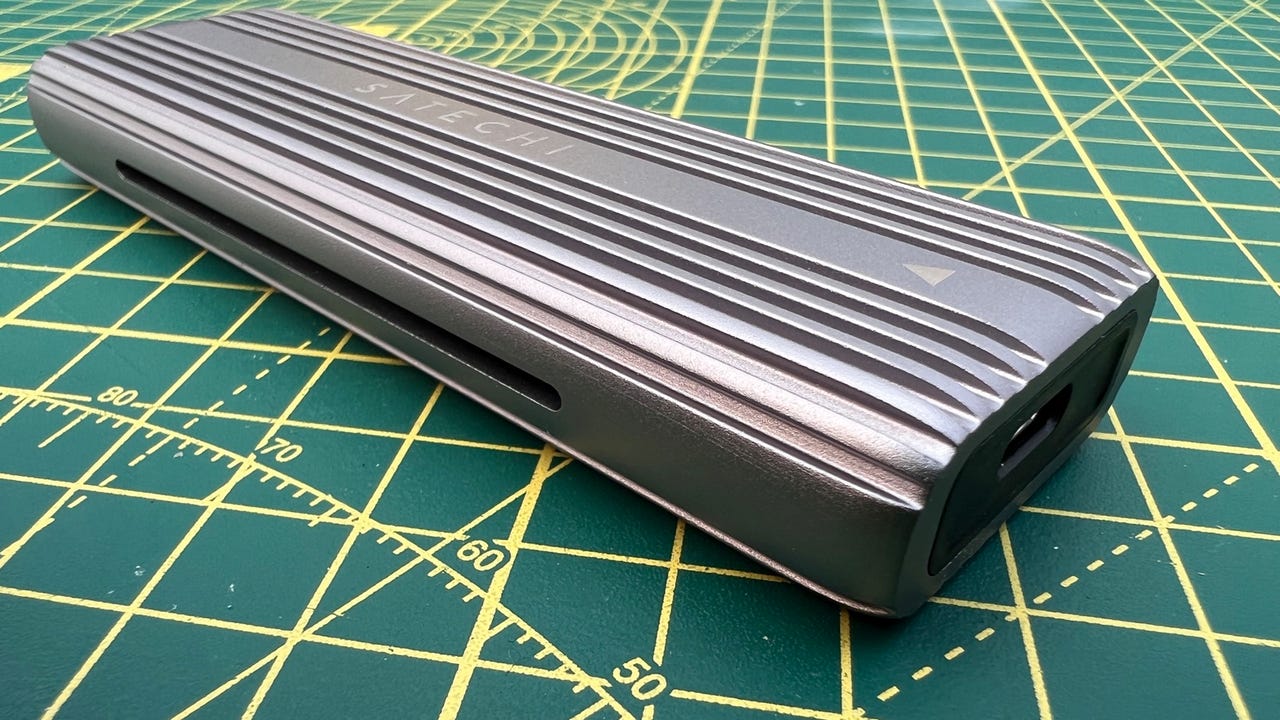
The enclosure is made of aluminum and is tough yet very stylish. There's a USB-C port on one end, and on the other a switch to pop the internals out from the drive to fit the drive.
The fit and finish of this Satechi enclosure are excellent.
Fitting a drive is easy. You buy the drive you want (more on that in a moment), peel the protective coating from the thermal pad, attach that to the back of the drive, fit it into the slot, and then hold it in place with the rubber retainer provided.
Fitting the SSD into the enclosure.
Then you slot the drive holder back into the enclosure.
Closing up the enclosure.
Done. No tools required.
The Satechi SSD enclosure can take both PCIe and NMVe M.2 drives in 2242/2260/2280 sizes without fitted heatsinks.
Also: Is your Mac's SSD about to die? How to find out
Here are a few SSDs I recommend:
Western Digital 1TB WD Blue SN570 NVMe - $78.99
WD BLACK 2TB SN770 NVMe - $198
Lexar Professional 1TB NM800 PRO - $169.99
Lexar NM620 512GB M.2 - $49.99
Performance is good. You'll see in the image below that my drive hit read and write speeds of 890MBps and 950 MBps using a Lexar Professional NM800 drive.
ZDNET Recommends
Some SSD enclosures get hot when in use, but I pushed this drive hard and while it got a bit warm, it was nothing to worry about, and nothing that would stop you from picking it up and putting into a pocket.
The only downside to the Satechi SSD enclosure is that I found that it was possible to push the drive holder into the enclosure from the wrong end and jam it in.
That wasn't a huge problem because I could use a long screwdriver to press the switch on the end to eject it, but it is something to be aware of.
This is the only time I needed to use a separate tool with this enclosure.