'ZDNET Recommends': What exactly does it mean?
ZDNET's recommendations are based on many hours of testing, research, and comparison shopping. We gather data from the best available sources, including vendor and retailer listings as well as other relevant and independent reviews sites. And we pore over customer reviews to find out what matters to real people who already own and use the products and services we’re assessing.
When you click through from our site to a retailer and buy a product or service, we may earn affiliate commissions. This helps support our work, but does not affect what we cover or how, and it does not affect the price you pay. Neither ZDNET nor the author are compensated for these independent reviews. Indeed, we follow strict guidelines that ensure our editorial content is never influenced by advertisers.
ZDNET's editorial team writes on behalf of you, our reader. Our goal is to deliver the most accurate information and the most knowledgeable advice possible in order to help you make smarter buying decisions on tech gear and a wide array of products and services. Our editors thoroughly review and fact-check every article to ensure that our content meets the highest standards. If we have made an error or published misleading information, we will correct or clarify the article. If you see inaccuracies in our content, please report the mistake via this form.
How to set up a VPN on your router

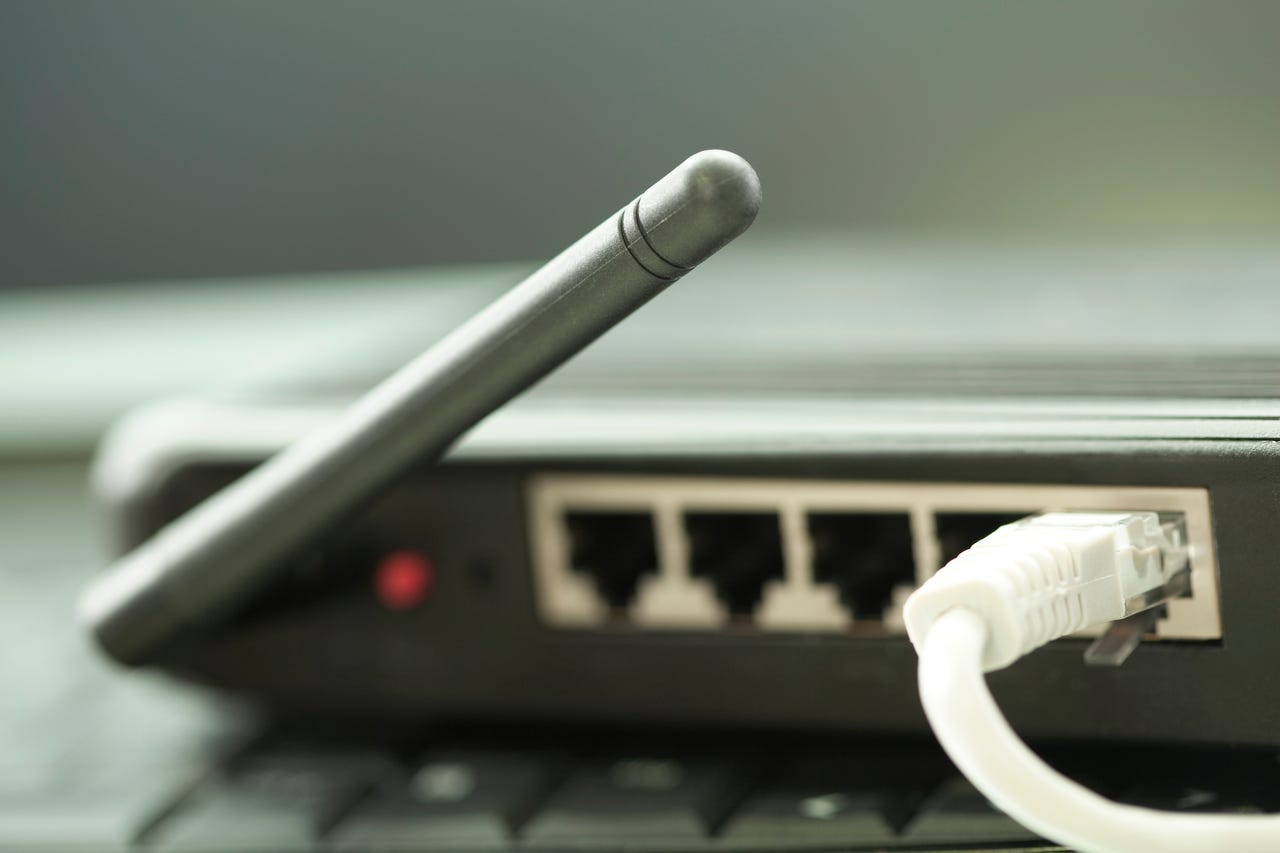
A VPN is an effective way to encrypt and secure the web traffic and activity on a PC or other device. But if you want to protect all the devices on your network, one option is to establish the VPN on your router, thereby allowing all your devices to tap into the same VPN network and connection.
Also: The best VPN services: Expert tested
There are some requirements and restrictions to setting up a VPN on a router.
First, your router will act as a VPN client, not a server. This means that you'll need to use an existing VPN service to which you have access.
Second, not all routers support a VPN, so you'll need to check your make and model to see if it does.
For this story, I'm going to set up a VPN access on my home router, which is a Netgear Mesh Orbi. Since the firmware for every router is different, your steps will certainly vary from the ones I describe for my unit. But you should still be able to follow along and get this process working on your end.
I'll be writing about running the VPN setup using a Windows PC. If you're setting up the VPN for your router through a Mac or through a mobile device, your steps will be different, but the overall process should be the same.
Review: Surfshark VPN: Unlimited connections make it a solid value pick
How to set up a VPN on your router
1. Open your router's firmware
To start, open your router's firmware in a browser. Most routers have a default IP address of 192.168.1.1. But that's not always the case. To double-check your router's IP address, open a command prompt and type ipconfig.
The entry for Default Gateway points to your router, so enter that address in your browser's address field. You'll then be prompted to sign in with your router's username and password.
Also: How to convert your home's old TV cable into powerful Ethernet lines
2. Enable the VPN service
Next, look for and select the setting for VPN or VPN service, which is usually under advanced settings. For instance, the setting on my router is in the Advanced Setup section. Check the setting and then apply your changes.
Enable the VPN service.
Also: The best Wi-Fi routers (and if a mesh router is right for you)
3. Set up a free DDNS account
With my Netgear router, I'm then asked to set up a static IP address or a Dynamic DNS (DDNS) account.
Both options work in conjunction with a VPN. With a static address, your IP address stays the same. With a DDNS account, your IP address information is automatically updated if and when your ISP assigns you a new dynamic address. In my case, I go with the option for DDNS.
I then sign up for one of the free DDNS accounts offered via Netgear. I go to the Dynamic DNS setting in the router and sign in with the account.
Sign in with your DDNS account.
4. Return to the settings for VPN
After signing in with the DDNS account, return to the settings for VPN and download the necessary configuration file for Windows.
5. Install a VPN client
Next, you may be prompted to install a VPN client on the devices you wish (with your options determined by your operating system). For example, if you're using a Windows PC, you'd download and install the client package for Windows.
Also: The best mobile VPNs: Expert tested and reviewed
But there are also packages for the Mac, for the iPhone and iPad, and for Android devices. The steps for a Windows PC and a Mac are about the same with just a few variations based on the OS. The steps for a mobile device vary in that you need the mobile version of the software, but otherwise, the process works similarly.
For my router, Netgear leads me to OpenVPN, an open-source VPN protocol and service. I install the OpenVPN client and then import the VPN configuration file to it.
Import the confirmation information into the VPN client.
Also: How to turn off a VPN on most devices
6. Rename the network connection for the new VPN network
Next, you'll likely have to check and rename the network connection to use the new VPN network. In Windows 10, for example, go to Settings, select Network & Internet, and then check the setting for "Change adapter options."
Check the network connection.
7. Look for OpenVPN Tap
In my case, I then look for a connection that contains the string: OpenVPN Tap and rename it to NETGEAR-VPN.
Rename the network connection.
8. Connect
Finally, double-click the VPN client icon in the System Tray to connect. A status window shows you that you're connected. You can then browse to different websites with the VPN now active. Returning to the VPN client status window, you can see that data is being sent and received.
Turn on the VPN connection and browse the web.
Your experience will differ depending on your router's make and model. Some routers require a program called DD0-WRT, which adds extra features unavailable in your router's built-in firmware.
Also: The best VPN free trials: Expert tested and reviewed
And though my Netgear router wanted DDNS to use a VPN, that requirement may not be necessary in all cases. Your mileage will probably vary, but you'll still need to follow similar steps to use a VPN on your router.