I ran Ubuntu Linux inside MacOS Xcode and you can too with this odd little hack

So, you want to install Linux on a Mac? Well, there's more than one way to get that done. Compared to what I'm going to show you below, there's a somewhat easier set of steps that my colleague Adrian Kingsley-Hughes ran through using an installer on the App Store and Kali Linux.
Also: How to install Ubuntu Linux (It's easy!)
But I'm going full geek. Together, we're going to use Xcode and build our own sample app, which we'll then use to install the full distribution of the latest Ubuntu release, Noble Numbat.
Once you've done this, you will have considerable bragging rights. There's a lot to cover, so let's dig in.
Download these first
You'll need to download these items before you get started setting up Linux:
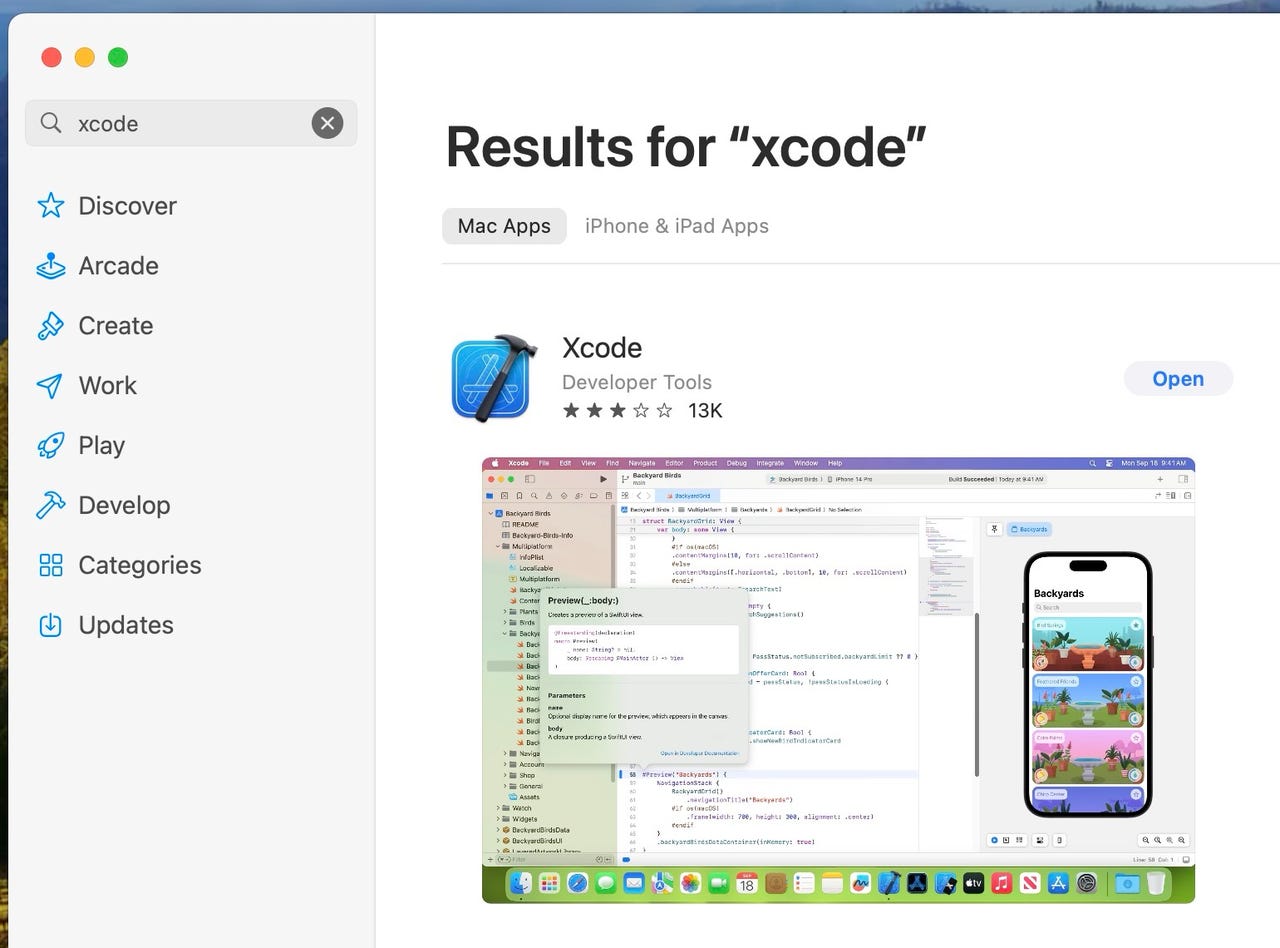
Xcode: You will need to download and install Xcode from the Mac App Store. Xcode is the primary development environment Apple wants developers to use to build Mac applications and mobile apps. It's free. Just open the App Store app and type "xcode" into the search field.
The latest build of Ubuntu, for 64-bit Arm: The Arm installer ISO isn't located on the main Ubuntu download site. Instead, point your browser to the daily build page and scroll down until you see the desktop image for 64-bit ARM (standard download).
GUILinuxVirtualMachineSampleApp: This is a sample app that runs the virtual machine inside of Xcode. You'll need to download it and unzip it.
Before you move on to the next step, be sure that Xcode is fully installed, that you have the Ubuntu .iso file, and that you have downloaded and unzipped the sample app.
Also: Ubuntu Desktop 23.10 arrives: A glimpse into Ubuntu Linux's future
Once all of that is done, we can move on.
Configure the VM hosting app in Xcode
Go ahead and open Xcode. You'll see a starter screen. Tell it to open up an existing project.
From here, navigate inside the folder you created when you extracted the sample application, and look for a file ending in .xcodeproj. Click open.
This will open the sample application. Well, actually, it will warn you that you're opening a project downloaded from the Internet. But since the project comes right off the Apple developer site, I think you're good.
Now, you'll have the project open. You need to do a bit of housekeeping, and then you'll be good.
In the left-most pane, click the top-level sample app (shown at 1). Then, click the Signing & Capabilities tab (shown at 2), and finally, click the Add Account button at the Team prompt (shown at 3).
This will take you to your Accounts tab, where you'll just set yourself up as a team.
Once you've done this, close the window, and you'll be ready to move on. Here, you can see my app is going to be signed by my personal account. This just tells MacOS that it's my app and I want to allow it to run.
You're ready to start running the VM. Hit the little arrow to build and run.
Installing Ubuntu
Your Xcode app will open a blank black window and a file chooser. The file chooser (although it doesn't tell you this) is looking for the Ubuntu install .iso file. So navigate to that .iso, click it, and click Open.
Next, GRUB (Grand Unified Bootloader) will show up in that black window. Select Try or Install Ubuntu and hit Enter.
And let the magic commence! Ubuntu is getting settled into your Xcode app:
And here you go. Start configuring your Ubuntu install.
Go ahead and select Install Ubuntu since you're already installing into a VM and not directly onto your computer anyway.
I did the full installation:
Also: Fedora Linux now runs on all M-powered Macs - except one
Use the default, which is to allow the installer to erase the virtual disk and set up your virtual filesystem:
Run Ubuntu
Ubuntu is ready to run. Just click Restart Now and go to town.
Once you restart, you'll be in a standard environment, with a nice little virtual machine you can play with.
Final thoughts
During the installation phase, the Virtualization framework generates a GUI Linux VM.bundle package within your home folder. This grows fairly quickly, so if you're space-constrained, you may want to delete it when you're done Ubuntuing. Mine is 68.72GB after only a few hours of tinkering.
Also: Ubuntu 23.10 seems like the usual boring update - until you dig into it
While the example application is limited to operating a single VM concurrently, the MacOS virtualization framework itself is capable of handling several VMs at the same time. This is not controlled by the application we built, but developers can use this framework to build more powerful virtualization management consoles.
What do you think? Did you go ahead and install Ubuntu inside Xcode? Are you going to tattoo "Ubuntu/Xcode Forever" on your shoulder? Are you going to sing glorious songs of your Xcode prowess to all who will listen? I mean, you could. If you're not going to belt out songs of Macs and Linux, perhaps you could leave us a few comments below.
You can follow my day-to-day project updates on social media. Be sure to subscribe to my weekly update newsletter on Substack, and follow me on Twitter at @DavidGewirtz, on Facebook at Facebook.com/DavidGewirtz, on Instagram at Instagram.com/DavidGewirtz, and on YouTube at YouTube.com/DavidGewirtzTV.