'ZDNET Recommends': What exactly does it mean?
ZDNET's recommendations are based on many hours of testing, research, and comparison shopping. We gather data from the best available sources, including vendor and retailer listings as well as other relevant and independent reviews sites. And we pore over customer reviews to find out what matters to real people who already own and use the products and services we’re assessing.
When you click through from our site to a retailer and buy a product or service, we may earn affiliate commissions. This helps support our work, but does not affect what we cover or how, and it does not affect the price you pay. Neither ZDNET nor the author are compensated for these independent reviews. Indeed, we follow strict guidelines that ensure our editorial content is never influenced by advertisers.
ZDNET's editorial team writes on behalf of you, our reader. Our goal is to deliver the most accurate information and the most knowledgeable advice possible in order to help you make smarter buying decisions on tech gear and a wide array of products and services. Our editors thoroughly review and fact-check every article to ensure that our content meets the highest standards. If we have made an error or published misleading information, we will correct or clarify the article. If you see inaccuracies in our content, please report the mistake via this form.
Need more storage? How to quickly set up a Synology DS223j NAS

The quickest and easiest way to add terabytes of storage, whether at home or the office, is with a network-attached storage device like the Synology DS223j.
While cloud storage solutions certainly have their advantages -- and we've reviewed some of the top cloud storage options -- there are times when nothing beats having lots and lots of on-site storage at your fingertips. This way, there's never an excuse for not keeping all those photos and videos you shot, or not having up-to-date backups of all your systems.
And the quickest and easiest way to add terabytes of storage, whether at home or the office, is with a network-attached storage (NAS) device. A NAS is a box that you fill with hard drives, attach to your network, and make available across a whole host of devices. You can set various file access permissions, and also add features such as automatic backups and media server capability.
Also: How to set up your own NAS for more reliable data backups
Synology, one of the biggest and best names in NAS, offers NAS solutions big and small, from one-drive units to 12-bay behemoths. I've used Synology NAS devices for years, and they've performed flawlessly.
But it's time to upgrade one of my smaller units to the new Synology DS223j 2-bay model.
(My colleague David Gewirtz recently produced a video that steps through the set-up of Synology's 6-bay NAS.)
View at AmazonSynology DS223j specs
- CPU: Realtek RTD1619B, 4-core 1.7 GHz, 64-bit
- Hardware encryption engine: Yes
- RAM: 1 GB DDR4 non-ECC
- Drive bays: 2, compatible with 3.5-inch SATA HDD and 2.5-inch SATA SSD (with optional 2.5-inch disk holder)
- RJ-45 1GbE LAN ports: 1
- USB 3.2 Gen 1 ports: 2
- Internal drive supported formats: Btrfs and EXT4
- External drive format support: Btrfs, EXT4, EXT3, FAT, NTFS, HFS+, and exFAT
- Fan: Yes
- Size: 165 mm x 100 mm x 225.5 mm
- Weight: 0.88 kg
- Power consumption: 16.31 W during drive access, 4 W during HDD hibernation
For under $200, you can pick up a diskless DS223j NAS and add your own drives (a good choice of drives are the 4TB WD Red Plus drives specifically designed for NAS).
But how hard is it to put hard drives into a NAS?
It's easy! All you need is a screwdriver. I'll walk you through the assembly process.
Also: Top network-attached storage devices: Synology, QNAP, Asustor, and more
How to quickly set up a Synology DS223j NAS
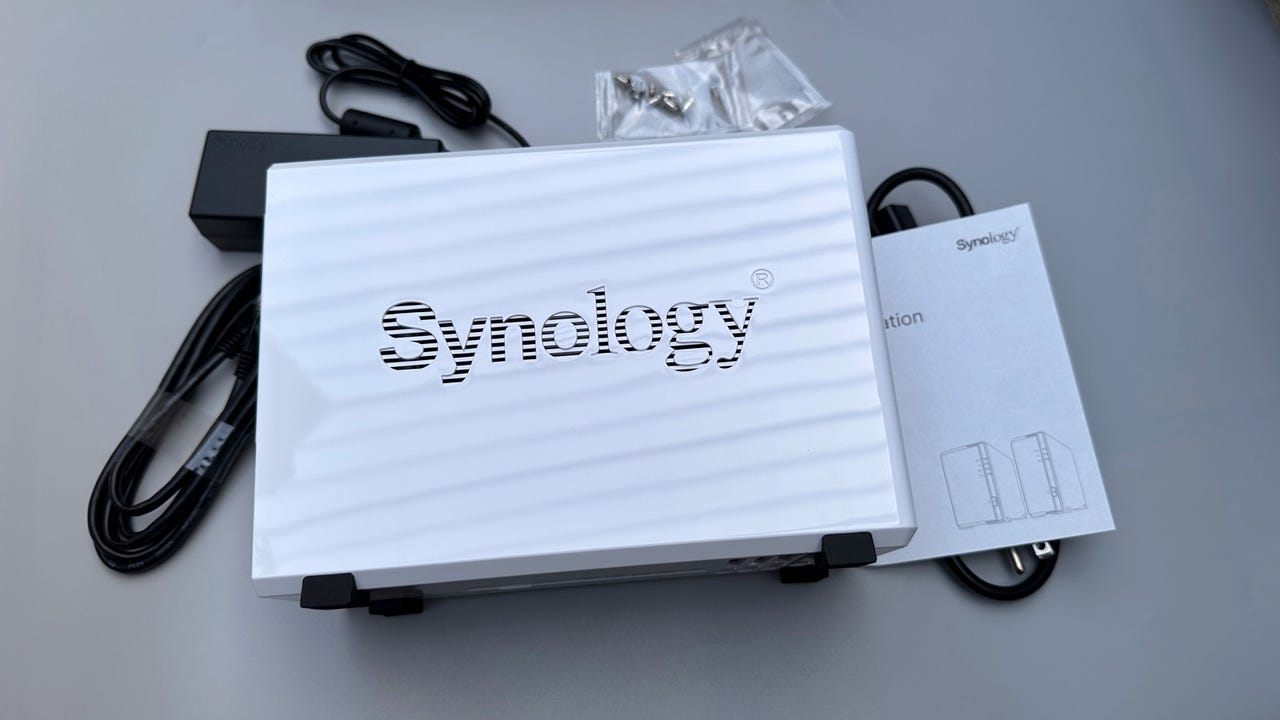
1. Unbox the NAS and make sure all the parts are there
Step one is to unbox your NAS and get it ready to take the drives. Along with the NAS box, you get a power adapter, cables, and screws.
2. Open the NAS box
The plastic clamshell case slides apart. It is supplied without any fixing screws to make it simple.
3. Locate the drive bays
The Synology DS223j has two drive bays. The drives slide into the bays and they are held in place with screws.
4. Slide the drives into the NAS
Start with the bottom one, slide it all the way in until the connectors engage, and then fit the second drive.
Also: I found the ultimate external SSD - and it can even self-destruct
5. Fit the screws
The drives are held in place using screws -- the big, long screws with the smooth shoulders are the only screws that will fit, so you can't get it wrong. Each drive is held in place using four screws inserted through the vibration-dampening rubber. Note: There's no need to overtighten these screws.
Don't overtighten the screws as this can damage threads
6. Don't forget this!
A lot of people forget to fit this plate, which is used to support the back of the drives. It's not entirely essential, but I like to fit it to give the drives maximum stability.
Two fine-thread screws hold the plate to the NAS, and it attaches to each drive using a single screw.
Drive supporting plate fitted
7. Put the side back on the NAS
The side cover slides into place, and is held in place using two coarse-thread screws.
8. Connect the Ethernet and power cables
Not much left to do now in terms of assembly other than to connect the Ethernet cable (the other end goes into your router or network switch), and the power supply.
9. Time to power on
All that's left is to power up the NAS.
Also: I tested the 'fastest Gen5 SSD on the planet' and was blown away