New student tools hit Office 2007

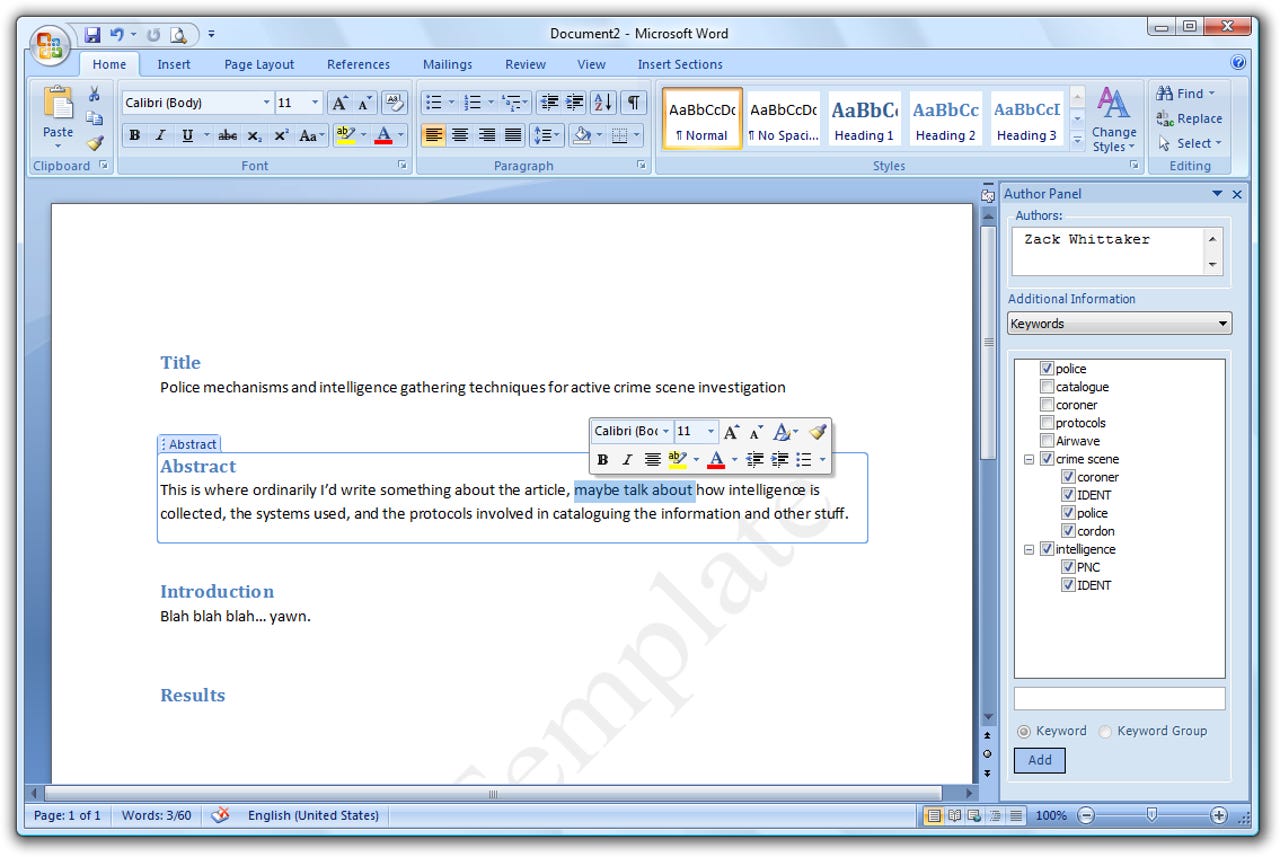
Every journal will have its own style of authoring. This screen allows you to pick out specific keywords or groups of keywords in your article.
In scientific articles, you may want a "results" area, whereas in a criminology article, you may not have the need for one. This add-in makes it easy to customise your publication to what your article needs.
As you can see, the add-in makes it easy to add any section you may need, for any article you may wish to write. This ultimately makes it easy for entering into the repository at your university or publisher.
With a quick check in the settings of the add-in, you can apply the Notes Panel. This panel allows you to add notes to the front and back of your article.
Instead of saving it as a .docx or a .doc document, this new format, the NLM allows seamless integration with the soon-to-be-released Research Output Repository Platform (we think, not much details out there yet). The RORP will act as the server back-end repository to NLM files.
As you can see, it saves it as the NLM XML format - easily integrates into most repositories out there on the market.
This seems to take a while to do, but then again, it does apply a lot of data to your seemingly-ordinary document.
Even though this add-in is at RC1 (Release Candidate 1) stage, there are still a few updates in the works which will make the software faster, better working and will have all the bugs ironed out of.
And this is what your final document looks like in Notepad... a bunch of XML and some other "open content types" which Mary-Jo and the other Microsoft watchers keep going on about :)
Don't be fooled by the first screen you see. The installation process isn't a case of a single setup.exe, but requires an Internet connection to download all the necessary bits and bobs and third-party stuff.
In this case, there's no licences created, therefore no licence attached to the document.
(Keep an eye on the licence in the top right hand corner - it changes each dialog box with each option you select.)
Again, the wizard explains each step to make sure you create the exact licence you need.
The document I'm using is a draft written for Enterprise Alley. As the copyright technically belongs to ZDNet (or CNET, maybe CBS, I can't keep up), I choose my options carefully.
If you live in a specific locale, you can create your licence under your local law. In my case, I've selected the UK (England and Wales) as that's where I live.
Once you've created a licence, you apply it to the document by clicking on it. It shows the licence image and the basic information of it, allowing you to make sure you distinguish between your licences.
Basically nothing. :)