Photos: Windows Small Business Server 'Aurora'

Most customers will buy Home Server-like appliances with Small Business Server 'Aurora' installed, but there will also be an option to build your own.
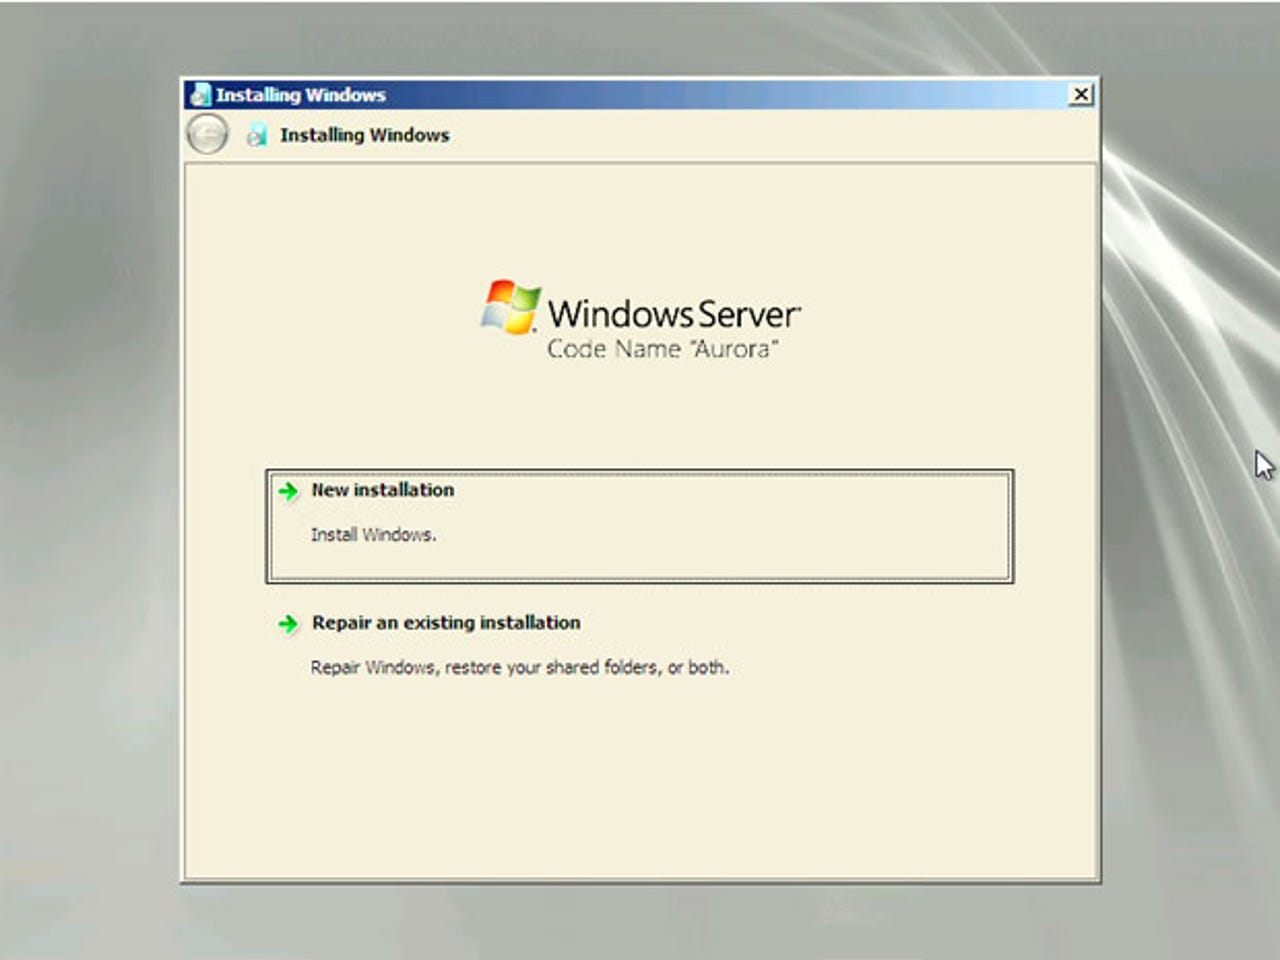
Screenshots: Simon Bisson
The setup includes basic configuration of Aurora's Active Directory. The installation tools simplify this process to naming the server and the Active Directory domain.
You'll need to set up an administrator account. This will be used for initial configuration of the server and will give access to the Aurora dashboard (either through Remote Desktop or the client console application).
Most users won't see Aurora's startup screen, as it's intended for use on monitorless appliances. However it's here that its Windows Server 2008 R2 heritage is most evident.
Small Business Server 'Aurora' owes a lot to Home Server, and instead of multiple administration tools everything you need is concentrated into one Dashboard. A list of initial tasks speeds up getting started.
A simple settings dialogue box lets you tune server setup, including managing update procedures. Aurora is based on Server 2008 R2, so it'll receive updates on a similar schedule to the rest of Microsoft's server operating systems.
Underneath the simplified Aurora user interface is a full Active Directory implementation (needed for its cloud service integration), although you wouldn't suspect it from the simple Add User wizard.
You can use the Add User tools to adjust Aurora's password rules. The slider adjusts password strength, while a tick box allows you to choose whether or not passwords expire.
The final piece of the Add User story is giving users access to files and folders via Aurora's Remote Web Access. You can assign links to shared folders and to remote PCs — and for administrator accounts, access to the Aurora Dashboard.
One key feature of Aurora is its remote access tools. These give users web and remote desktop access to server files and PCs. You'll need to set up routers and domain names to provide anywhere, anytime access.
You don't need to have an internet domain set up for Aurora's remote web access to work, as Microsoft will give you a free redirector on its remotewebaccess.com domain. We'd recommend having your own domain, though, as it simplifies using Aurora with cloud email and collaboration services.
The Users tab in the dashboard isn't just for managing user access to shared folders. You can also use it to assign remote desktop access to specific computers. Individual users can be given access to just their desktop PC, while administrators and support staff can be allowed access to all of the PCs in a network.
The Add-ins tab on the Aurora Dashboard lets you configure and manage third-party plug-ins and cloud service subscriptions.
One of Aurora's most important features is its remote PC management tools. Use the Computers and Backup tab to check for problems with connected PCs and to monitor their backup status.
Aurora doesn't use a traditional file system. Instead, drives are pooled into a single storage space, where files can be duplicated for security — just add extra drives to increase storage as you need more space.
Remote users connect to Aurora using their standard web browser. We found the remote web access site worked well in any modern browser, including Chrome and Firefox.
Each user gets a home page with a very Windows Live look-and-feel. There are links for remote access to PCs and servers, and to shared folders.
The file area of the Aurora web access application has a familiar Explorer-like look and feel, and files can be download to any PC as required.
When you connect to a remote computer through the Aurora Remote Web Access service, you'll be connected to a Remote Desktop session using a gateway running on the Aurora server.
Client PCs need to be connected to Aurora to download and install the client software. There's support for Macs as well as PCs.
All users need to do is fill in their username and password. The installer then joins their PC to the Aurora domain, and migrates files and settings to their new account.