Setting up Windows 8 Consumer Preview with VirtualBox (Gallery)

After making sure your PC can handle a Windows 8 virtual machine, download and install the latest copy of VirtualBox and the Windows 8 ISO file, then launch VirtualBox. Next, press the “New” icon in the upper left. For more, read Steven J. Vaughan-Nichols blog.
You can download the Windows 8 beta from the Windows Dev Center. You can also download VirtualBox 4.
Now just start following the create a new virtual machine wizard.
Be sure to pick Windows/Windows 8 for your VM. If you're going to be testing out the 64-bit version, select Windows 8 (64bit).
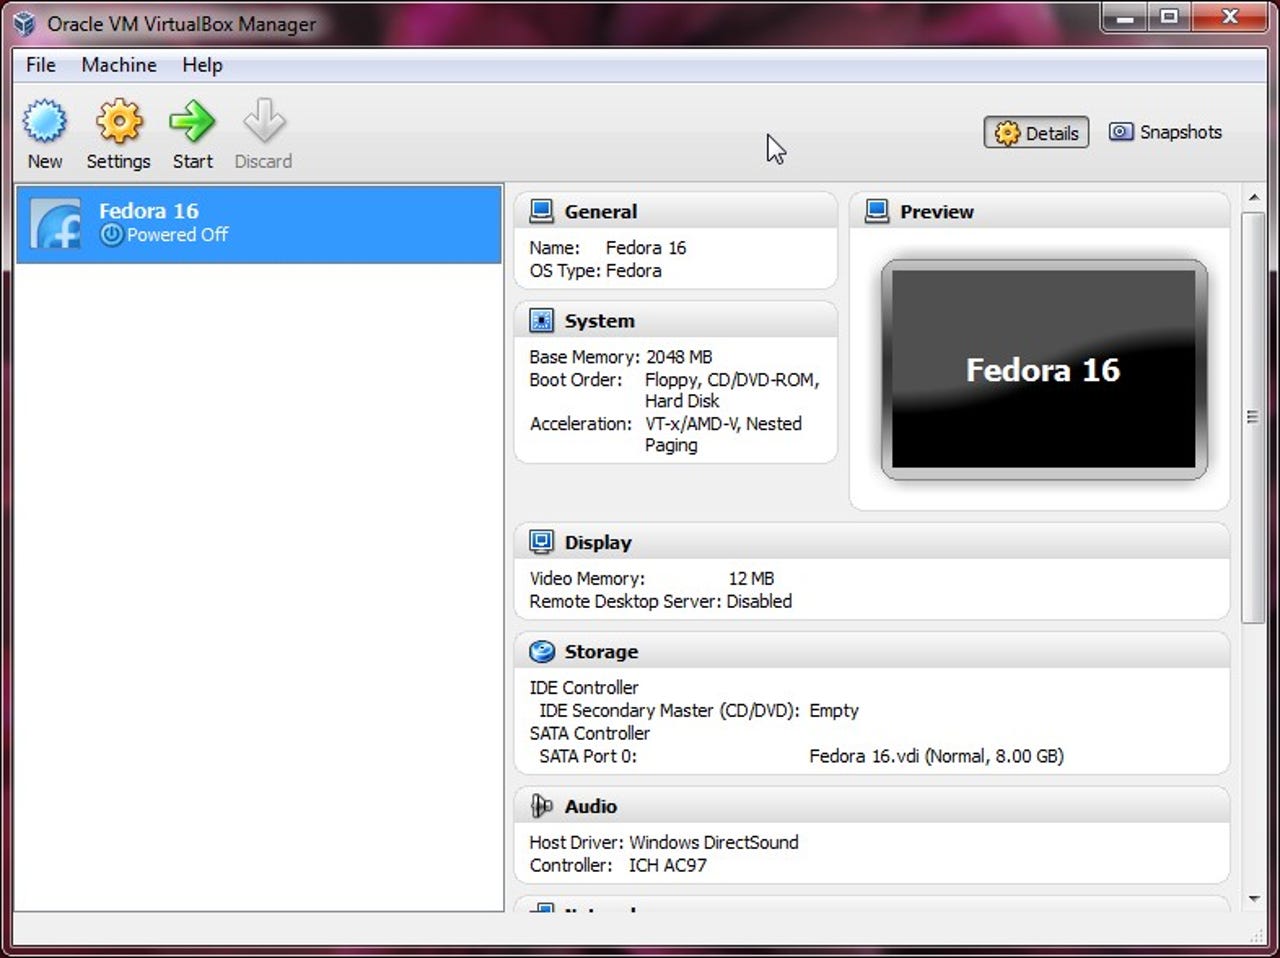
VirtualBox may think that you'll only need 1GB for 32-bit Windows 8. Don't believe it. Set it up with at least 2GBs—that's 2,048MB.
Next create a new virtual drive for you Windows 8 VM. 20GBs should be more than enough for test purposes.
Unless you plan on using your virtual Windows 8 machine with about VM program, it's best to just stick with the VirtualBox Disk Image for your virtual hard drive.
Personally I prefer to use dynamically allocated virtual drives—just in case I start using a VM instance a lot and it expands beyond its original 20GBs of designated space.
Once you're done with your RAM and disk settings, VirtualBox gives you a chance to go over your final settings before committing to them.
Now, once the base Windows 8 VM is ready to go, it's time to start tuning it for its best performance.
On the System/Motherboard tab you want to make sure you have enough RAM—2GBs for 32-bit at least 3GBs for 64-bits and that Enable IO APIC is on.
On the System/Processor tab, make sure you enable PAE/NX. And, if, and only if, you have a system with multiple core or processors, you can add another CPU to Windows 8. In my case with a six-core Intel Core i7, I gave Windows 7 two CPUs.
Under the System/Acceleration tab make certain that both Enable VT-X and AMD-V and Enable Nested Paging are checked.
Windows 8 wants all the graphics power you can give it. To do this, first enable both 3D and 2D video acceleration. This, in turn, will let you give Windows 8 up to 256MBs of video RAM, instead of the default maximum of 128MBs. Go ahead and up your video memory to 256. You'll be glad you did.
Next, move down to storage and go to your virtual hard drive (.vdi) under the SATA controller and click host I/O cache. While there, your Windows 8 Preview .ISO file should have been mounted already/ If it hasn't been yet , mount with IDE and make sure you're using IDE with the ICH6 IDE controller.
After you've completed these steps, you'll return to the VirtualBox main display. Here, click on your new virtual machine.
You'll now be at the First Run Wizard. From here on out, you'll be installing Windows just as if you were on a new PC using a DVD.
And, once that is said and done, which took me about ten-minutes on my system, you'll have a running copy of Windows 8.