'ZDNET Recommends': What exactly does it mean?
ZDNET's recommendations are based on many hours of testing, research, and comparison shopping. We gather data from the best available sources, including vendor and retailer listings as well as other relevant and independent reviews sites. And we pore over customer reviews to find out what matters to real people who already own and use the products and services we’re assessing.
When you click through from our site to a retailer and buy a product or service, we may earn affiliate commissions. This helps support our work, but does not affect what we cover or how, and it does not affect the price you pay. Neither ZDNET nor the author are compensated for these independent reviews. Indeed, we follow strict guidelines that ensure our editorial content is never influenced by advertisers.
ZDNET's editorial team writes on behalf of you, our reader. Our goal is to deliver the most accurate information and the most knowledgeable advice possible in order to help you make smarter buying decisions on tech gear and a wide array of products and services. Our editors thoroughly review and fact-check every article to ensure that our content meets the highest standards. If we have made an error or published misleading information, we will correct or clarify the article. If you see inaccuracies in our content, please report the mistake via this form.
How to activate a new iPhone

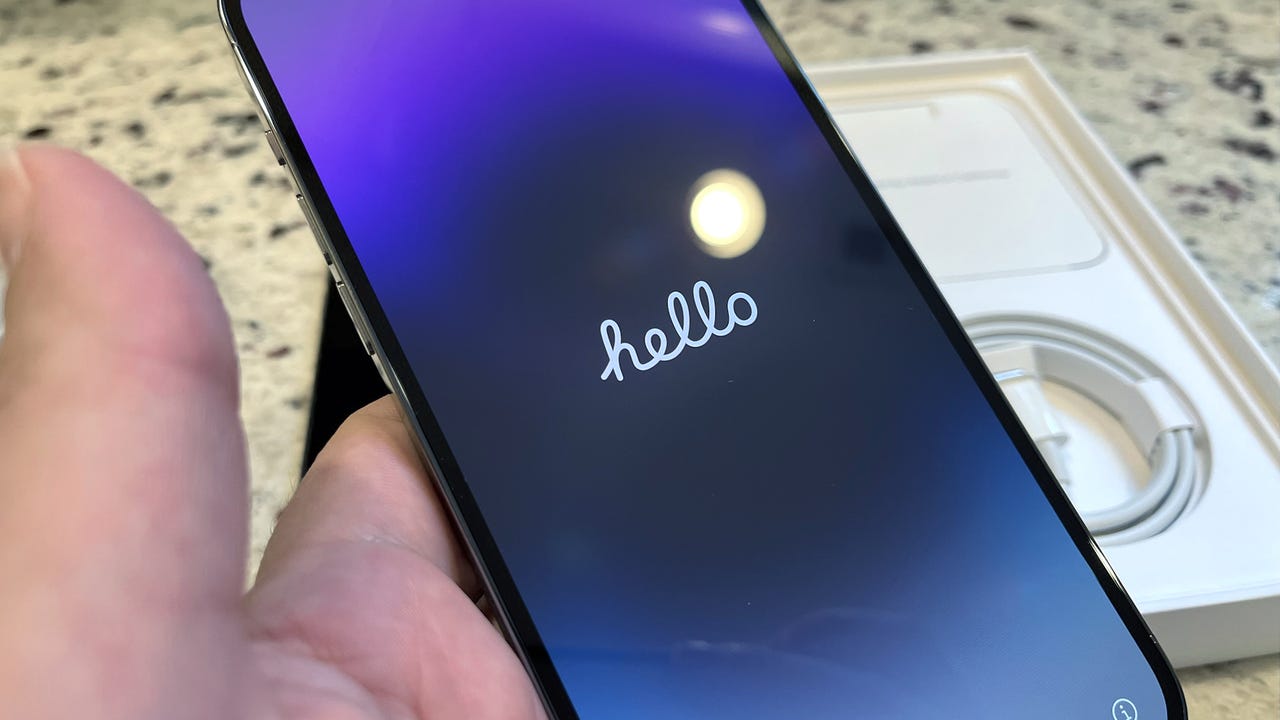
What a new iPhone looks like when first turned on.
The first time I bought and activated a new phone at home was around ten years ago, and I was amazed at how painless the process was when I did it myself instead of going to a store. Since then, I've only gotten phones this way, and I don't think I'll ever go back.
See also
Before the DIY era, setting up and activating a new phone was reserved for the phone carrier employees.
Buying a new phone was akin to buying a new car: You'd save up for it, research for weeks (or months), then go to an authorized retailer, and spend the better part of an afternoon in between making small talk to a sales employee and signing agreements, to walk out with a shiny new thing -- albeit a little poorer.
Also: Which iPhone is right for you?
Nowadays the process is as simple as buying it online from a retailer and following some prompts to set it up. We'll walk you through the steps to set up a new iPhone and how to troubleshoot any obstacles along the way.
How to activate a new iPhone
1. Turn on the new iPhone
Okay, get excited. This is the best part: Unbox your new iPhone and discover all the goodies tucked inside with your shiny new phone. Right, it's just a charging cable.
Also: How to tell if your Lightning charging cable is fake
Next, turn on your new iPhone by pressing and holding the power button on the right side of the device. The screen will show the word "Hello" in different languages. Just swipe up on the screen to open the setup guide.
The Apple logo comes up at startup.
2. Choose Quick Start or set up manually
If you already had an iPhone you're replacing, Apple gives you the option to set up the new one automatically by holding the old device near the new one.
Quick Start or manual setup.
3. Connect to Wi-Fi and follow prompts
Select your Wi-Fi network if you're in range of one. If your iPhone has a SIM card, this is the time it should successfully connect to your cellular network. The new iPhone 14 lineup only uses eSIM, and, depending on the carrier, your phone may prompt you to activate your eSIM.
Also: eSIM vs SIM: What's the difference?
After this, follow the prompts to continue activating your new iPhone.
My phone carrier is Mint Mobile, which does support eSIM. However, I had to skip the cellular network connection and activate my eSIM via the Mint Mobile app. When I did this, the app said this service wasn't available. If you have Mint Mobile, you may have to contact customer service to have them send you an email for your eSIM activation.
You can also learn how to transfer your number to one of the new eSIM-only iPhones.
After you join a Wi-Fi network, tap through the Data & Privacy information.
4. Follow the prompts to set up Face ID and passcode
Face ID uses face recognition to unlock your iPhone, use Apple Pay, log in to apps, and make other purchases and downloads without having to enter your passcode or, in the case of logging in to apps, your password.
Setting up Face ID involves letting your iPhone use its TrueDepth camera mechanism on the notch or dynamic island on your iPhone to learn your facial features.
At this point, you can also set up a passcode to unlock your iPhone.
Set up Face ID.
5. Transfer data and apps
Your brand new iPhone is a clean slate, so you'll have the option of using a backup, another phone, or skip altogether. Here are the options to transfer apps and data:
- Restore from iCloud Backup: An iCloud backup can easily transfer most of your information, apps, and media.
- Restore from Mac or PC: People commonly use a computer backup for an iPhone's media.
- Transfer directly from iPhone: This option lets you use your old iPhone to transfer the data and apps to the new one, simply by allowing the action on your older phone and holding them both near each other.
- Move data from Android: If you're one of the many making the switch from Android phone to an iPhone, choose this option and follow the steps to move your data from Android to your new phone.
- Don't transfer apps and data: This option lets you start from scratch, without transferring any of your previous data to your new iPhone.
Choose one of the ways to get started with your previously backed up data.
6. Sign in using your Apple ID
An Apple ID is the way to log in to all things Apple. If you're new to iPhones, then you can tap on "Forgot Password or don't have an Apple ID" to create an Apple ID. Everything you do on your iPhone, iPad, iCloud, and all Apple products will be linked to your Apple ID.
After you log in using your Apple ID, you can move on to follow prompts to allow automatic updates, set up iMessage, FaceTime, and Location Services.
7. Set up Siri
Setting up Siri can help the smart voice assistant learn how your voice says different phrases, so your new iPhone will prompt you to read a few phrases for Siri, like "What's the weather today?" and others.
8. Adjust the final settings to finish setting up your new iPhone
After Siri is set up, simply follow the next prompts to finish adjusting different settings like Apple Pay, Keychain, Screen Time, and display settings.
Setup is complete.
FAQ
Do I need to call my phone carrier to activate a new iPhone?
You don't typically need to call your phone carrier to help you activate your new iPhone, but it will depend on the carrier. When you buy a new iPhone from your phone company, like Verizon, AT&T, or T-Mobile, it'll easily connect to the cellular network at setup. If you buy it directly from Apple, you'll have the option to choose a phone carrier from a list of a few companies or choose to set it up later.
How do I activate an eSIM?
An eSIM can typically be activated at setup, but if you're having issues connecting to your cellular network when you initially set up your new iPhone, you can skip this step and finish it later.
As I mentioned above, I use Mint Mobile, so when I got my iPhone 14 Pro Max from Apple, I chose to set up a phone carrier later, since Mint wasn't one of the options. Once I received my iPhone and set it up, I couldn't activate the eSIM at setup, so I skipped that step and once the iPhone was up and running, I followed these steps:
- Go to Settings
- Select Cellular
- Tap on Set up cellular
I had to chat with Mint's customer service because eSIM activation was disabled on the Mint Mobile app, but they sent me an activation email within 24 hours.