How to customise your Linux desktop: Kali Linux and i3 Window Manager

It's time to pull together the last three series that I have been writing - How to customize your Linux desktop, Experiments with the i3 Window Manager, and Kali Linux. I had originally planned to create an i3 desktop for the Raspberry Pi, but I decided against that (see below for an explanation). I hope that it will be more interesting and more useful to install i3 on Kali Linux.
Warning! Geek Alert! The following "How-to" post is long on technical details and short on pretty pictures and graphics. It even includes manual editing of a configuration text file (gasp!) rather than a point-and-click GUI. If that kind of thing makes you uncomfortable, bail out now!
As I mentioned in a previous post, Kali Linux is based on the Debian testing distribution. Although Kali has their own repositories, those are essentially a clone of Debian. That's good news in this case, because it means that they have the latest i3 packages (4.11) available for installation. However, before starting the installation the first decision that has to be made is what version of Kali to use as the base - Full, Light or Mini?
I have made the installation described below on both the Full and Light versions, and based on that experience and what I consider the "philosophy and objective" of using i3 to be, I would recommend starting from Kali Light. The primary reason for this recommendation is that the Full version includes Gnome 3, and that drags along a lot of stuff that you don't want, need or will even be able to use with i3.
Kali Light includes Xfce, and not only is it smaller and lighter, but significantly more of the contents will also be useful with i3. One small example of this is Gnome Files (previously known as nautilus) vs. thunar, the Xfce file manager.
The disadvantage of starting from Kali Light is that the base distribution doesn't include all of the wonderful Kali tools and utilities. I don't consider this to be much of a problem - in fact, if you tilt your head just right you can see it as an advantage. If you want all of the tools, you just install the package kali-linux-full; if you want only the most common tools, install the package kali-linux-top10 and then you can add other packages to that as needed; but if you want complete control over what is installed, you can choose the individual packages yourself.
The next decision you have to make is whether you want to work with the aptitude package manager on the command line (CLI), or if you prefer a GUI. There's really not all that much to be installed, so I stayed with the CLI, but if you want the GUI then just install it (as root):
apt-get install synaptic
Ok, now we are ready to roll. The basic installation of i3 is made easier on Debian because they have created a meta-package called i3 that includes the five packages that actually have to be installed to create a functioning installation:
- i3-wm: the core i3 package
- i3lock: an improved screenlock utility
- i3status: a utility that collects status line information
- dunst: a lightweight notification daemon
- suckless-tools: a collection, including the demnu dynamic menu
All of these can be installed by simply installing the meta-package (as root):
apt-get install i3
The download and installation takes very little time, especially considering how wonderful the results are going to be. Once this is done all you have to do is reboot. Yes, I know this is not strictly necessary in every case and for every desktop session manager, but I don't want to slog through the explanation of when and why it may or may not be necessary, so just reboot, ok? It's not hard, and it doesn't take very long any more. Thanks.
When the login screen comes up after reboot, look for the "Session" selection icon. On the Kali Light version, which uses lightdm, this is at the top right corner of the screen. On the Full version, which uses gdm, this icon doesn't show up until you have entered your login name. (I know this makes sense to someone, I just don't understand how or why) The session list will include either Xfce or a variety of Gnome sessions, plus i3 and i3 with debug log. Yay, we have made it over the first hurdle!
Kali Linux / i3 Window Manager
When you select the i3 session and login, it will probably look shockingly bad, most likely a plain back background with a rather cryptic status bar running across the bottom of the screen. It could even have some graphic residue still on the screen from the login dialog. Ugh. It would be easy to get disheartened at this point, but stay with me just a little longer and we will improve all of this.
Before starting on the solution, however, we need to know how to run a program under i3. If you read my previous post about i3, you know that the default command to open a new terminal window is Mod-Enter, and the default Mod key is the "Super" or "Windows" key.
Kali Linux Terminal Window
So all we need to do here is press Mod-Enter, and a terminal window opens. Oh, good grief! Even that is as ugly as sin. I don't want the window manager to add a title bar to every window, and I don't want the terminal emulator to have a menu across the top. Sigh. Ok, I'll fix that too in just a minute. But first let's get back to the desktop.
The first problem with this default i3 desktop is that nothing has been done about the background (wallpaper). This is not considered to be a window manager's task by the i3 developers, so we have to do something else.
One simple solution is to install feh, which is a lightweight image viewer that has command line options to set images as the screen background. I prefer something a bit more elaborate than that, so I install nitrogen, which is a wallpaper browsing and managing utility. That makes it a bit easier to look through directories full of images, choose one to use as the screen background, and not have to copy the explicit path into a startup file to get restored each time I login. So the first step is (as root):
apt-get install nitrogen
The next step is to browse the image directories using nitrogen, and choose the image you want to use for the screen background. The most interesting system directory for this is /usr/share/wallpapers, but of course you could use any picture that you like. Once you choose the image you want to use, and click Apply, nitrogen will save that information so that it can restore it on demand.
For the next step we have to enter some new territory - the i3 configuration file. This is just a plain text file, which you can edit with the text editor of your choice. I'm not going to try to explain everything in this file (if I wanted to do that I could write a book and get rich quick), all I need to say here is that the contents are generally not sensitive to location or sequence in the file, so for what we are going to do you can simply add the following commands to the end of the configuration file. That makes it easier to go back later and look at what you have done, too.
The i3 configuration file on Kali Linux is located in ~/.config/i3/config (in other cases and other installations it could be ~/.i3/config). To get nitrogen to restore your desktop wallpaper every time you login and start i3, all you have to do is add this line to the file:
exec --no-startup-id nitrogen --restore
That's it. You can run this from the command line in a terminal window to see what it does, or simply logout and log back in again to see that you will get whatever image you chose and Applied in nitrogen above. Nice.
Now, while I'm fixing things in the configuration file, I might as well take care of the window decorations as well. All you have to do for that is add the following lines to the configuration file:
new_window pixel 2
bindsym $mod+u border none
bindsym $mod+y border pixel 2
bindsym $mod+n normal
Wallpaper and no Title
The first command will cause new windows to have only a 2-pixel border (and no title bar). The other three commands let you toggle through the decoration possibilities - give it a try! You can see how it looks with 2-pixel borders, or absolutely no borders, or the "normal" borders including a title bar. If you don't like my choice of 2-pixel borders, you can replace that with one of the other options.
There is one more general desktop feature that I would like to take care of before moving on - screen locking, both manual and automatic. I mentioned above that the Debian i3 metapackage includes i3lock, and now we are going to put that to use. It is actually a rather nice, simple screen locking utility. All you have to do is choose the key combination you want to use to lock the screen, and then enter that in the i3 config file. I use Mod+0, but others might prefer Mod+l (shudder). Whatever... just add:
bindsym --no-startup-id $mod+0 exec i3lock
i3lock Screen Locker
You can try this by hitting Mod+Shift+c which tells i3 to reread the config file, and then hit Mod+0 (or whatever you chose). Here are a couple of useful notes about i3lock:
- By default (with no arguments) it blanks the screen to entirely white. That is awful, ugly, bright, and generally not nice. You can specify a color in 6-byte hex format (-c rrggbb) or an image to be displayed (-i /path/to/image)
- To unlock the screen, just enter your password and press Return. i3lock is always listening, so you don't need to hit Return (or Ctrl-Alt-Del or anything else) to wake it up and get its attention. As you type your password i3lock will display a rotating circle, and then some status messages as it verifies your input.
- If you make a mistake or get lost while typing the password, you can either hit backspace (note: not Delete) enough times to remove everything you entered, or just hit Escape.
- If you add "-p win" to the i3lock command, it will display a Windows-style mouse pointer while the screen is locked. If you combine this with giving i3lock an image to display which is actually a screen shot of a Windows system, you might get some amusing reactions from your colleagues - especially if they know that you hate Windows as much as I do. For bonus points, use a screen shot of a Windows 3.1 desktop.
To get automatic screen locking, we need to install another utility:
apt-get install xautolock
To use this utility all you have to do is tell it what program to run to lock the screen. So add this line to your i3 config file:
exec --no-startup-id xautolock -locker "i3lock -i /path/to/image.png"
The default idle time is 10 minutes; if you want more or less, add -time min to the command.
Ok, this Kali Linux i3 system is starting to look pretty good. We have added wallpaper, and set the window border and title bar, and we have manual and automatic screen locking. It's time to logout, and then log back in again to make sure that everything works as expected.
i3-nagbar Logout Confirmation
To logout from i3, you hit Mod+Shift+e, which will bring up the i3 "nag bar" to ask if you really want to logout. If you don't want the nagging, just directly logout, find the line in the config file which contains i3-nagbar and reduce it to this:
bindsym $mod+Shift+e exec "i3-msg exit"
I hope that it is obvious that at this point you could change the keys used to logout; for my own use, I prefer to have Mod-Shift-0 for immediate logout without the nag question (I like the relation to Mod-0 for screen lock), and I leave Mod-Shift-e with the nagbar for times when someone else might be using my computer. (Note: this was one of those really small changes that the first time I used it I just thought "ah, that's a nice improvement!")
Bonus material
I think that I have presented enough to provide a good start using the i3 Windows Manager on Kali Linux. For those who have tried it and are interested enough to go a bit further, I'm going to describe a few more changes and customizations that I personally like. But if all of this CLI commands and plain text config file editing is making you break out in hives, here is another good chance to jump ship.
The i3 configuration I have created so far is what I have been using for the past few days. It is certainly "good enough to use every day", but there are still some improvements that can be made. What follows here is more personal and subjective, so you may well decide that you don't want or need some things, or that you want to do some things differently. Isn't choice wonderful?
The first thing I realized what that I frequently need to take screen shots, so it would be nice to have that on a keyboard shortcut. My preferred CLI screen shot utility (scrot) is not included in the Kali base installation, but it is in the repositories, so here we go again:
apt-get install scrot
When invoked with no options, it takes a shot of the entire screen and saves it in your current directory - and because I am going to put this on a window manager key combination, that would be my home directory. I don't want that directory getting cluttered, so I created a new Screeenshots directory, and I added a command line option to tell scrot to move the screenshot files there. The line added to the i3 config file is:
bindsym Print exec "scrot -e 'mv $f ~/Screenshots'"
So now if I press 'Print Screen', I get a full screen shot. However, I sometimes want a shot of only the active window, so I added another command for that:
bindsym $mod+Print exec "scrot -ue 'mv $f ~/Screenshots'"
This takes a shot of only the active window at the time that I press Mod-Print. Nice.
In the same way that the Print Screen function was implemented, it is possible to bind other commonly-used programs to keyboard shortcuts. In fact, i3 generally comes with at least two predefined sequences, the web browser is on Mod-F2 and the file manager is on Mod-F3. I considered adding quite a few more of these, but then I realized that for the kind of work that I do most of the programs are either CLI utilities, or need to be started with command line options. So I finally decided to add only two more:
bindsym $mod+F4 exec gvim
bindsym $mod+F5 exec wireshark
The first of those will start vim in GUI mode. Personally I don't like the appearance of the window that gvim creates, so I use a command that starts a terminal window with vim as the command to execute, like this:
bindsym $mod+F4 exec xfce4-terminal --hide-menubar -x vim
If you prefer something like leafpad rather than vim, that can be defined here too.
Ok, next comes something a bit more complex, but really worthwhile - configuring the contents of the i3 status bar. In theory it is easy, you just add 'bar' to the configuration file, like this:
bar {
status_command i3status
}
I have seen a few example i3 configurations which add various things to this, and in most cases the result has not been good. My advice is to keep it simple - remove any and all extra content, and see how the bar looks on the screen, then adjust it as necessary.
There are two things that I have found useful with the status bar. The most important is adding network control, so you can manage wireless connections. It turns out that the nm-applet utility that is included in the package 'network-manager-gnome' is very good for this. Don't worry if you are not installing i3 on Gnome, the package is written so that it works well with Gnome, Xfce, i3 and others. So if you find that nm-applet is not on your system, you can install that package:
apt-get install network-manager-gnome
Then add a simple autostart command to the i3 config file:
exec --no-startup-id nm-applet
This will add a wireless network monitor symbol to the right end of the i3 status bar. Clicking that symbol pops up a Network Manager control window. Very good stuff.
The second thing about the status bar is more of a problem solution than an addition. The status bar should include information about the laptop battery, including charge percentage and remaining time. If it says 'No Battery', it is likely that the battery number in the i3status configuration file doesn't agree with the Linux system. In this case, take a look at the directory /sys/class/power_supply/ and if the device that you find there is called BAT1 (or anything other than BAT0), then you need to change the i3status configuration.
To change the i3status configuration, copy the default configuration file from /etc/i3status.conf to ~/.config/i3status/config. Then edit that file, and change the two lines which contain "battery 0" to "battery 1" (or whatever your battery number is).
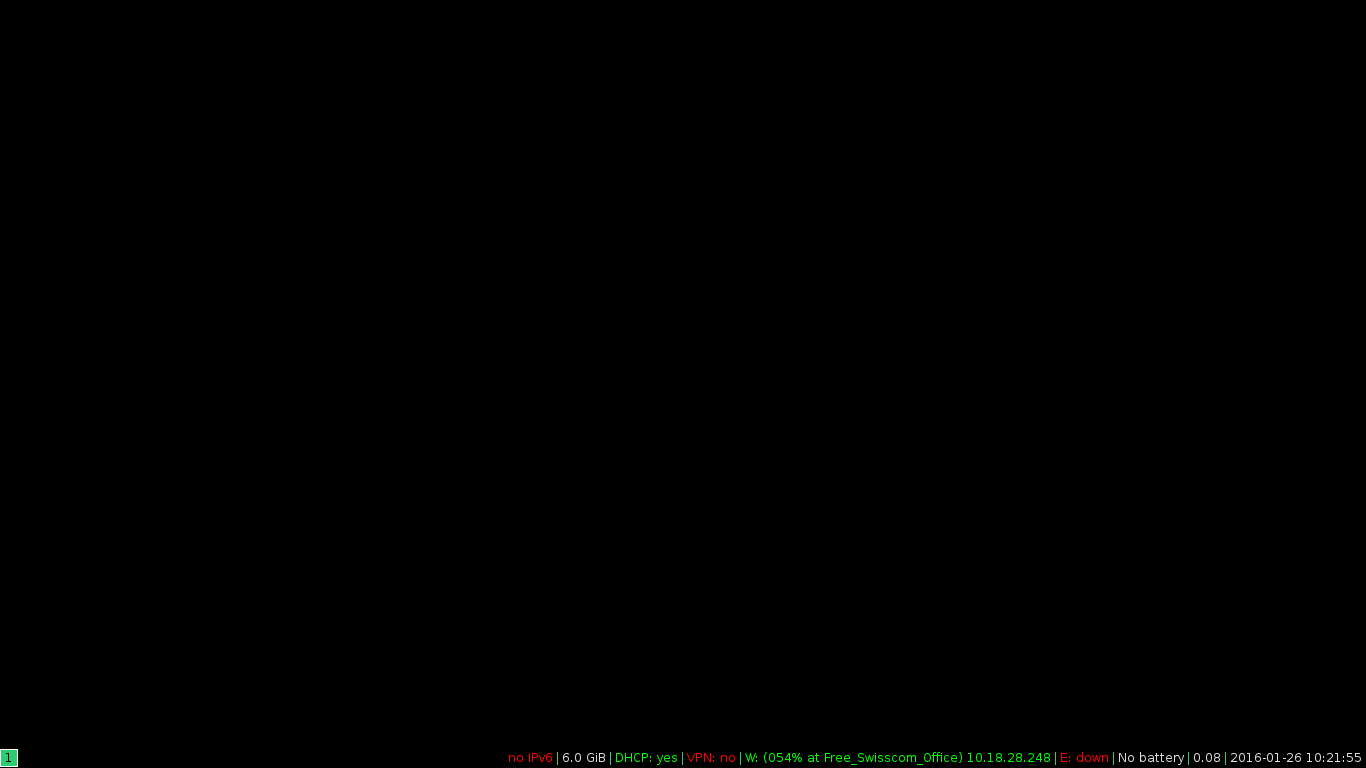
The result of making these two changes, and then logging out and back in again to get a fresh status bar, is very good:
i3 status bar
Yeah, I know, that image is microscopic in this blog post - so you'll just have to take my word for it, or better yet install i3 and try it for yourself!
I think that's enough for now. There is still plenty to talk about - using named workspaces, smart gaps and smart borders, and using conky come to mind. If there is enough interest I might write one more time about configuring i3.
P.S. I decided against installing i3 on the Raspberry Pi primarily because the i3 packages that are in the Raspbian repositories are version 4.8, which is pretty old. I considered picking up the latest i3 sources and compiling them myself, but that is not something I would want to explain here. Finally, when I started setting up the existing i3 packages (4.8), I ran into some problems with the LXDE configuration getting corrupted. At that point I decided to retreat...
Read more about Linux and open source:
- Hands-on with Kali Linux Rolling
- How to customise your Linux desktop: MATE
- How to customise your Linux desktop: Cinnamon
- How to customise your Linux desktop: Xfce
- Hands-On with openSuSE Leap RC1: A walk through of the installer
- Hands-On: KaOS Linux 2015.10
- Thus versus Calamares: Comparing Manjaro 15.09 installers
- Upgrading my Linux-Windows multi-boot system to Windows 10
- Hands-On: Linux UEFI multi-boot, my way
- Hands-On: Linux UEFI multi-boot, part two