Windows 10 tip: Turn on File History for automatic backups


Turning on File History is literally as easy as flipping a switch.
Windows 10 includes an enhanced version of the backup tools introduced in Windows 8/8.1. This set of features, called File History, is a major change from the image-based Windows 7 backup program.
Using the default settings, File History saves copies of data files every hour, giving you the option to roll back to an earlier version of an individual file or restore all data from a system after you reinstall Windows.
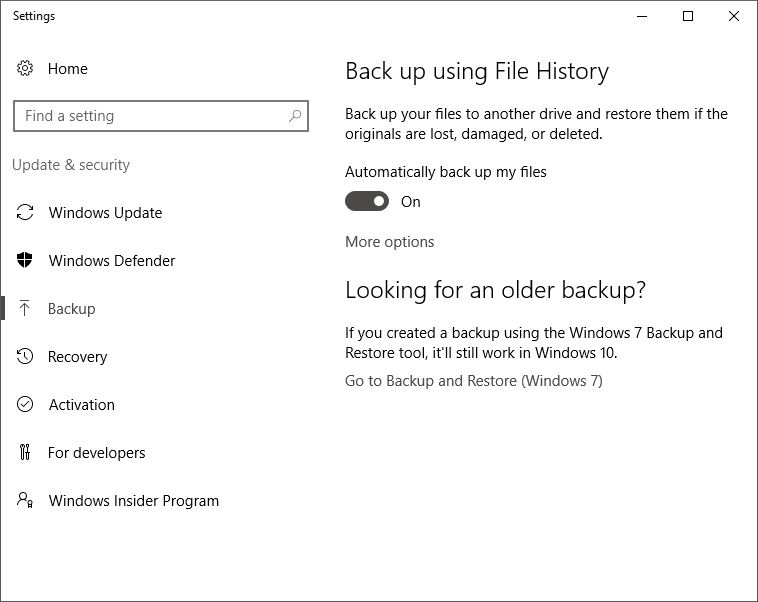
Turning on File History is easy enough as long as you have a storage option separate from the system drive. Connect an external USB drive or plug in a MicroSD card, then go to Settings > Update & security > Backup, and flip the Automatically back up my files switch. If you have more than one drive available, you'll need to specify which one you want to use.
Click More options to specify how often to back up (every hour is the default) and how long to keep backups. You can also scroll down to see a list of folders that will be backed up automatically, with controls for adding or removing locations from that list.
If you have a portable PC, you don't have to keep the backup drive plugged in constantly. Just plug in your backup drive occasionally and wait for the next scheduled backup or click Back up now on the Backup options page,
Would you prefer to use a network location for File History? No problem, as long as you know where to look. In Settings > Update & security > Backup, click More options and then click See advanced settings to open the old-style Control Panel. Click Select drive from the left side of the page, and then click Add network location.
Previous tip: Jump through your list of installed apps
Next week: Another Windows 10 tip from Ed Bott