Windows 10 tip: Move your synced OneDrive files to a new location

After unlinking your account, use this option to change the local sync folder.
The OneDrive sync client is included with every edition of Windows 10, allowing you to keep a local copy of files and folders stored in either OneDrive or OneDrive for Business.
By default, your files are stored in a top-level folder in your user profile. But if you have a second data drive (including a MicroSD card), you can choose that location instead, saving space on your system drive.
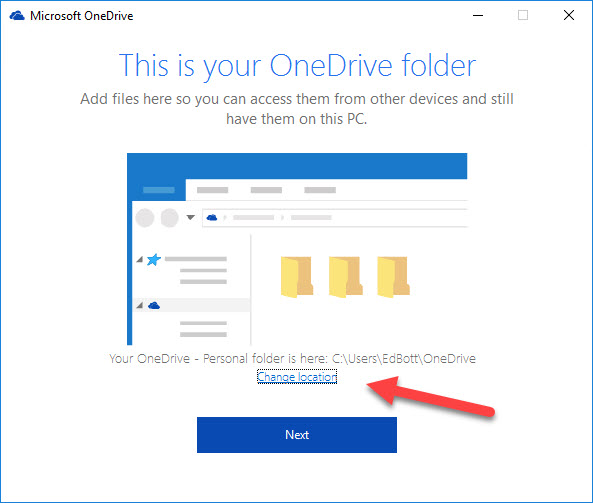
The option to change the sync folder location appears when you first set up OneDrive. If you want to change the location after you've already completed setup, follow these steps:
- Right-click the OneDrive icon in the taskbar's notification area and click Settings.
- On the Account tab, click Unlink this PC.
- Using File Explorer, move your current OneDrive folder (typically C:\Users\username\OneDrive) to the new drive.
- In OneDrive Settings, click Add an account. Sign in using the credentials for the account you removed earlier and then click Change location and specify the path to the folder where you moved the files.
- Complete setup. Be sure you choose the same folders that are currently in the local sync folder.
When you finish OneDrive setup, the sync client will compare your current local files with those in the cloud and won't download those that match.
Previous tip: Toggle file extensions and show hidden files with a single click
Next week: Another Windows 10 tip from Ed Bott