How to extend the features of Rocket.Chat with apps

Recently, I showed you how easy it is to deploy the free, open-source Slack alternative Rocket.Chat. This platform is powerful enough to serve as your internal collaboration/communication service.
Once you have that server up and running, you'll find it does a great job of helping your teams work together. But what if I told you that you could easily make it even more powerful? That's right, with the installation of third-party apps, you can extend the feature set to include the likes of reminders, anonymizers, auto image moderation, custom emojis, polls, out-of-office responders, content filters, and tons of third-party integrations (such as Jira, BitBucket, ClamAV, Confluence, Bitbucket, Botpress, and more.
Let me show you how this is done.
Requirements
To extend the features of Rocket.Chat, you'll obviously need an instance of Rocket.Chat up and running and an admin user you can log in with. That's it; let's make this happen.
How to install a third-party app on Rocket.Chat
1. Log in as the admin user
The first thing you must do is point your web browser to http://SERVER:3000 (Where SERVER is either the IP address or domain of the hosting server). Once you've logged in as the admin user, click your user profile icon in the top left corner and select Administration from the popup menu (Figure 1)
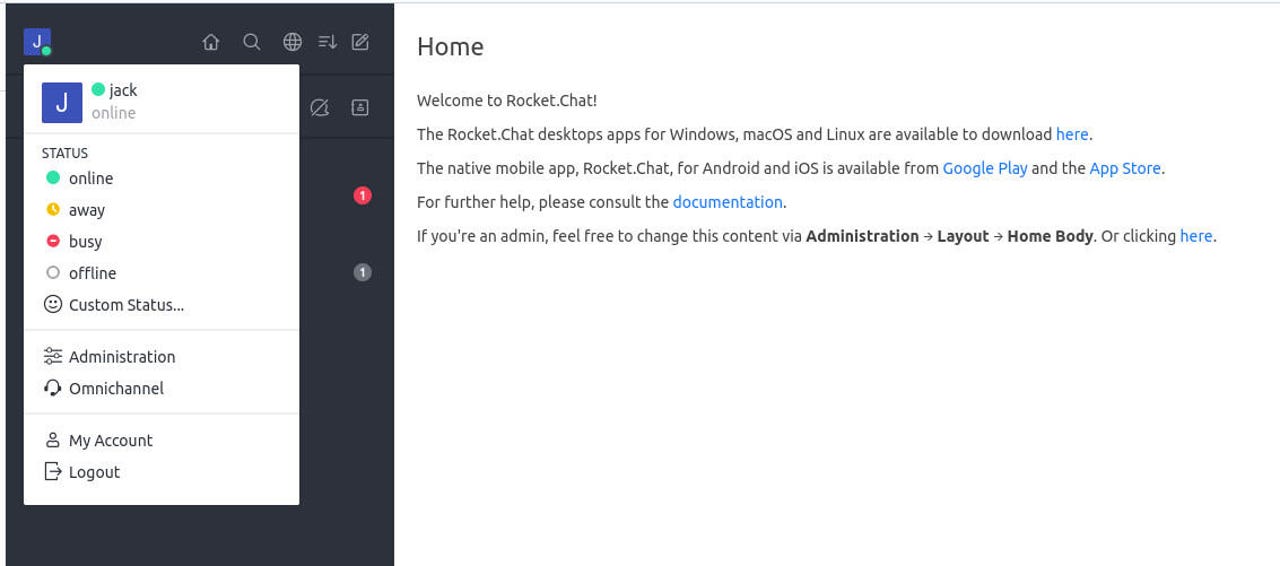
Figure 1: Accessing the Administration section of Rocket.Chat.
2. Access the Market Place
From the left navigation, click Apps (Figure 2).
Figure 2: The apps listing in the Administration menu.
3. Locate and install an app
It's time to now scroll through the list of applications (there are around 67 to choose from, many of which are free, but some do have an associated cost) and find one you want to install. Once you've located the app to be installed, hover your cursor over the entry and click the revealed Install button (Figure 3).
Figure 3: Installing the Poll Plus app in Rocket.Chat.
A new popup will appear (Figure 4).
Figure 4: OK the installation to continue.
Click the check box to agree to the terms and click Get. Finally, agree to the permissions by clicking Agree when prompted (Figure 5).
Figure 5: The final step of the installation is but a click away.
Allow the installation to complete, and you're ready to use the new app in Rocket.Chat. Depending on the app you installed, the process for using it will vary. Close out of the Administration menu, and you're ready to go.
And that's all there is to extend the feature set of Rocket.Chat. With the addition of a few apps, you can seriously empower your teams (or your family) to get more done with more efficiency and ease.